Pro Tips To Level Up Your Realistic Animal Drawings
A graphite drawing of a wolf can take twelve hours and still look flat, while a thirty-minute gesture sketch can feel alive on the page. The difference is not talent. It is sequence. Artists who consistently produce convincing, lifelike animal drawings follow a predictable order of operations, and skipping steps is the single biggest reason realistic work stalls at “almost there.”
Disclosure: This post contains affiliate links. As an Amazon Associate, we earn from qualifying purchases, and at no extra cost to you.
This guide breaks down 6 Pro Tips To Level Up Your Realistic Animal Drawings that working illustrators, wildlife artists, and art instructors return to again and again. These are not secret tricks. They are the foundational habits that separate stiff, copied-from-a-photo sketches from drawings that feel like they could breathe. Whether the goal is a detailed graphite portrait of a horse or a loose ink study of a sparrow, the same principles apply.
Key Takeaways
- Gesture and big shapes come before any detail work, because loose, confident lines set up believable movement and proportion.
- Construction methods built on simplified forms and skeletal landmarks prevent the lopsided, “almost right” look common in beginner work.
- Value and light control matter more than line count. Strong shadow shapes create realism faster than tiny details.
- Texture reads as convincing when strokes are grouped and directional, not drawn hair by hair.
- Using several references and direct observation, instead of one photo, produces more accurate and more original results.
- Short, focused, time-boxed practice sessions build skill faster than rare attempts at a single “masterpiece.”
1. Start With Gesture And Big Shapes Before Details
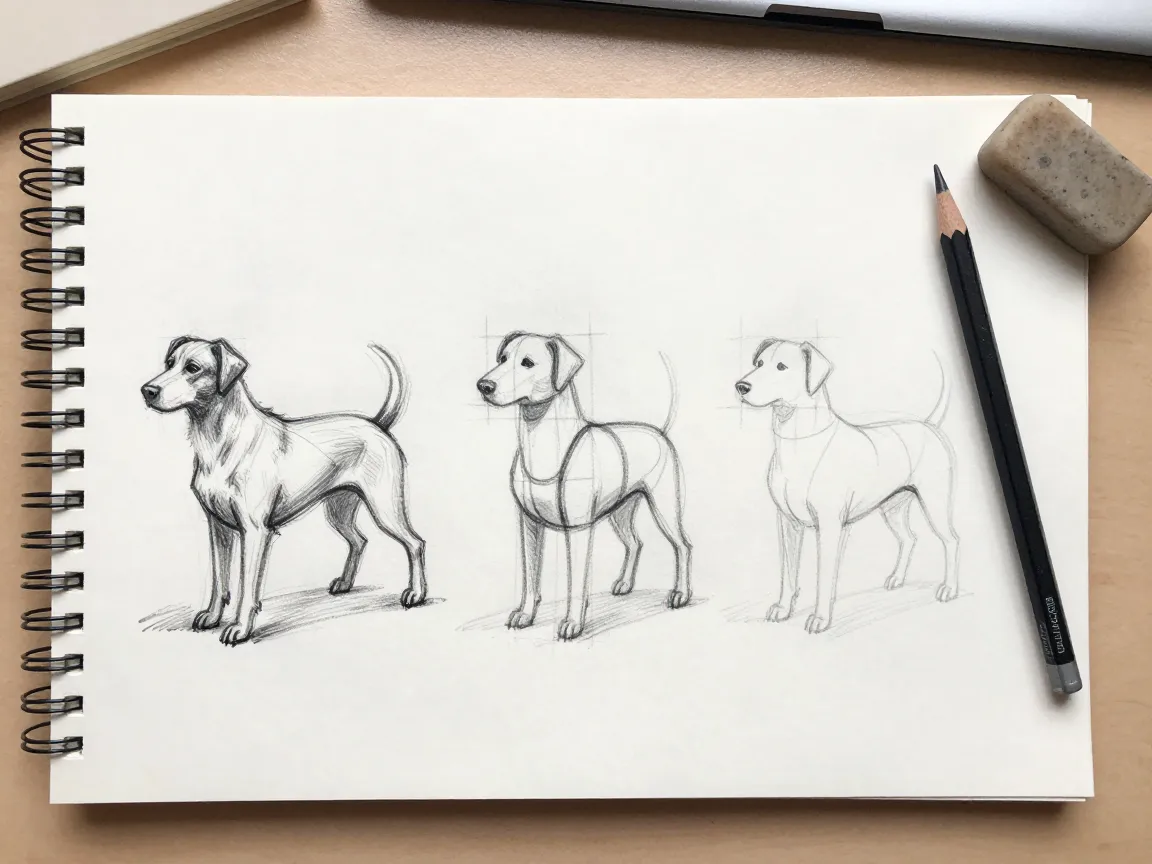
The most consistent advice across current art instruction is blunt: detail is the last thing to touch an animal drawing, not the first. Gesture drawing captures the energy, weight, and direction of a pose in a handful of fast, loose lines before a single whisker or eyelash gets drawn. Skipping this step is the main reason finished drawings look stiff even when every individual part is rendered well.
A gesture sketch usually takes thirty seconds to two minutes. The goal is to capture the spine’s curve, the tilt of the head, and where the weight sits on the legs. From there, the drawing moves into big shapes: simple ovals, cylinders, and wedges that block out the head, rib cage, and pelvis before any feature is added. Only after those large shapes feel balanced does the work move toward refinement.
Artists who jump straight to rendering fur or eyes on a blank outline often end up fighting their own drawing later, erasing and shifting limbs because the underlying structure was never checked. Big-shape blocking solves that problem early, when fixes are cheap.
A practical way to apply this is the three-pass method:
- Pass one captures gesture only, using a loose, confident line with no erasing.
- Pass two blocks in big shapes: head mass, rib cage, pelvis, and leg cylinders.
- Pass three checks proportion and balance before any detail is added.
This sequence is one of the clearest examples of 6 Pro Tips To Level Up Your Realistic Animal Drawings in action, because it reorders the entire drawing process around structure first, polish last.
“Realism is not built by adding detail. It is built by getting the big shapes right before detail is allowed to exist.”
2. Build From Construction And Skeletal Anatomy
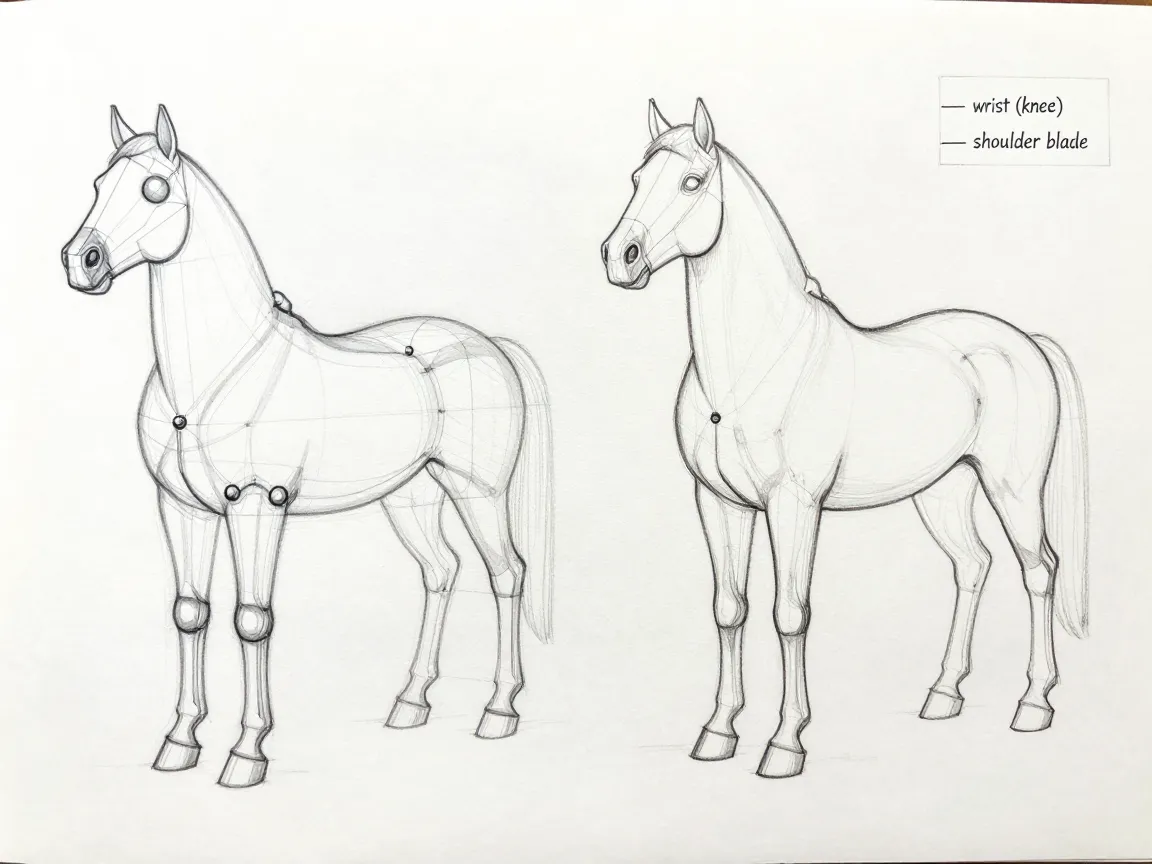
Once gesture and big shapes are locked in, construction takes over. Construction drawing means building an animal out of simplified three-dimensional forms, spheres for joints, cylinders for limbs, wedges for muzzles, anchored to an understanding of where the real skeleton sits underneath the skin and fur.
This is different from simply copying an outline. A construction-based approach asks the artist to think about the shoulder blade sliding under the skin when a dog walks, or the way a horse’s knee is actually a wrist joint set high on the leg. Understanding these landmarks prevents the common mistake of drawing legs that look like straight tubes with no joints, which instantly breaks the illusion of a living animal.
Body segmentation is a major part of this step. Breaking an animal into clear sections, head, neck, chest, abdomen, and limbs, and understanding how each segment connects through the spine makes it far easier to keep proportions consistent, especially in dynamic poses like a running cat or a bird mid-flight.
A simple proportion system helps enormously here. Many instructors teach students to measure an animal’s body in “head lengths,” using the length of the head as a ruler to check the length of the torso, neck, and legs. A few general landmarks worth memorizing:
| Animal Type | Typical Head-to-Body Ratio | Key Structural Note |
|---|---|---|
| Domestic dog | 4 to 5 heads long | Shoulder sits higher than hip in most breeds |
| Domestic cat | 5 to 6 heads long | Flexible spine allows extreme curling poses |
| Horse | 7 to 8 heads long | Knee joint is actually the wrist, set high |
| Songbird | 3 to 4 heads long | Neck retracts into body when at rest |
These ratios are starting points, not rigid rules, but they give a fast way to catch proportion errors before they become baked into a finished piece.
3. Master Light, Shadow, And Value Shapes
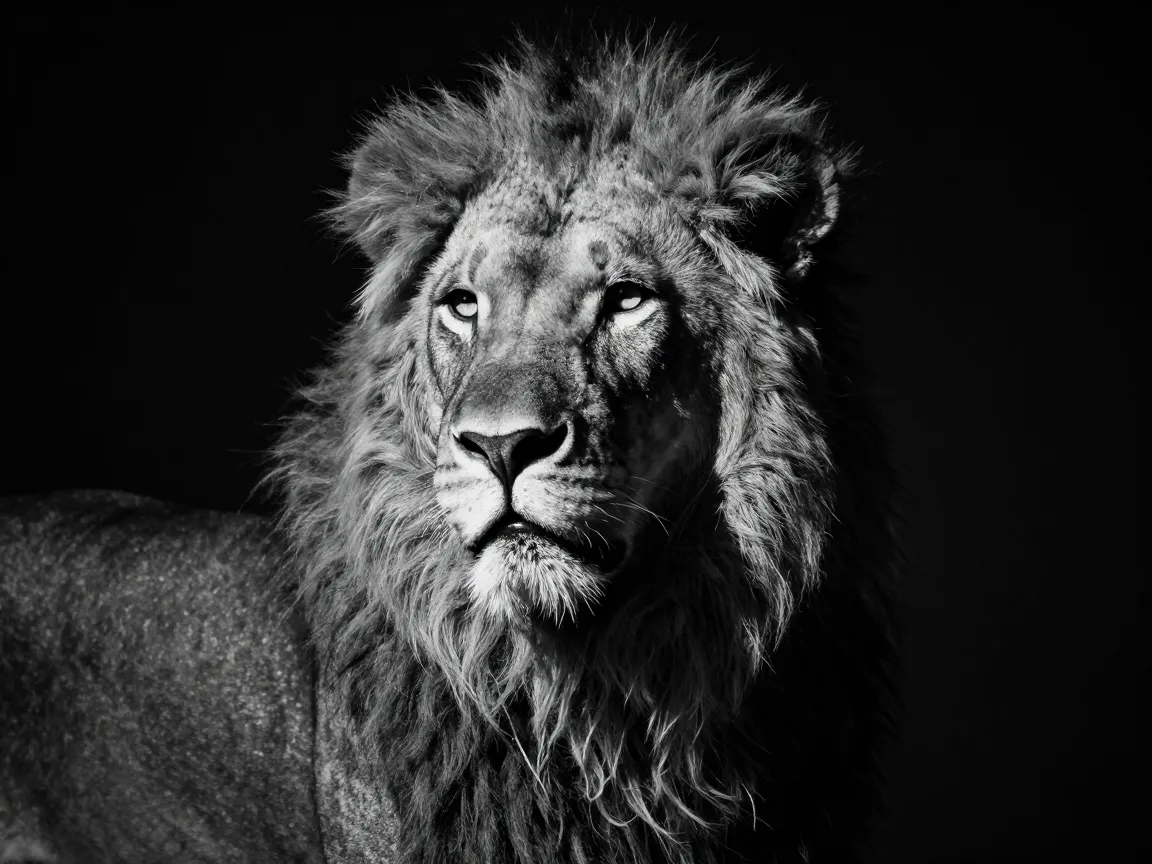
Realism lives in value, not line. A drawing with perfect anatomy but flat, even tone will still look like a cartoon, while a loosely constructed sketch with strong, accurate shadow shapes can read as convincing from across a room. This is why light and shadow control sits near the top of every serious discussion of realistic drawing technique.
The key skill is learning to squint at a reference and identify the three or four largest value shapes before worrying about anything smaller. Most beginners try to render every individual shadow and highlight they see, which creates a noisy, busy drawing with no clear focal point. Professional-level work instead groups shadows into simplified masses first.
A reliable value framework breaks the picture into:
- Light mass covers the areas catching the most direct light, usually kept nearly untouched by graphite or paint.
- Midtone mass covers the transition areas where form curves away from the light source.
- Core shadow mass marks the darkest band where the form turns completely away from light.
- Reflected light mass adds a subtle lift inside the shadow where bounced light softens the edge.
Working in this order, light mass to core shadow, keeps the drawing readable at every stage. It also matches how the eye actually perceives three-dimensional form, which is why value-first approaches consistently outperform detail-first ones in creating a sense of volume and realism.
Cast shadows deserve separate attention. The shadow an animal casts on the ground or on itself, such as a dog’s ear casting a shadow on its own neck, does more to anchor a drawing in physical space than almost any other single element. Leaving out cast shadows is one of the fastest ways to make an otherwise solid drawing look like it is floating.
4. Render Texture With Grouped Strokes, Not Individual Hairs
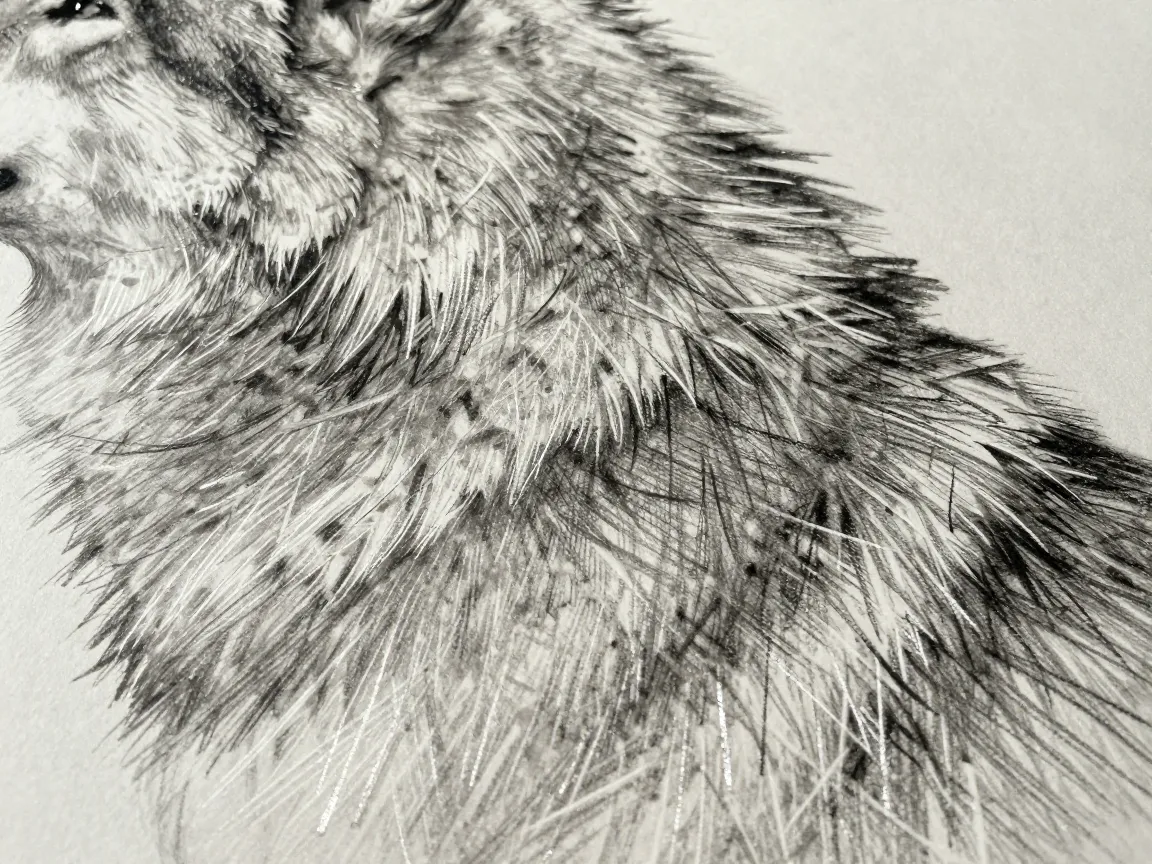
Texture is where many promising animal drawings fall apart. The instinct is to draw fur, scales, or feathers one unit at a time, hair by hair, scale by scale, which almost always produces a stiff, overworked surface that reads as static rather than soft or alive. Current best practice has moved firmly away from this approach in favor of grouped forms and directional strokes.
The logic is straightforward. Real fur does not sit as isolated strands; it clumps into small tufts and flows in consistent directions across the body, following muscle contours and growth patterns. Drawing those clumps as unified shapes, then adding a handful of individual strand marks only at the edges of the silhouette, mimics how the eye naturally reads fur far more convincingly than drawing every hair with equal weight.
A practical texture workflow looks like this:
- Block in the base value shapes for the fur mass using the light and shadow plan from the previous step.
- Add mid-sized clumps that follow the direction fur naturally grows, such as outward from the spine or down the legs.
- Introduce directional strokes within each clump using a consistent stroke angle rather than random scribbling.
- Finish with a small number of individual strand marks only along edges, whiskers, or areas catching strong highlights.
This same grouped-stroke logic applies beyond fur. Bird feathers read better as overlapping shape clusters with directional shading than as individually outlined feathers. Reptile scales look more convincing when drawn as a repeating pattern of small value shifts rather than hundreds of separately outlined scales. The common thread across all of these surfaces is restraint: detail is concentrated where the eye naturally focuses, usually the face and a few key highlight areas, while the rest of the surface is suggested rather than fully rendered.
5. Use Multiple References And Real-Life Observation
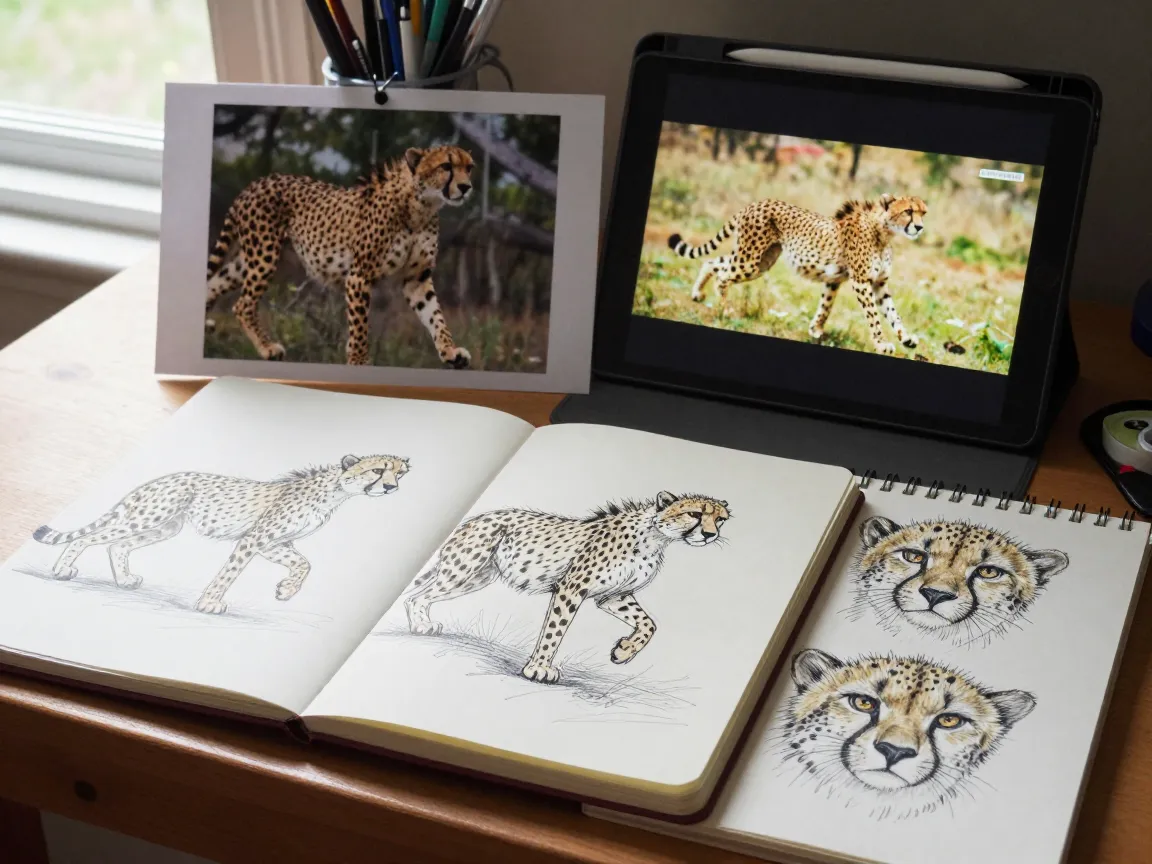
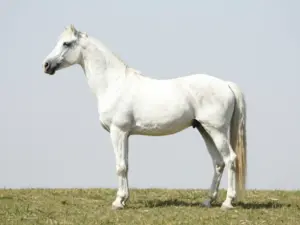
Relying on a single polished photograph is one of the most common limits on realistic animal drawing, even among artists who have strong technical skills. A single photo flattens three-dimensional form into one lighting setup, one angle, and one moment of fur or muscle position. Copying it precisely can still result in a drawing that feels oddly lifeless, because it lacks the layered understanding that comes from seeing an animal from multiple angles and conditions.
Stronger results come from building a small reference library before starting a drawing. This might include:
- A clear, well-lit photo showing the overall pose and proportions.
- A close-up reference showing fur, feather, or scale texture detail.
- A different-angle photo of the same species to confirm how a feature, like an ear or wing, looks from another viewpoint.
- Direct observation of a live animal, a pet, a zoo visit, or even nature documentary footage, to understand real movement and weight.
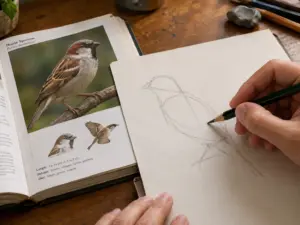
Direct observation matters more than it might seem. Watching how a cat’s shoulder blades shift as it walks, or how a bird’s head stays locked in place while its body moves, teaches lessons that no single photograph can fully capture. Sketchbook studies done from life, even quick and imperfect ones, build an internal library of movement and structure that photo-only artists often lack.
This habit also protects against a subtler problem: copying a single photo too literally can unintentionally reproduce a lens distortion, odd lighting artifact, or awkward frozen moment that looks fine in a photograph but strange in a drawing. Cross-referencing multiple sources filters out those photographic quirks and results in a more anatomically honest, and often more flattering, final image.
6. Practice With Time-Boxed, Deliberate Sessions
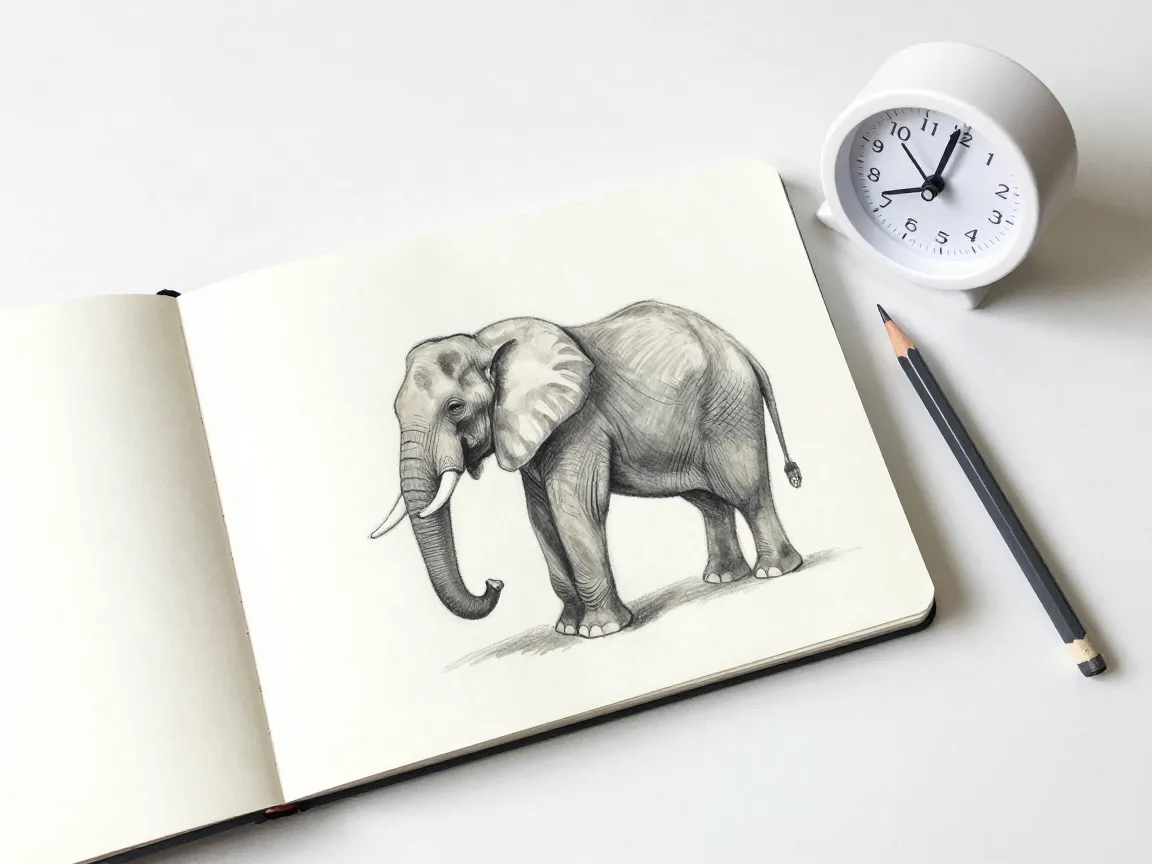
The final piece of 6 Pro Tips To Level Up Your Realistic Animal Drawings is less about technique and more about training structure. Rare attempts at a single, highly polished “finished piece” tend to produce slower improvement than frequent, shorter, focused practice sessions aimed at specific skills.
Time-boxed practice means setting a timer and committing to a narrow goal for that session rather than trying to produce a gallery-ready drawing every time. This approach removes the pressure of perfection and makes it far easier to repeat the exercise often enough to actually build muscle memory and visual judgment.
A simple weekly practice structure might look like this:
| Session Length | Focus | Example Exercise |
|---|---|---|
| 5 to 10 minutes | Gesture | Ten rapid gesture sketches from reference photos or video |
| 15 to 20 minutes | Construction | Build three animals from simple forms, no detail added |
| 20 to 30 minutes | Value study | One animal rendered in only three value tones, no fine lines |
| 30 to 45 minutes | Texture study | One close-up fur, feather, or scale patch rendered with grouped strokes |
Over a month, these short, deliberate sessions add up to far more total structured practice than a handful of marathon drawing attempts, and each session targets a single skill instead of trying to improve everything at once. This is the same principle elite musicians and athletes use: isolate the weak link, drill it in short bursts, and let the full performance come together naturally afterward.
Tracking progress also matters. Keeping dated sketches in one sketchbook, rather than scattered loose sheets, makes it possible to flip back and see real improvement over weeks and months, which is a strong motivator to keep the practice habit going.
Materials And Setup That Support Pro-Level Realism
Technique carries most of the weight in realistic drawing, but materials and setup remove friction that can quietly sabotage good technique. A few setup choices consistently show up in professional workflows.
Paper choice affects how texture and value behave. A smoother paper suits fine detail work like eyes and short fur, while a slightly toothier paper holds graphite better for broad value blocking and longer fur textures.
Lighting in the workspace should be consistent and reasonably bright, ideally daylight-balanced, since warm or dim lighting can distort how accurately an artist judges their own value contrast while drawing.
A limited, well-chosen pencil or brush range beats an overwhelming set. Many realistic animal artists work with just three to five graphite grades, or a small core palette of paint colors, mixing as needed rather than reaching for dozens of pre-made options.
Why These 6 Pro Tips To Level Up Your Realistic Animal Drawings Work Together
None of these tips function well in isolation. Gesture and big shapes set up the pose. Construction and anatomy lock in believable proportions. Light and value create the illusion of three-dimensional form. Grouped texture strokes finish the surface convincingly. Multiple references keep the information accurate. Deliberate, time-boxed practice makes all of the above faster and more automatic over time.
Skipping any single step tends to create a specific, recognizable weakness. Skip gesture, and poses feel stiff. Skip construction, and proportions drift. Skip value planning, and the drawing looks flat no matter how much detail is added. Skip careful texture grouping, and fur or feathers look scratchy. Skip varied references, and drawings feel like direct, slightly lifeless copies. Skip structured practice, and progress stalls even with good technique knowledge.
Stylized and simplified animal art, cartoon characters, children’s book illustrations, and design-focused work, still leans on these same fundamentals underneath the surface style. That consistency across both highly realistic and more stylized approaches is strong evidence that these are not passing trends but durable, foundational skills worth the investment of time.
Common Mistakes That Undercut Realistic Animal Drawings
Even artists familiar with these principles can fall into a few recurring traps. Watching for these specifically speeds up improvement.
- Detailing one small area, like an eye, to near completion before the rest of the drawing has any value or structure established, which creates an unbalanced, patchy result.
- Using a single reference photo and copying it exactly, including odd lighting or lens distortion that does not translate well into a drawing.
- Drawing fur or feathers as a uniform texture across the entire body instead of varying stroke direction and density to match muscle and bone structure underneath.
- Ignoring cast shadows, which leaves the animal looking disconnected from its ground or background.
- Practicing only by attempting full, finished pieces, without ever isolating and drilling a single weak skill like proportion or value control.
Conclusion
Realistic animal drawing rewards sequence and repetition far more than raw talent. Gesture and big shapes first, construction built on real skeletal understanding, confident control of light and shadow, texture rendered in grouped strokes, a varied reference library paired with direct observation, and short, deliberate practice sessions together form a complete system rather than a loose collection of tips.
Applying 6 Pro Tips To Level Up Your Realistic Animal Drawings does not require new talent or expensive materials. It requires reordering habits: block before detailing, plan values before adding texture, gather several references instead of one, and practice in short, focused bursts rather than waiting for the motivation to attempt a full masterpiece.
A practical next step is simple. Choose one animal, set a fifteen-minute timer, and work through gesture and big shapes only, resisting the urge to add any detail. Repeat that single exercise daily for one week before moving on to construction and value studies. That small, consistent shift in process is where real, lasting improvement in realistic animal drawing actually begins.