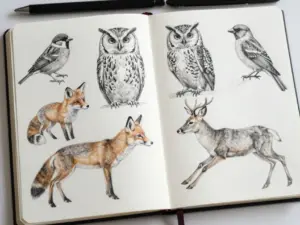
Essential Animal Drawing Reference Poses For Artists
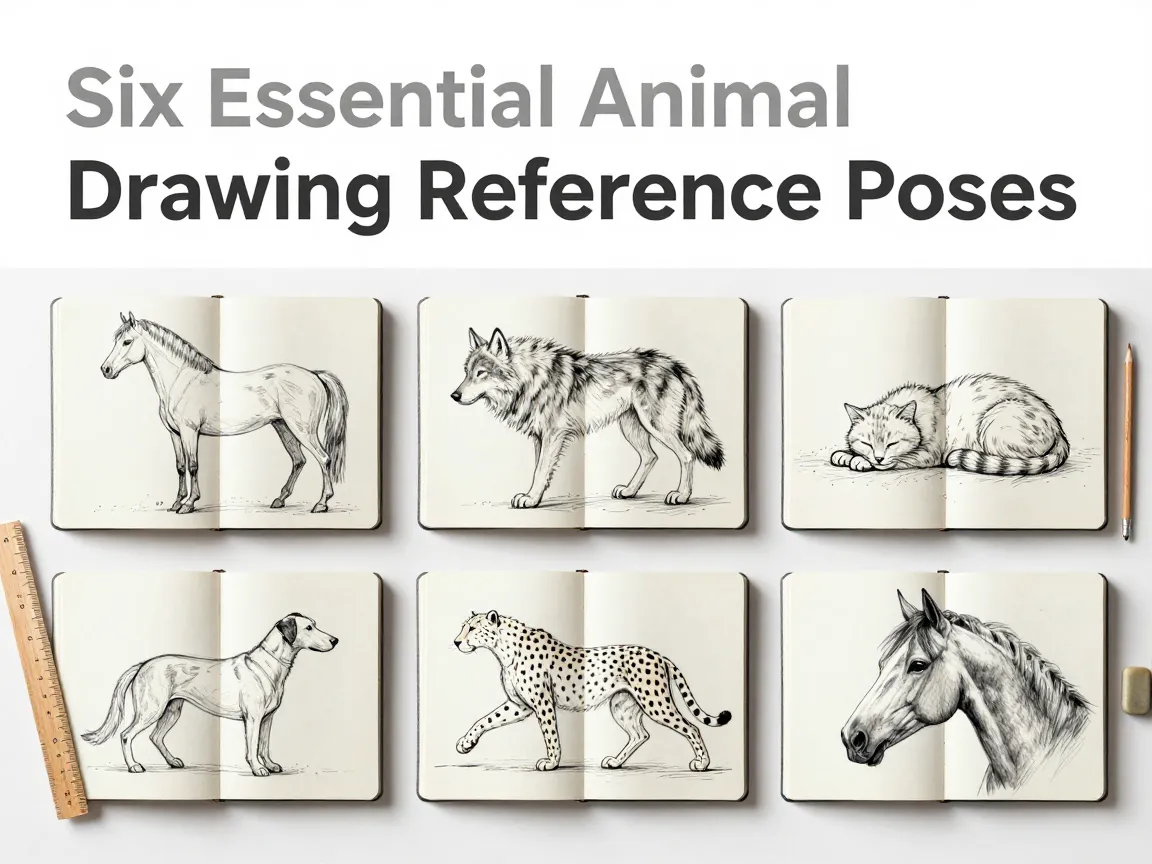
A single badly chosen reference photo can waste hours of drawing time. An animal mid-blur, half-hidden behind a fence, or shot from a flattering but anatomically useless angle teaches an artist almost nothing about how that creature actually moves. This is why professional illustrators and animators do not collect random animal photos. They build a deliberate set of 6 Essential Animal Drawing Reference Poses For Artists that cover every structural and storytelling need, from quiet stillness to explosive motion.
Disclosure: This post contains affiliate links. As an Amazon Associate, we earn from qualifying purchases, and at no extra cost to you.
This guide breaks down exactly which six poses deserve a permanent place in any artist’s reference library, why each one matters for anatomy and gesture, and how to use them to produce more convincing, lifelike animal drawings. Whether working from 3D posable models, sketchbook studies, or short gesture-drawing sessions, these six poses form a complete training system for understanding animal structure.
Key Takeaways
- The 6 Essential Animal Drawing Reference Poses For Artists cover standing, three-quarter, resting, alert, running, and head-focused views, giving artists a complete anatomical toolkit.
- Side views are best for learning proportion and bone structure, while three-quarter views add depth but introduce trickier foreshortening.
- Strong reference poses share specific traits: a readable silhouette, full-body visibility, clear leg placement, good lighting, and minimal motion blur.
- Studying compression, extension, and suspension in a pose helps artists capture believable motion rather than stiff, static figures.
- Combining a primary pose reference with secondary references for eyes, fur, or leg bends produces more polished, detailed final drawings.
Why Reference Poses Shape Every Successful Animal Drawing
Animal anatomy is unforgiving. Unlike human figures, which most viewers intuitively understand, animal proportions vary wildly between species, and small errors in leg length, spine curve, or head size immediately look wrong to the eye. This is precisely why structured reference poses matter so much. A thoughtfully chosen pose does more than show what an animal looks like; it reveals how bones, joints, and muscle groups relate to one another in a way a single static photo rarely can.
Current 3D posing tools now let artists rotate a realistic animal model, adjust the camera angle, change lighting, and place it within a scene, all without needing a live animal or a lucky photograph. This flexibility supports the core goal behind any reference pose: improving anatomy, movement, and proportion understanding before a single line is finalized. Rather than copying a flat photo, artists can study how a shoulder blade shifts as a leg lifts, or how a rib cage compresses during a stride.
Experienced instructors consistently point to a short checklist when judging whether a reference pose is actually useful. A good pose should offer a readable silhouette, show the full body rather than a cropped portion, make leg placement obvious, include enough light to see form clearly, present a recognizable head angle, reflect natural (not exaggerated) proportions, avoid heavy motion blur, and visibly communicate weight and movement. Any reference that fails several of these checks will slow down learning rather than speed it up.
“A reference photo that hides the legs or blurs the motion teaches almost nothing about how an animal actually stands or moves.”
This is the foundation for selecting the six poses below. Each one was chosen because it satisfies most or all of these criteria while teaching a distinct lesson about animal structure.
The 6 Essential Animal Drawing Reference Poses For Artists
The following six poses form a complete study system. Together, they move an artist from basic proportion understanding through to dynamic motion and expressive detail. Working through all six, in order, builds a layered skill set rather than isolated knowledge.
1. The Side View Standing Pose
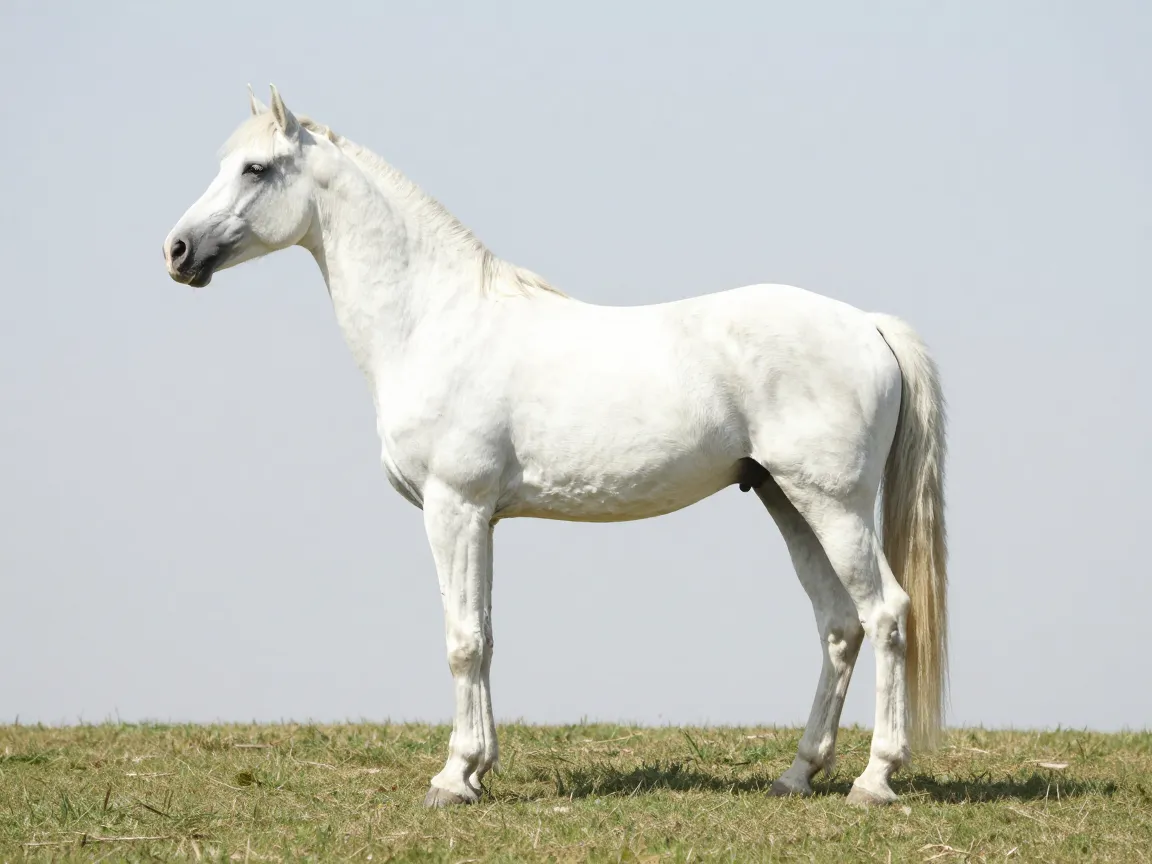
The side view, sometimes called the profile pose, is the single most valuable starting point among the 6 Essential Animal Drawing Reference Poses For Artists. With the animal standing still and viewed from directly the side, every major landmark becomes visible at once: leg length, spine curve, chest depth, and the relationship between head size and body length.
This angle removes foreshortening almost entirely, which is why it is widely recommended as the easiest view for studying proportion and anatomy. Artists can measure the distance from shoulder to hip, compare leg segments, and map where the joints sit without guessing what is hidden behind the body. A side view standing pose of a horse, dog, or deer should be the first reference saved in any growing collection, because every later pose gets compared back to this baseline.
2. The Three Quarter View Pose
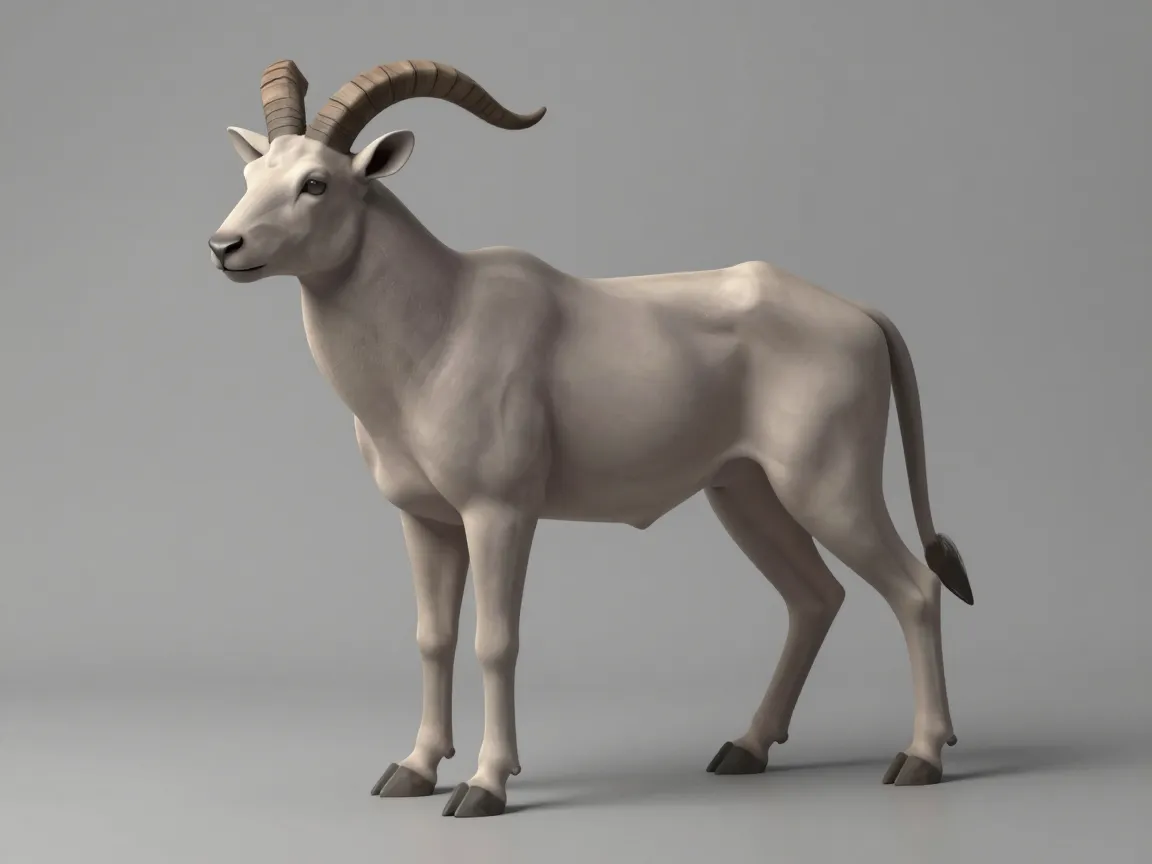
Once the side view has been studied, the three-quarter view adds the next layer of complexity. In this pose, the animal is angled roughly between a front-facing and side-facing position, showing depth and volume that a flat profile cannot reveal.
This angle is more difficult to draw accurately because it introduces foreshortening, meaning the far side of the body appears visually compressed compared to the near side. Limbs that were cleanly visible in the side view may now overlap or partially disappear. Despite the added difficulty, this pose is essential because most finished illustrations, book covers, and character designs use three-quarter angles rather than flat profiles. Practicing this pose bridges the gap between understanding anatomy on paper and applying it in a dynamic, dimensional composition.
3. The Resting Or Sleeping Pose
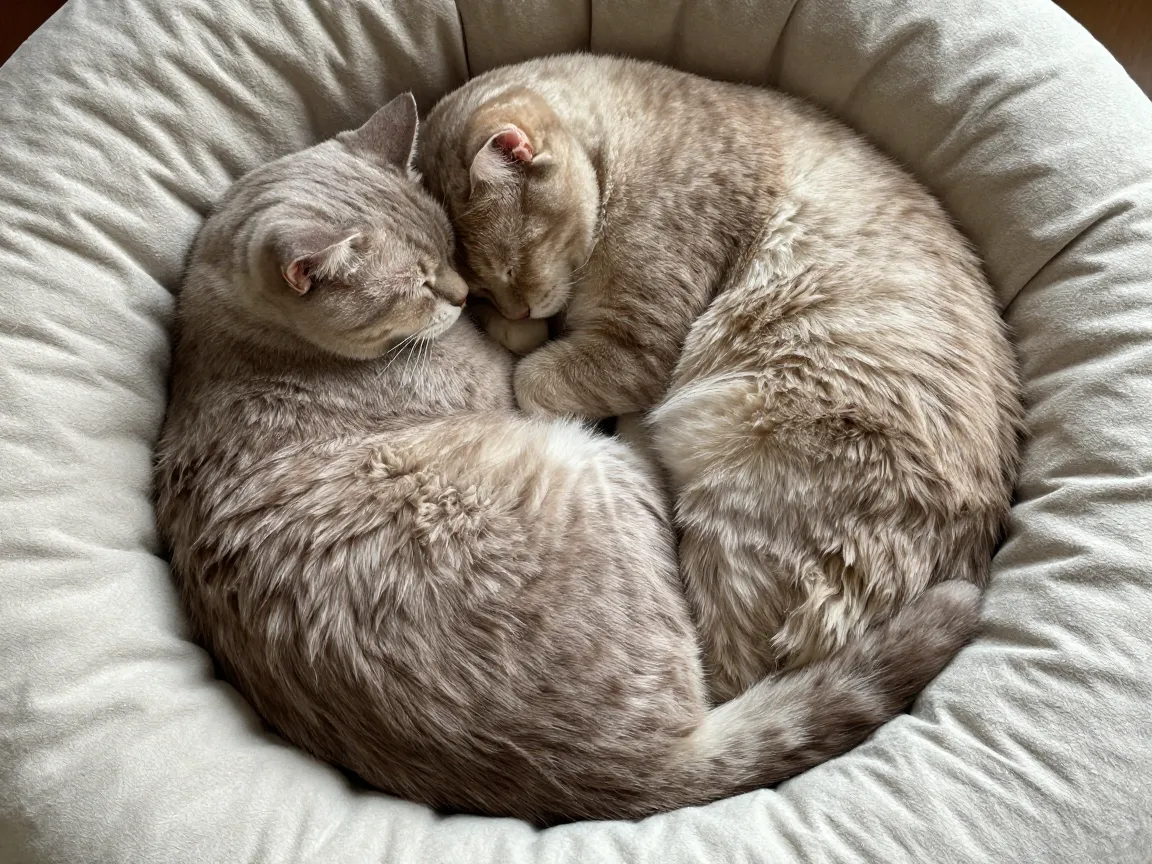
A resting or sleeping pose, such as a curled-up cat or a dog lying with legs tucked, teaches something the standing poses cannot: how an animal’s body compresses and folds when relaxed. Weight distribution changes completely when an animal is not bearing its own structure against gravity in the usual way.
This pose is particularly useful for understanding how soft tissue, fur, and loose skin settle around a compressed skeleton. A sleeping cat’s spine curls into a tight C-shape, its legs fold inward, and its silhouette becomes rounded rather than angular. Capturing this convincingly requires observing compression, one of the core motion principles that separates stiff, lifeless drawings from poses that feel like a real, breathing body. Artists who skip this pose often struggle later with any scene involving an animal lying down, crouching, or curling defensively.
4. The Alert Walking Pose
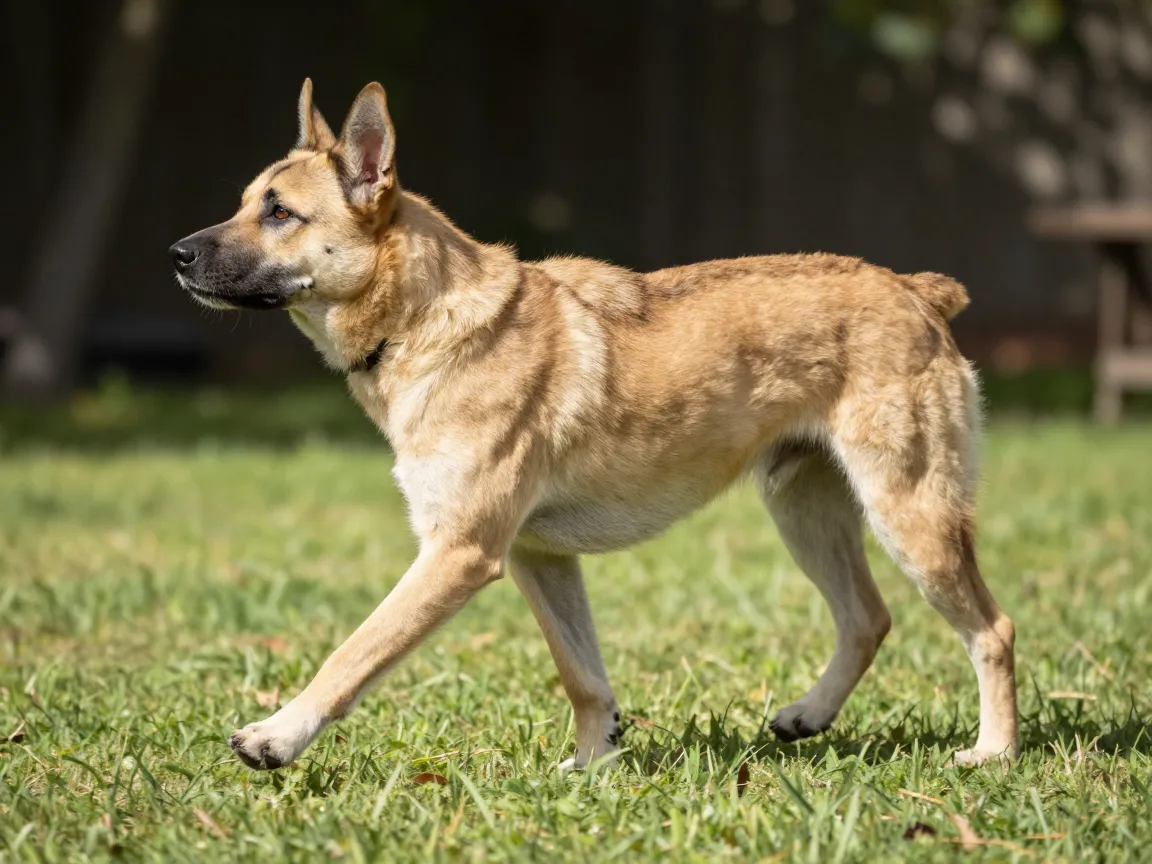
The alert walking pose captures an animal in motion but not yet at full speed, typically mid-stride with ears up, head raised, and weight shifting between legs. This pose is prized because it shows active leg placement clearly while still being slow enough to study without heavy motion blur.
An alert dog walking across a yard, head turned toward a sound, demonstrates how weight transfers from one leg to another and how the spine subtly twists to support balance. This is the pose where artists begin practicing the idea of suspension, the instant where the body appears to hang momentarily between full support and release. Because the animal is not sprinting, the reference remains sharp and readable, satisfying the low motion-blur requirement that makes a pose genuinely useful for study.
5. The Full Extension Running Pose
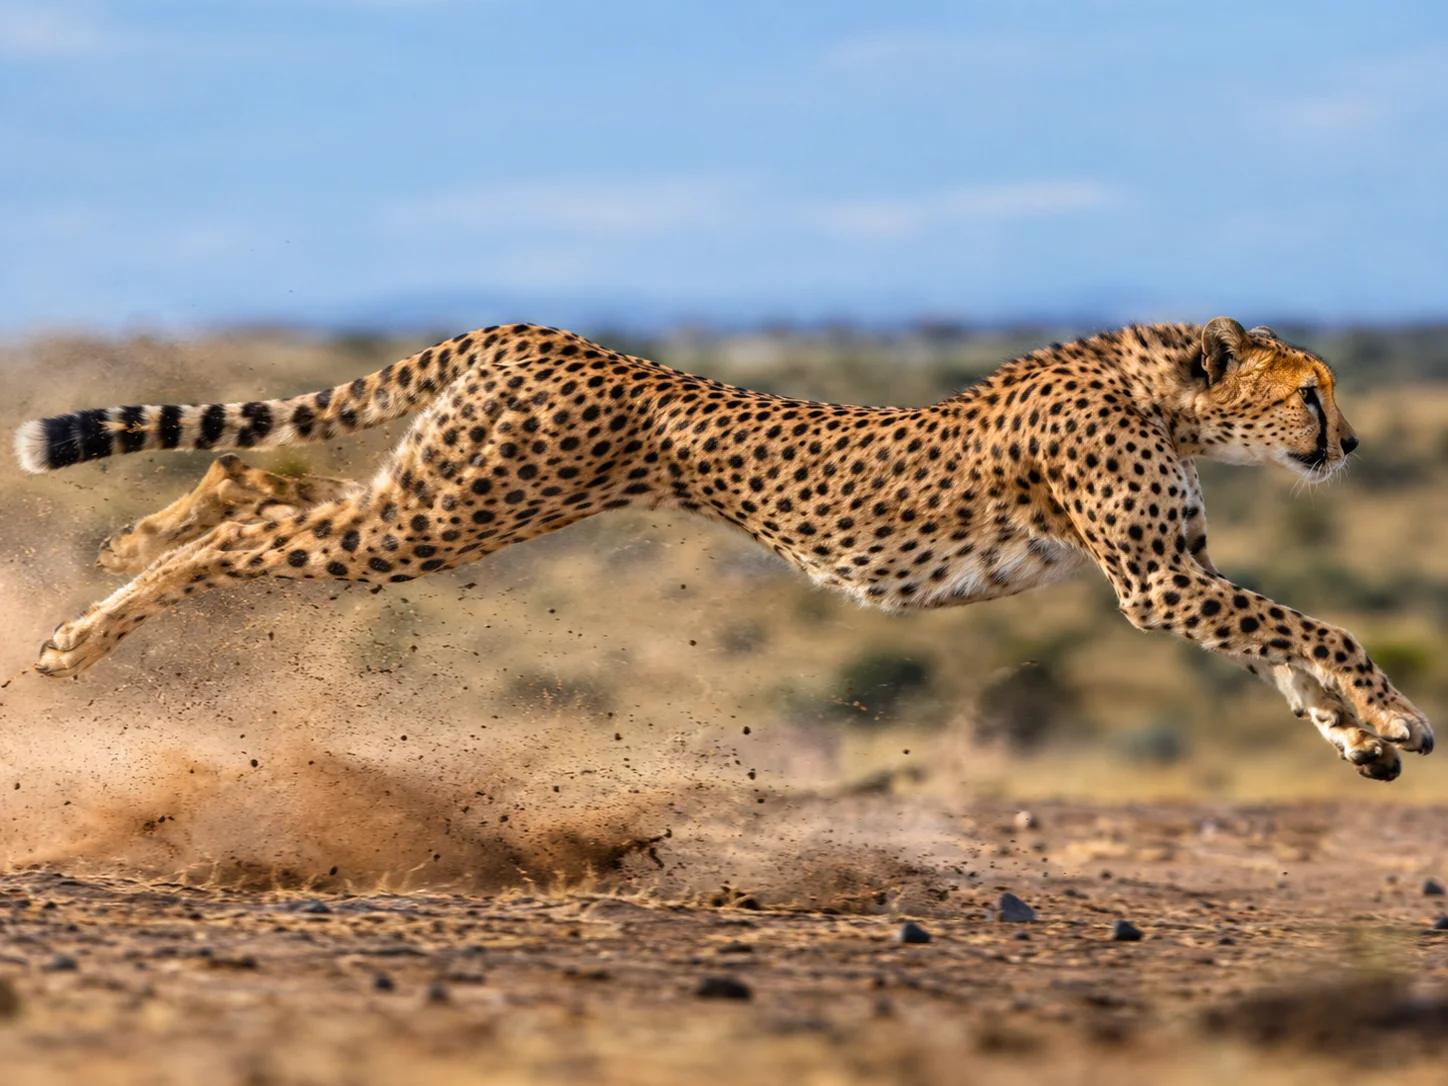
The full extension running pose is the most dynamic of the six and often the most intimidating for beginners. Here, the animal, such as a cheetah or galloping horse, is captured at the peak of its stride, legs fully extended in opposite directions, spine stretched to its maximum length.
This pose teaches extension, the counterpart to the compression observed in the resting pose. Understanding how far a spine can stretch, how legs reach forward and backward simultaneously, and how the body elongates during speed is essential for any artist who wants to draw convincing action scenes. Wildlife artists often note that animals rarely hold still long enough to offer this moment naturally, which is why many professionals rely on carefully selected photo sequences or posable 3D models to study this exact instant without waiting for a lucky real-world capture.
6. The Close Up Head And Expression Pose
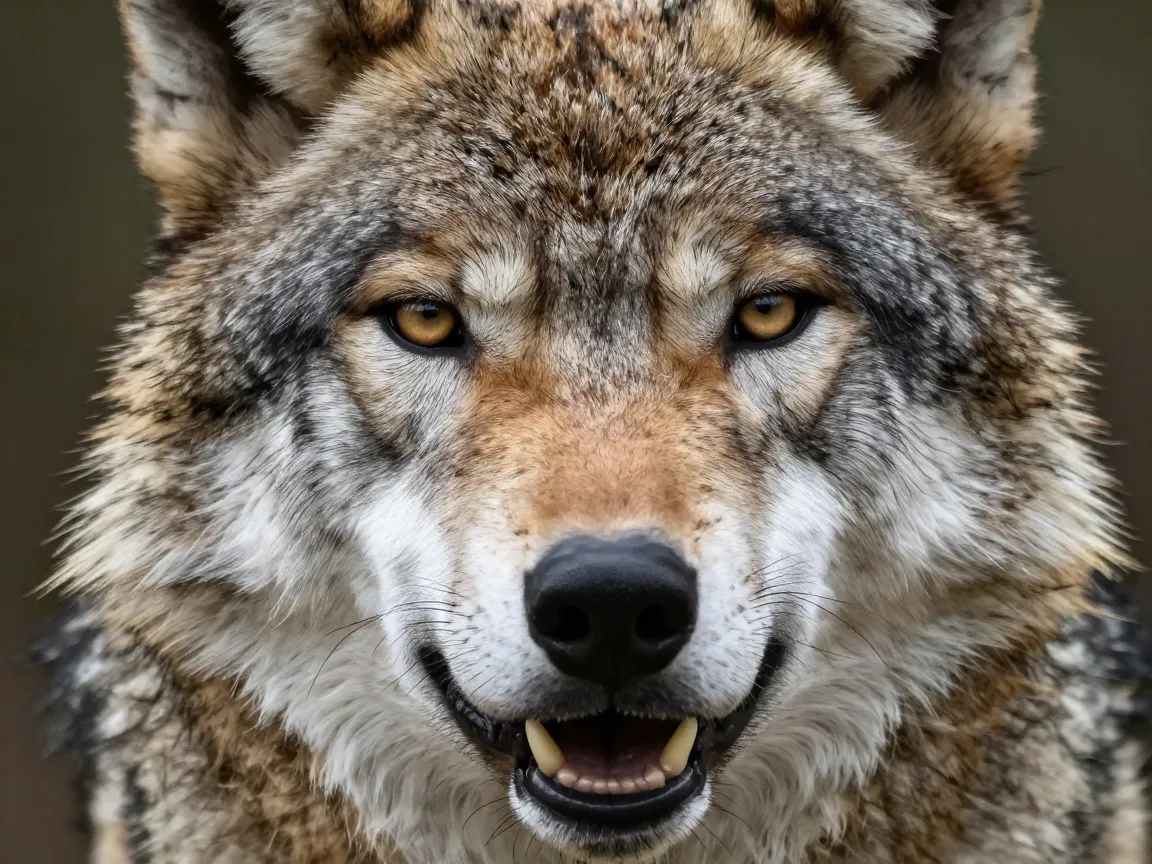
The final essential pose zooms in rather than out. A close-up view of the head, showing eye placement, ear angle, muzzle shape, and expression, rounds out the set by addressing character and emotion rather than pure structure.
Short gesture-drawing sessions focused specifically on heads have grown popular precisely because expression carries so much storytelling weight in illustration, animation, and concept art. A bird’s head turned in profile, a wolf’s narrowed eyes, or a horse’s flared nostrils all communicate mood in ways a full-body pose cannot capture alone. This pose should always be treated as a secondary reference layered onto one of the first five full-body poses, since using multiple references together, one for the overall pose and another for facial or textural detail, produces far more polished and expressive final artwork.
Quick Comparison Of The 6 Essential Poses
| Pose | Primary Lesson | Difficulty Level |
|---|---|---|
| 1. Side View Standing | Proportion and bone structure | Beginner |
| 2. Three Quarter View | Depth and foreshortening | Intermediate |
| 3. Resting Or Sleeping | Body compression and weight | Beginner |
| 4. Alert Walking | Leg placement and suspension | Intermediate |
| 5. Full Extension Running | Spine extension and dynamic action | Advanced |
| 6. Close Up Head And Expression | Character and emotional detail | Intermediate |
How To Choose And Use Animal Drawing Reference Poses Effectively
Collecting the right poses is only half the process. Knowing how to approach each reference while drawing determines whether the study actually improves a final piece of artwork. A proven workflow is to begin with the complete pose rather than jumping straight into isolated features like the eyes or fur texture. Building the full gesture first, then refining details afterward, keeps proportions honest and prevents the common mistake of a beautifully rendered eye attached to a structurally broken body.
A practical construction method involves blocking in the animal using simple lines for long bones, such as the spine and leg segments, and small dots or circles for joints like the shoulder, elbow, and hip. This skeletal shorthand, borrowed from traditional figure drawing, works just as well for a bird, a horse, or a big cat, because it strips away fur and surface detail to reveal the underlying movement first.
When a single photo or pose does not provide every detail needed, experienced artists often use multiple references simultaneously: one image for the main pose and body angle, and separate images for specific details like eye shape, fur direction, or the exact bend of a leg joint. This layered referencing approach is especially useful for the close-up head pose described earlier, since a full-body reference rarely shows facial detail with enough clarity.
A few additional habits improve the value of every reference session:
- Start each study with a thirty-to-sixty second gesture sketch before attempting any detail, which forces focus onto the overall silhouette and weight.
- Rotate a 3D posable model, where available, to compare the same pose from side, three-quarter, and front angles within minutes, reinforcing how the same skeleton reads differently from each view.
- Save reference images by category, such as resting poses, running poses, and head studies, so a specific pose can be found quickly during a project deadline.
- Revisit the side view standing pose periodically even after moving on to more advanced poses, since proportion errors tend to creep back in without regular baseline checks.
Common Mistakes Artists Make With Animal Reference Poses
Even with a strong set of six poses in hand, certain habits repeatedly undermine progress. Recognizing these mistakes early saves significant time.
- Relying only on front-facing photos, which hide leg placement and spine curve almost entirely and make proportion study nearly impossible.
- Choosing heavily blurred action shots instead of sharp mid-motion references, which removes the ability to study exact joint angles during movement.
- Skipping the resting pose entirely and only practicing standing or running animals, leaving a permanent gap in understanding how bodies compress and settle.
- Jumping straight to fur, feather, or scale texture before the underlying gesture and skeleton are confirmed to be structurally sound.
- Using a single reference for an entire drawing instead of layering a primary pose reference with secondary detail references for the head or legs.
- Ignoring lighting quality in a reference photo, which makes it difficult to read where the body curves and where it recedes into shadow.
Avoiding these pitfalls, combined with consistent practice across all 6 Essential Animal Drawing Reference Poses For Artists, produces noticeably faster improvement than random, unstructured sketching.
Frequently Asked Questions
Why are exactly six poses considered essential rather than more or fewer?
Six poses cover the full range of structural and expressive needs without overwhelming a learning artist. Fewer poses leave gaps, such as missing motion or resting states, while significantly more poses often repeat lessons already covered by one of the six core categories.
Should beginners start with the side view or the three-quarter view?
Beginners should start with the side view standing pose. It removes foreshortening and makes every major proportion visible, which builds the foundation needed before tackling the added depth and complexity of a three-quarter angle.
Can 3D posable models replace live animal observation entirely?
3D models are extremely useful for studying pose, camera angle, and lighting on demand, especially for difficult poses like full extension running. However, they work best alongside photo references and, where possible, direct observation, since live movement reveals subtle timing and weight shifts a static model cannot fully replicate.
How long should a gesture study take for each pose?
Short sessions of thirty seconds to two minutes per pose are common for building speed and instinct, especially for alert walking or running poses. Longer sessions of ten to twenty minutes are better reserved for detailed construction studies like the side view standing pose or the close-up head pose.
What is the biggest difference between studying a resting pose and a running pose?
A resting pose teaches compression, how the body folds and settles under its own weight at rest. A running pose teaches extension, how far the spine and limbs can stretch during peak motion. Both principles are needed to draw a believable range of animal behavior.
Conclusion
Mastering animal anatomy does not require endless random sketching. It requires a focused, repeatable system, and the 6 Essential Animal Drawing Reference Poses For Artists outlined above provide exactly that. The side view builds proportion literacy, the three-quarter view adds depth, the resting pose teaches compression, the alert walking pose introduces controlled motion, the full extension running pose reveals dynamic stretch, and the close-up head pose brings character and emotion into the work.
The next step is practical: build a personal reference folder organized around these six categories, starting with a few strong side-view and resting-pose images for immediate study. Add three-quarter and walking poses once basic proportions feel confident, then progress toward running poses and detailed head studies as motion and expression become the focus. Revisit the baseline side view regularly, keep gesture sketches quick and loose before refining detail, and layer secondary references for eyes, fur, and joints whenever a single photo falls short. Applied consistently, this six-pose framework turns scattered practice into measurable, lasting improvement in animal drawing skill.