Realistic Animal Sketches In Pencil Art For Advanced Artists
A single strand of fur on a wolf’s shoulder can require twelve to fifteen individual pencil strokes to read as convincing under studio light. That level of patience separates a casual sketch from a gallery-ready graphite portrait. For artists who have already mastered basic shading and proportion, the next challenge is translating anatomical precision and texture into something that looks almost photographic. This guide breaks down 6 Realistic Animal Sketches In Pencil Art For Advanced Artists, covering the specific animals, construction methods, and shading strategies that separate intermediate work from museum-quality graphite realism.
Disclosure: This post contains affiliate links. As an Amazon Associate, we earn from qualifying purchases, and at no extra cost to you.
Each sketch idea below has been chosen because it forces artists to confront a different technical hurdle: fur direction, muscle tension, reflective eyes, feather layering, skin texture, or motion blur. Mastering all six builds a complete toolkit for any future animal subject.
Key Takeaways
- Advanced graphite animal realism depends on layered pencil grades, typically moving from 2H through HB to 2B and darker, to build smooth value transitions rather than relying on a single pencil.
- Construction still matters at an advanced level; starting with circles, ovals, and a continuous spine curve keeps proportions accurate before any texture work begins.
- The six subjects covered here, a wolf, a lion, an owl, a galloping horse, an elephant, and an eagle, each target a distinct technical skill: fur flow, muscle definition, feather layering, motion, skin texture, and reflective eyes.
- Eyes and focal points carry the most visual weight in any animal portrait, so precision in pupils, catchlights, and eyelids often matters more than background detail.
- Common mistakes at the advanced level include rushing the midtones, ignoring a single light source, and skipping the staged gesture-to-texture workflow that underpins convincing realism.
The Case for Graphite: Why Advanced Artists Master Realistic Animal Pencil Sketches
Graphite remains the most accessible medium for achieving photorealism, yet it is also one of the least forgiving. Unlike paint, pencil work cannot easily hide uneven blending or inconsistent pressure. This is precisely why so many advanced art curriculums, including recently updated graphite-focused courses on realistic animal rendering, dedicate entire modules to anatomy, fur direction, and layered shading before ever introducing color. The discipline required to render a believable animal in monochrome sharpens an artist’s understanding of value, form, and light that transfers directly into every other medium.
Current teaching approaches reinforce a staged method: gesture first, then major features, then texture, and finally shading. This sequence matters because skipping straight to detail work almost always produces stiff, flat-looking animals. Advanced artists tackling 6 Realistic Animal Sketches In Pencil Art For Advanced Artists benefit from revisiting this staged process even when their technical skill is high, because proportion errors made early are nearly impossible to fix once fur texture has been rendered on top.
Modern academic practice also favors building animal bodies from simple geometric primitives before refining silhouettes. A head circle, a tilted chest oval, and a pelvis circle connected by a single continuous spine curve create a flexible armature that can be adjusted for pose before any permanent lines are added. This method, still taught in contemporary at-home drawing guides, remains one of the fastest ways to catch anatomical errors early. Advanced artists who skip this step often discover misplaced joints or unnatural spine curves only after hours of shading work have already been invested.
6 Realistic Animal Sketches In Pencil Art For Advanced Artists to Study and Recreate
The following six subjects represent a progression of difficulty and skill focus. Artists do not need to complete them in order, but each one isolates a specific rendering challenge that appears repeatedly in professional wildlife and pet portrait work.
1. The Wolf in Mid-Stride
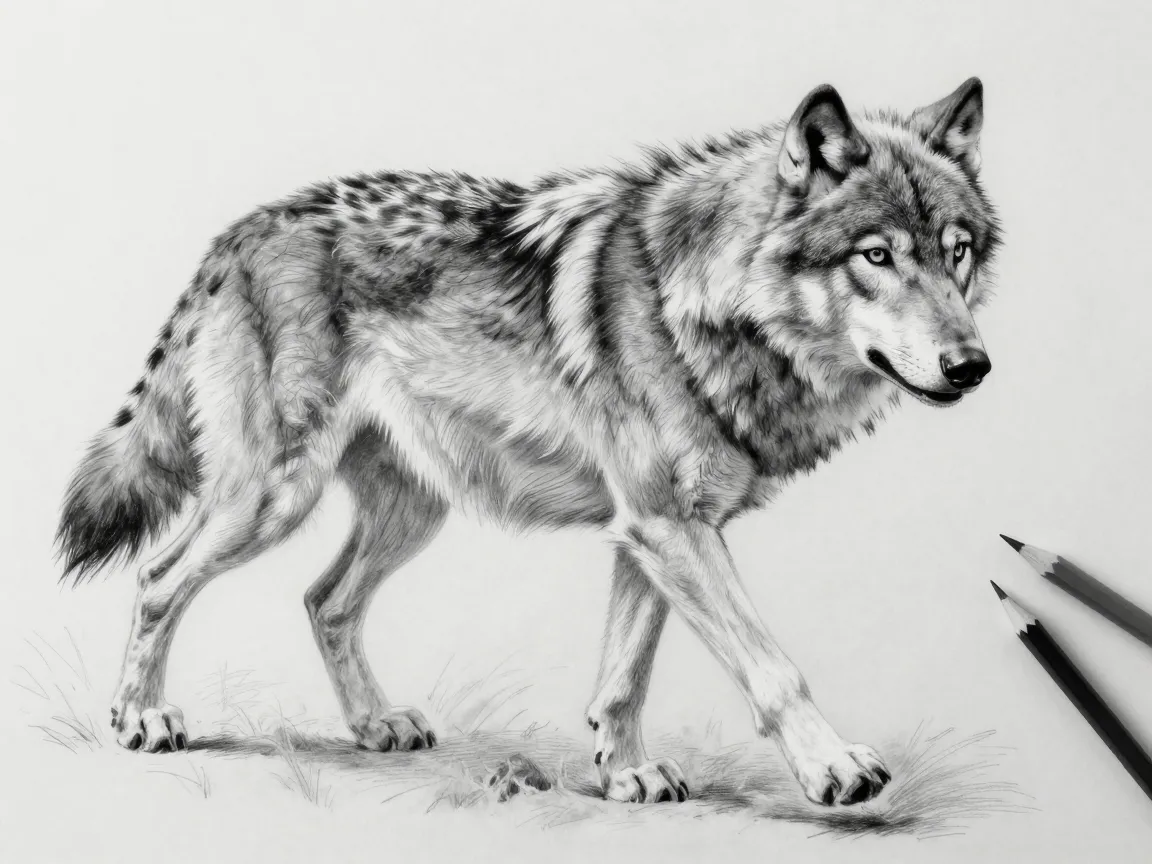
A wolf captured mid-stride forces artists to combine two of the hardest graphite skills at once: dynamic fur direction and believable motion. Begin with the geometric armature, head circle, chest oval, and pelvis circle joined by a spine curve, then tilt the entire structure forward to suggest forward momentum. Fur on a moving wolf does not lie flat; it ripples against the direction of travel along the chest and shoulders while trailing along the flanks and tail.
Shade in layers, starting with a 2H pencil to lay down the lightest undertone across the entire body, then switching to HB for the midtone fur clusters, and finishing with 2B or darker for the deepest shadow pockets near the legs and underbelly. Draw fur in short, overlapping strokes that follow the muscle contours rather than straight lines, which instantly reads as more organic.
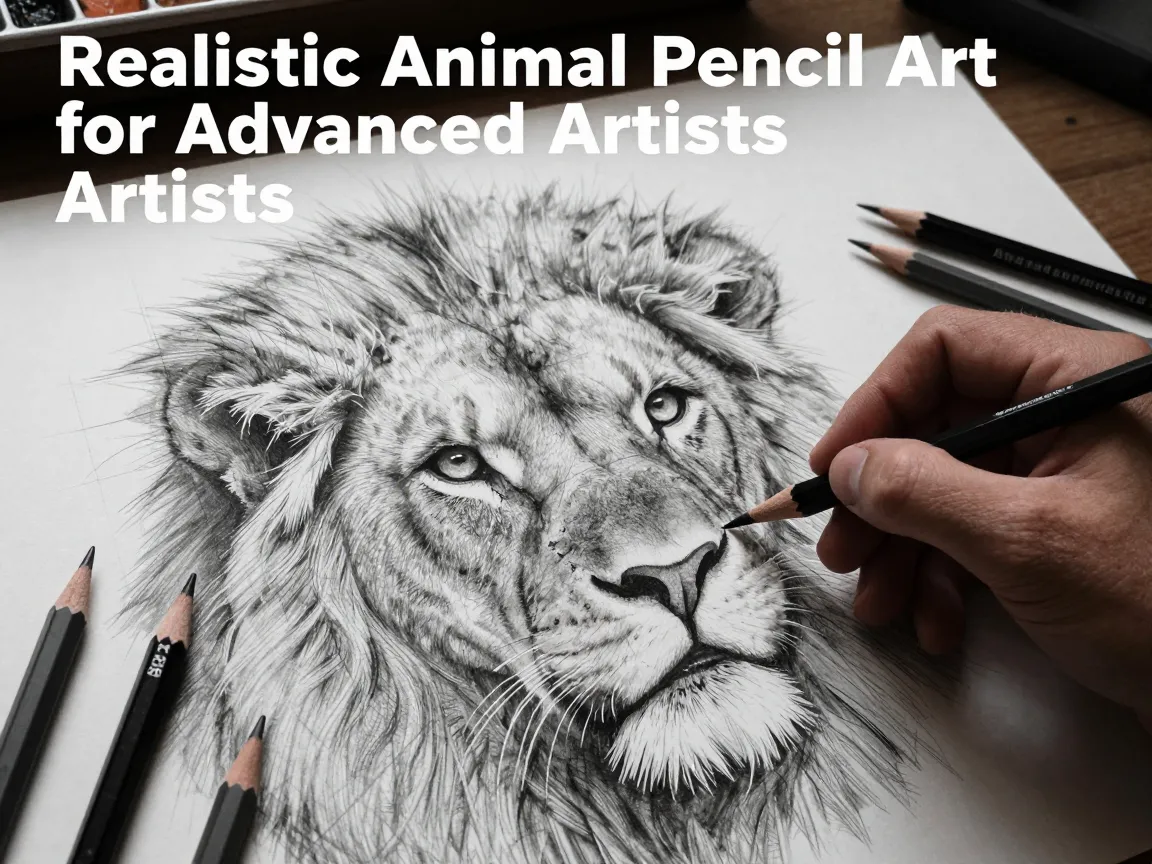
2. The Lion’s Textured Mane
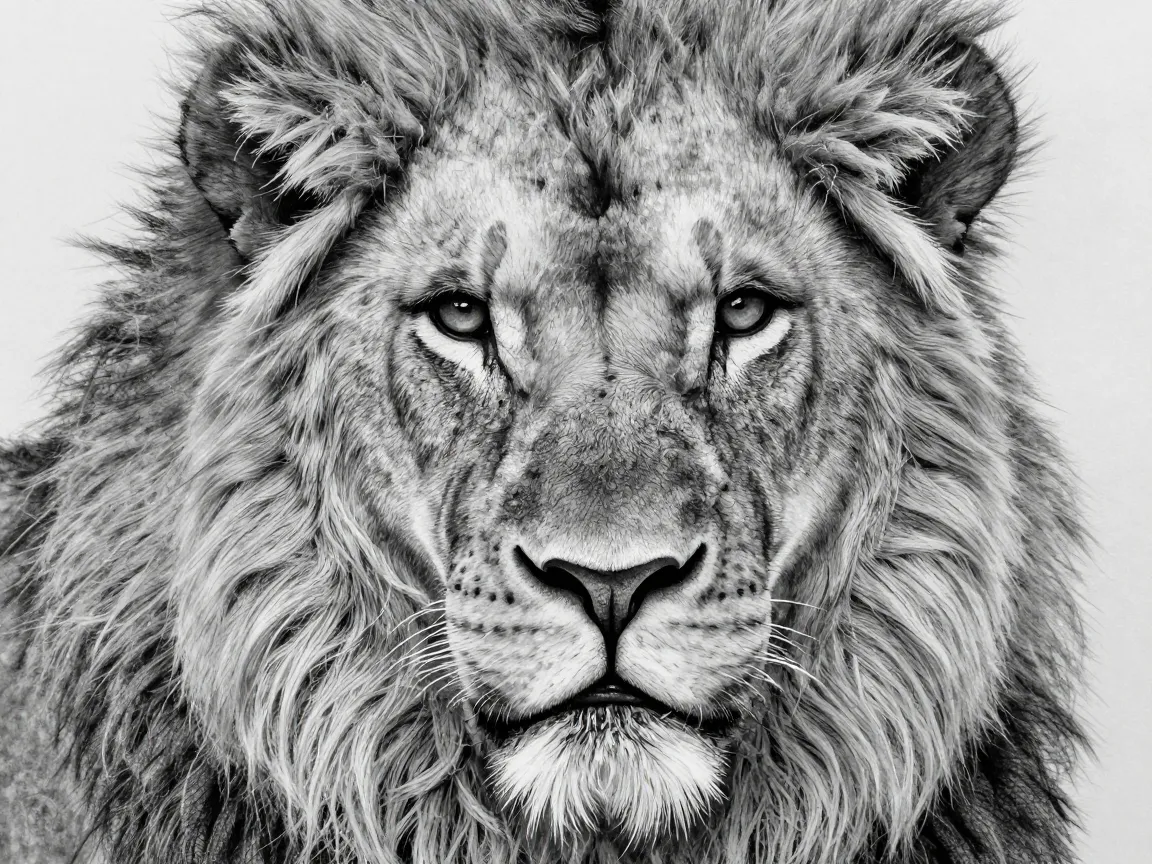
A lion’s mane is one of the most requested subjects in advanced graphite courses because it tests an artist’s patience and control over value variation within a single texture. Unlike short-furred animals, a mane contains thick, overlapping strands that catch light differently depending on thickness and curl direction.
Block in the mane shape loosely first, then divide it mentally into three to four value zones: the lightest highlights where strands catch direct light, a broad midtone zone making up most of the mane, and deep shadow pockets closer to the skull and neck. Working zone by zone, rather than strand by strand from the start, keeps the overall value structure consistent. Only after the zones are established should individual strand details be layered on top using a sharpened 2B or 4B pencil.
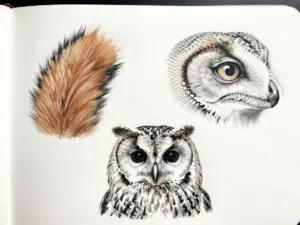
3. The Owl with Layered Feather Shading
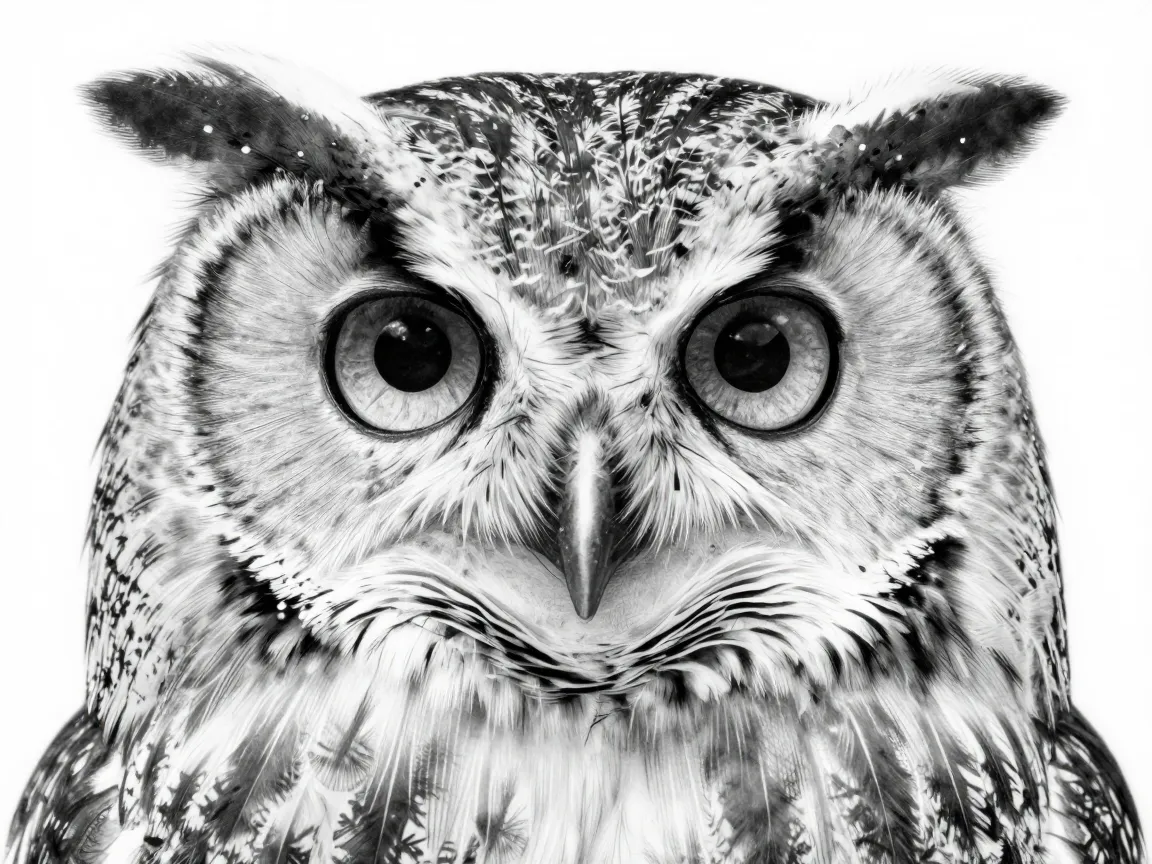
Feathers behave differently from fur because they overlap in distinct, almost tile-like rows rather than blending continuously. An owl is an excellent subject for advanced practice because its facial disc, in particular, requires precise radial feather patterns converging toward the eyes.
Start by mapping the major feather tracts with light HB guidelines, essentially outlining where each row of feathers begins and ends before adding any shading. Each feather typically has a slightly darker base where it tucks under the feather above it, a lighter midsection, and a soft, often lighter tip. Rendering this three-part value pattern consistently across dozens of feathers is tedious but produces a convincing plumage effect that flat shading cannot replicate.
4. The Galloping Horse
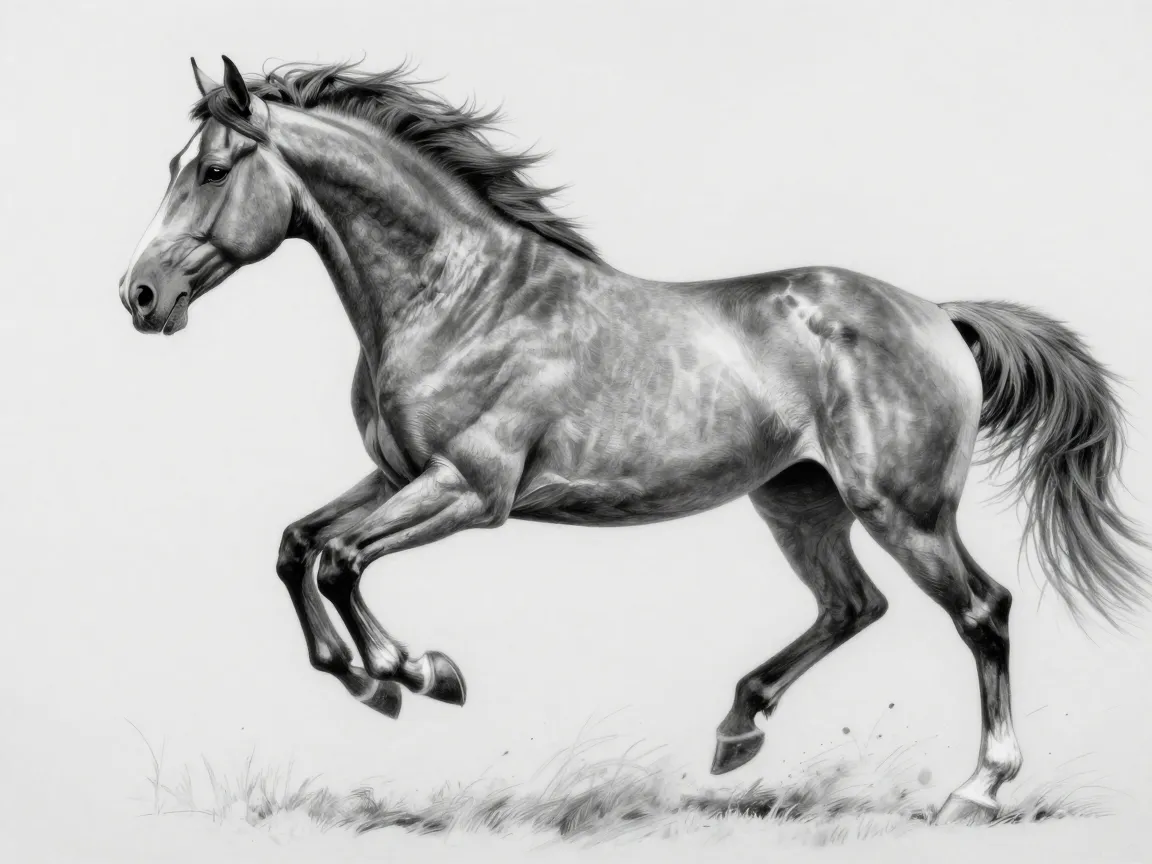
Few animal poses test anatomical knowledge as thoroughly as a horse at full gallop. All four legs are typically off the ground or in extreme positions, and the body compresses and extends in ways that are easy to get wrong without reference study. Contemporary step sequences for animal sketching recommend deciding on the pose first, standing, sitting, running, or resting, before any construction begins, because the skeleton and muscle tension change significantly between poses.
For a galloping horse, pay close attention to the overlap between the front legs and the chest, and between the hind legs and the pelvis, since these overlaps create the illusion of depth and three-dimensional form. Muscle definition along the shoulder and hindquarter should be rendered with smooth gradient transitions rather than hard edges, since horses have relatively short, sleek coats that reveal underlying muscle shape more directly than furrier animals.
5. The Elephant’s Textured Skin
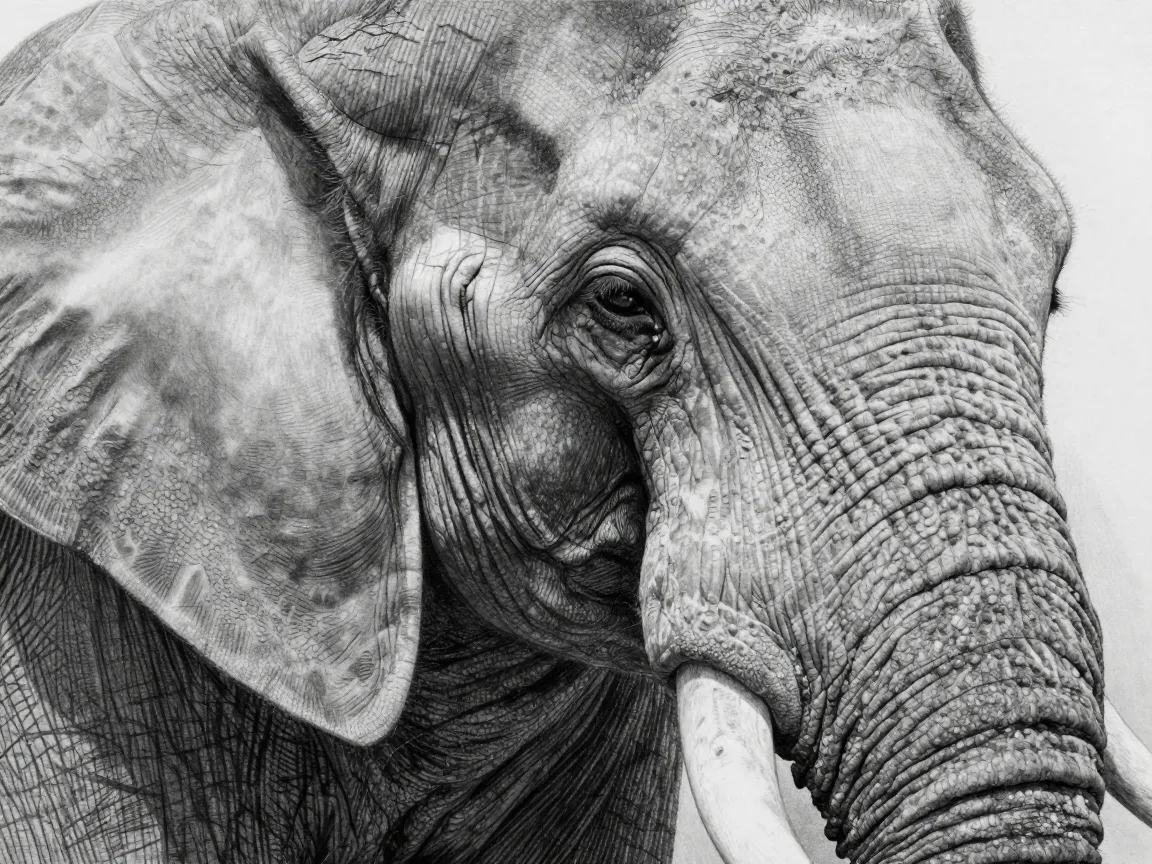
Elephant skin presents a completely different rendering challenge from fur or feathers: deep, irregular wrinkles and a rough, almost cracked surface texture. This subject is valuable for advanced artists because it requires building texture through layered, directional hatching rather than smooth blending.
Begin with a mid-value base tone across the entire body using an HB pencil, then use a sharpened 2B to carve in the deepest wrinkle lines, following the natural folds around the eyes, trunk base, and knee joints. A light stippling or cross-hatching technique on top of the base tone can suggest the rough, pebbled texture of elephant skin without needing to render every individual crack, which would overwhelm the composition.
6. The Eagle’s Reflective Eye Study
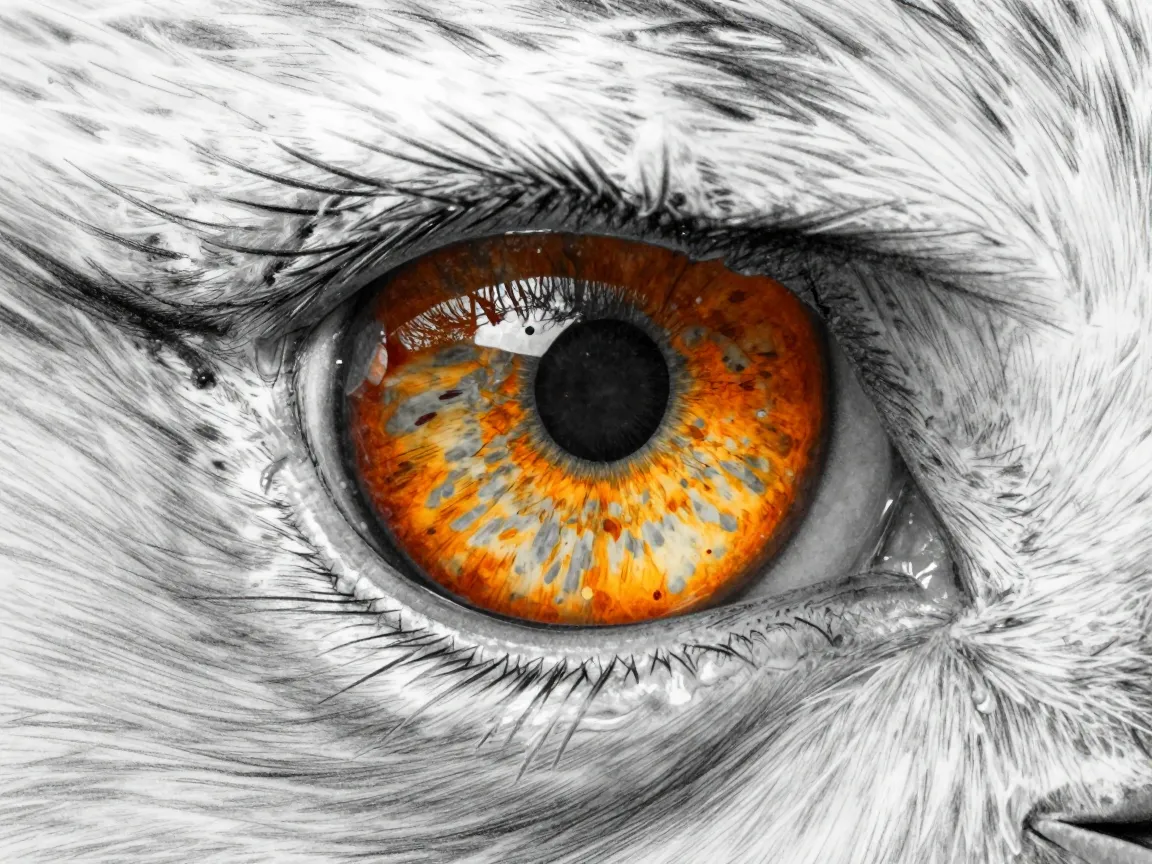
The final subject narrows the focus entirely onto a single feature: the eye. Recent tutorials on animal portraiture consistently emphasize that eyes and pupils are the single most important focal point in any realistic animal sketch, and an eagle’s eye, with its sharp ridge, reflective surface, and intense amber tone, is an ideal subject for isolated practice.
Render the iris with radiating lines of varying darkness moving outward from the pupil, leaving small untouched highlight areas to suggest a glassy, reflective catchlight. The pupil itself should be the darkest point in the entire sketch, achieved with a 6B or softer pencil, which creates the contrast needed to make the eye appear wet and alive rather than flat and drawn.
Core Techniques Behind 6 Realistic Animal Sketches In Pencil Art For Advanced Artists
Across all six subjects, several core techniques repeat consistently, and mastering them individually makes every future sketch faster and more accurate.
Layered shading with graduated pencil grades. Rather than pressing hard with a single pencil, advanced work builds value gradually across multiple passes. A common sequence moves from 2H for the lightest base tones, to HB for midtones, and finally to 2B or darker for shadows and focal details. This layering approach, also seen in panda fur rendering guides that recommend an H to HB to B progression with multiple light passes before deep blacks, prevents the muddy, overworked look that results from going dark too early.
Fur and feather direction mapping. Before any shading begins, lightly sketching arrows or guideline strokes that indicate hair or feather growth direction prevents texture from looking randomly scattered. This single habit is often what separates advanced work from intermediate attempts.
Staged construction over direct detailing. Even highly skilled artists benefit from the gesture-to-feature-to-texture-to-shading sequence rather than jumping straight into fine detail. This staged approach, still central to current animal drawing curriculums, catches structural errors while they are still easy to fix.
Controlled erasing as a shading tool. Rather than using an eraser only to fix mistakes, advanced artists use kneaded erasers to lift graphite selectively, creating highlights within already-shaded areas. This technique is especially useful for whiskers, catchlights in eyes, and stray fur strands that need to appear lighter than the surrounding fur.
Six-zone body analysis for proportion. Dividing an animal’s body into six functional areas, the head, neck, front legs and shoulders, torso, hindquarters, and tail, and studying reference photos zone by zone helps maintain accurate proportions, particularly in multi-animal or full-body compositions where overlapping forms create depth.
Pencils, Paper, and Tools for Advanced Graphite Animal Realism
Tool selection matters more at the advanced level because subtle value differences require predictable pencil behavior. The table below outlines a practical graphite range for the six subjects covered above.
| Pencil Grade | Best Use Case | Typical Application |
|---|---|---|
| 2H | Lightest base tones, initial construction lines | Underlying skin tone, light fur highlights |
| HB | Midtone fur, feather bases, general shading | Bulk of mane, feather tracts, body midtones |
| 2B | Shadow pockets, muscle definition, skin wrinkles | Elephant creases, horse muscle shading |
| 4B | Deep fur shadows, mane strand detail | Lion mane depth, wolf leg shadows |
| 6B or softer | Pupils, darkest focal points | Eagle eye pupil, nostril shadows |
Paper choice also influences outcome. A medium-tooth drawing paper holds enough graphite for smooth blending while still allowing fine detail work for feathers and whiskers. Blending stumps, tortillons, and a kneaded eraser round out the essential toolkit, with the eraser doing double duty as both a correction tool and a highlight-lifting instrument.
Several current graphite-focused curriculums now structure their advanced modules around exactly this kind of tool progression, moving students from basic value scales into animal-specific texture work, reflective surfaces, and eventually full landscape integration, confirming that animal subjects sit squarely within the recognized advanced skill tier of pencil art education.
Mistakes That Undermine Even Advanced Realistic Animal Sketches
Skill level does not fully protect against a handful of recurring errors that quietly weaken otherwise strong sketches.
- Rushing the midtone layer. Jumping from light base tones directly to the darkest shadows skips the gradual value transition that makes fur and skin look three-dimensional rather than flat.
- Ignoring a single, consistent light source. Shadows that point in inconsistent directions across different parts of the same animal immediately break the illusion of realism, even if individual textures are rendered beautifully.
- Over-detailing before the gesture is correct. Adding fine fur or feather texture before confirming the underlying proportions and pose almost always results in wasted work when errors surface later.
- Treating all fur or feathers as uniform. Real animal coats have natural variation, cowlicks, thinning patches, and directional changes, that flat, uniform strokes fail to capture.
- Neglecting the eye as the compositional anchor. Spending disproportionate time on body texture while rushing the eyes produces a technically impressive but emotionally flat portrait.
Avoiding these five issues consistently across the six subjects above does more to elevate overall realism than any single advanced shading trick.
Conclusion
Realistic animal pencil art rewards patience, structure, and a willingness to revisit fundamentals even at an advanced skill level. The six subjects detailed in this guide to 6 Realistic Animal Sketches In Pencil Art For Advanced Artists, a striding wolf, a maned lion, a feathered owl, a galloping horse, a textured elephant, and an eagle’s reflective eye, each isolate a distinct technical challenge that, once mastered, transfers directly into virtually any future animal subject.
The next step is practical: select one subject from this list, gather several high-resolution reference photos, and commit to the full staged workflow, gesture, feature blocking, texture mapping, and layered shading, rather than skipping ahead to detail work. Artists who consistently apply the six-zone proportion check and graduated pencil-grade system will see measurable improvement within just a handful of focused practice sessions. Realism in graphite is less about raw talent and more about disciplined sequencing, and that discipline is exactly what separates advanced artists from everyone else still guessing at value and form.