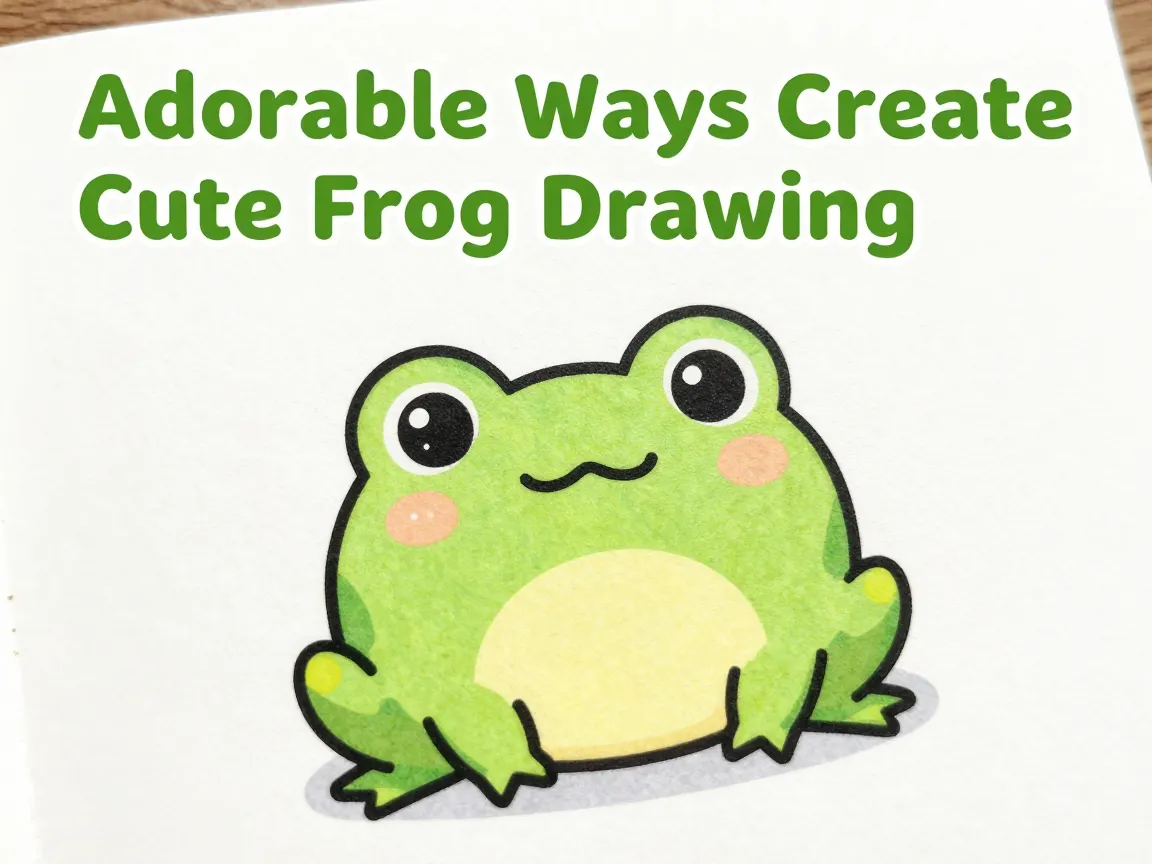
Adorable Ways To Create A Cute Frog Drawing
A single oval, two dot eyes, and a curved smile is all it technically takes to draw a frog that makes people say “aww.” That is not an exaggeration, it is the exact formula animators and illustrators have used for decades to turn a slippery amphibian into one of the most beloved cute-art subjects on the internet. This guide breaks down 6 Adorable Ways To Create A Cute Frog Drawing, using simple shapes, kawaii-style proportions, and a few clever finishing tricks that even complete beginners can master in one sitting.
Disclosure: This post contains affiliate links. As an Amazon Associate, we earn from qualifying purchases, and at no extra cost to you.
Whether the goal is a quick doodle in a notebook, a digital illustration for social media, or a guided activity for kids, these six approaches cover every skill level and style preference. Each method below draws on the same core principles that make frog characters universally charming: big expressive eyes, rounded bodies, and a palette of fresh greens with a pop of color underneath.
Key Takeaways
- Cute frog drawings rely on simplified shapes, ovals, crosses, and curved “3” lines, rather than realistic anatomy, which makes them accessible for any skill level.
- Oversized eyes placed high on the head, rosy cheeks, and a gentle smile are the three features that instantly signal “cute” in frog character design.
- Accessories like lily pads, flower crowns, and tiny hats can transform a basic frog sketch into a themed illustration without adding drawing complexity.
- Digital tools allow for easy layering of color, letting artists build shading and highlights without redrawing the base sketch.
- A classic green-and-yellow color scheme with pink cheek accents remains the most popular finishing style for kawaii frog art in 2026.
Before You Start: Essential Guidelines for a Cute Frog Drawing
Professional illustrators rarely start with a finished outline. Instead, they rough in a skeleton of guideline shapes that keeps proportions consistent before any detail gets added. For a cute frog drawing, three shapes do almost all the work: a cross to mark the center of the face, an oval for the rounded body, and a curved “3” shape that becomes the classic long, squatting frog legs.
Starting with these guidelines solves the most common beginner problem, eyes or legs that end up uneven. The cross marks exactly where the eyes and mouth should sit, the oval controls how plump or slim the frog looks, and the “3” shape sets up symmetrical hind legs without needing to measure anything. Once the guideline skeleton feels natural, any of the six styles below can be built on top of it in minutes.
A quick note on proportions: most cute or “kawaii” frog designs use a head-to-body ratio close to 1:1, meaning the head takes up roughly half the total height of the character. Realistic frogs have much smaller heads relative to their bodies, so exaggerating head size is the single biggest factor separating a cute drawing from a realistic one.
1. Classic Chibi Frog with Oversized Eyes
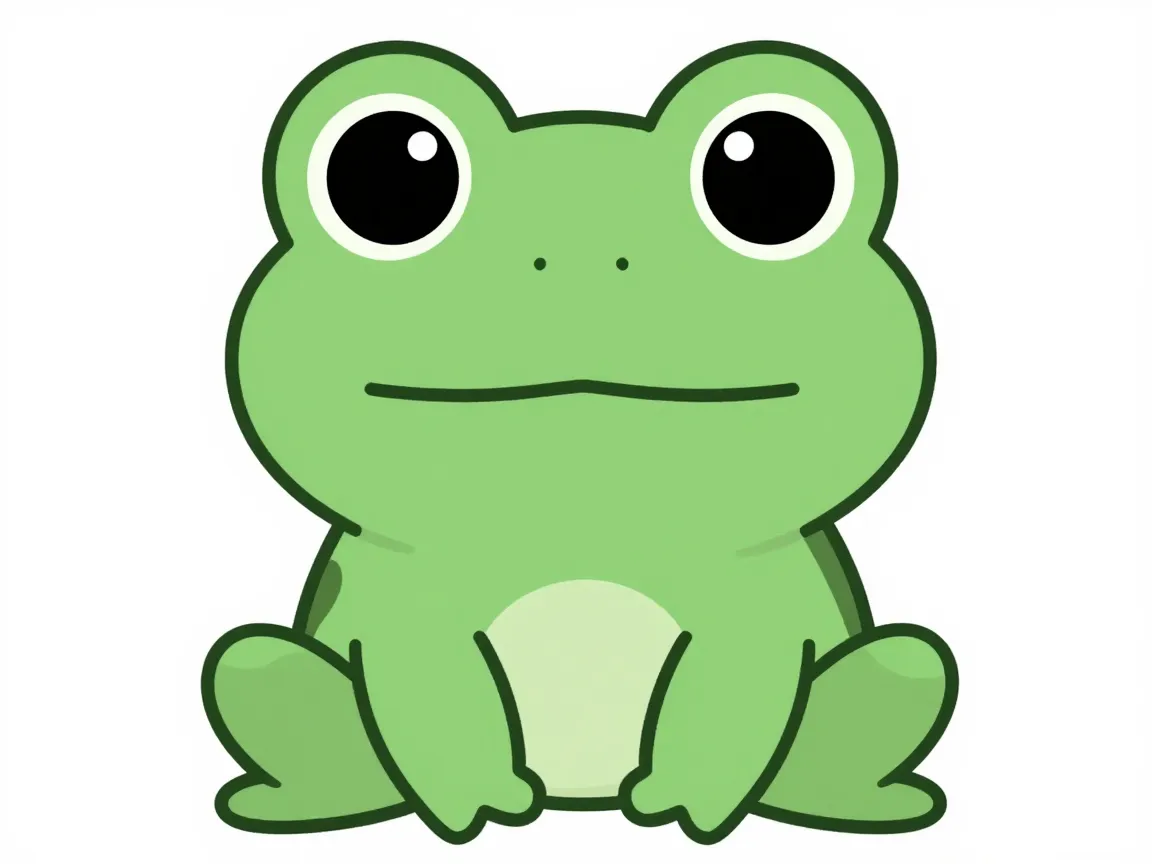
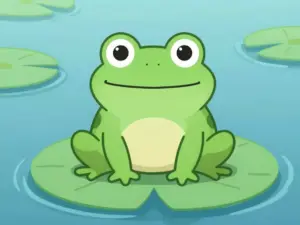
The chibi frog is the foundation for nearly every cute frog drawing trend seen in recent tutorials. It uses a squashed, rounded body with two enormous eyes that take up nearly a third of the head’s surface area. The pupils are drawn as large black ovals with a small white highlight dot, which gives the character a glassy, lifelike sparkle.
To build this version, start with a wide oval for the body, add a slightly smaller oval on top for the head (often the two overlap so there’s no visible neck), then place the eyes high and close together near the top of the head. Short, stubby front legs and two long back legs bent into a seated position complete the silhouette. This style is the most beginner-friendly of all six methods because it forgives imperfect lines, the rounder and softer the shapes, the cuter the result.
“The bigger the eyes and the rounder the body, the cuter the frog, this single rule explains almost every viral frog character design.”
2. Kawaii Frog with Rosy Cheeks and a Big Smile
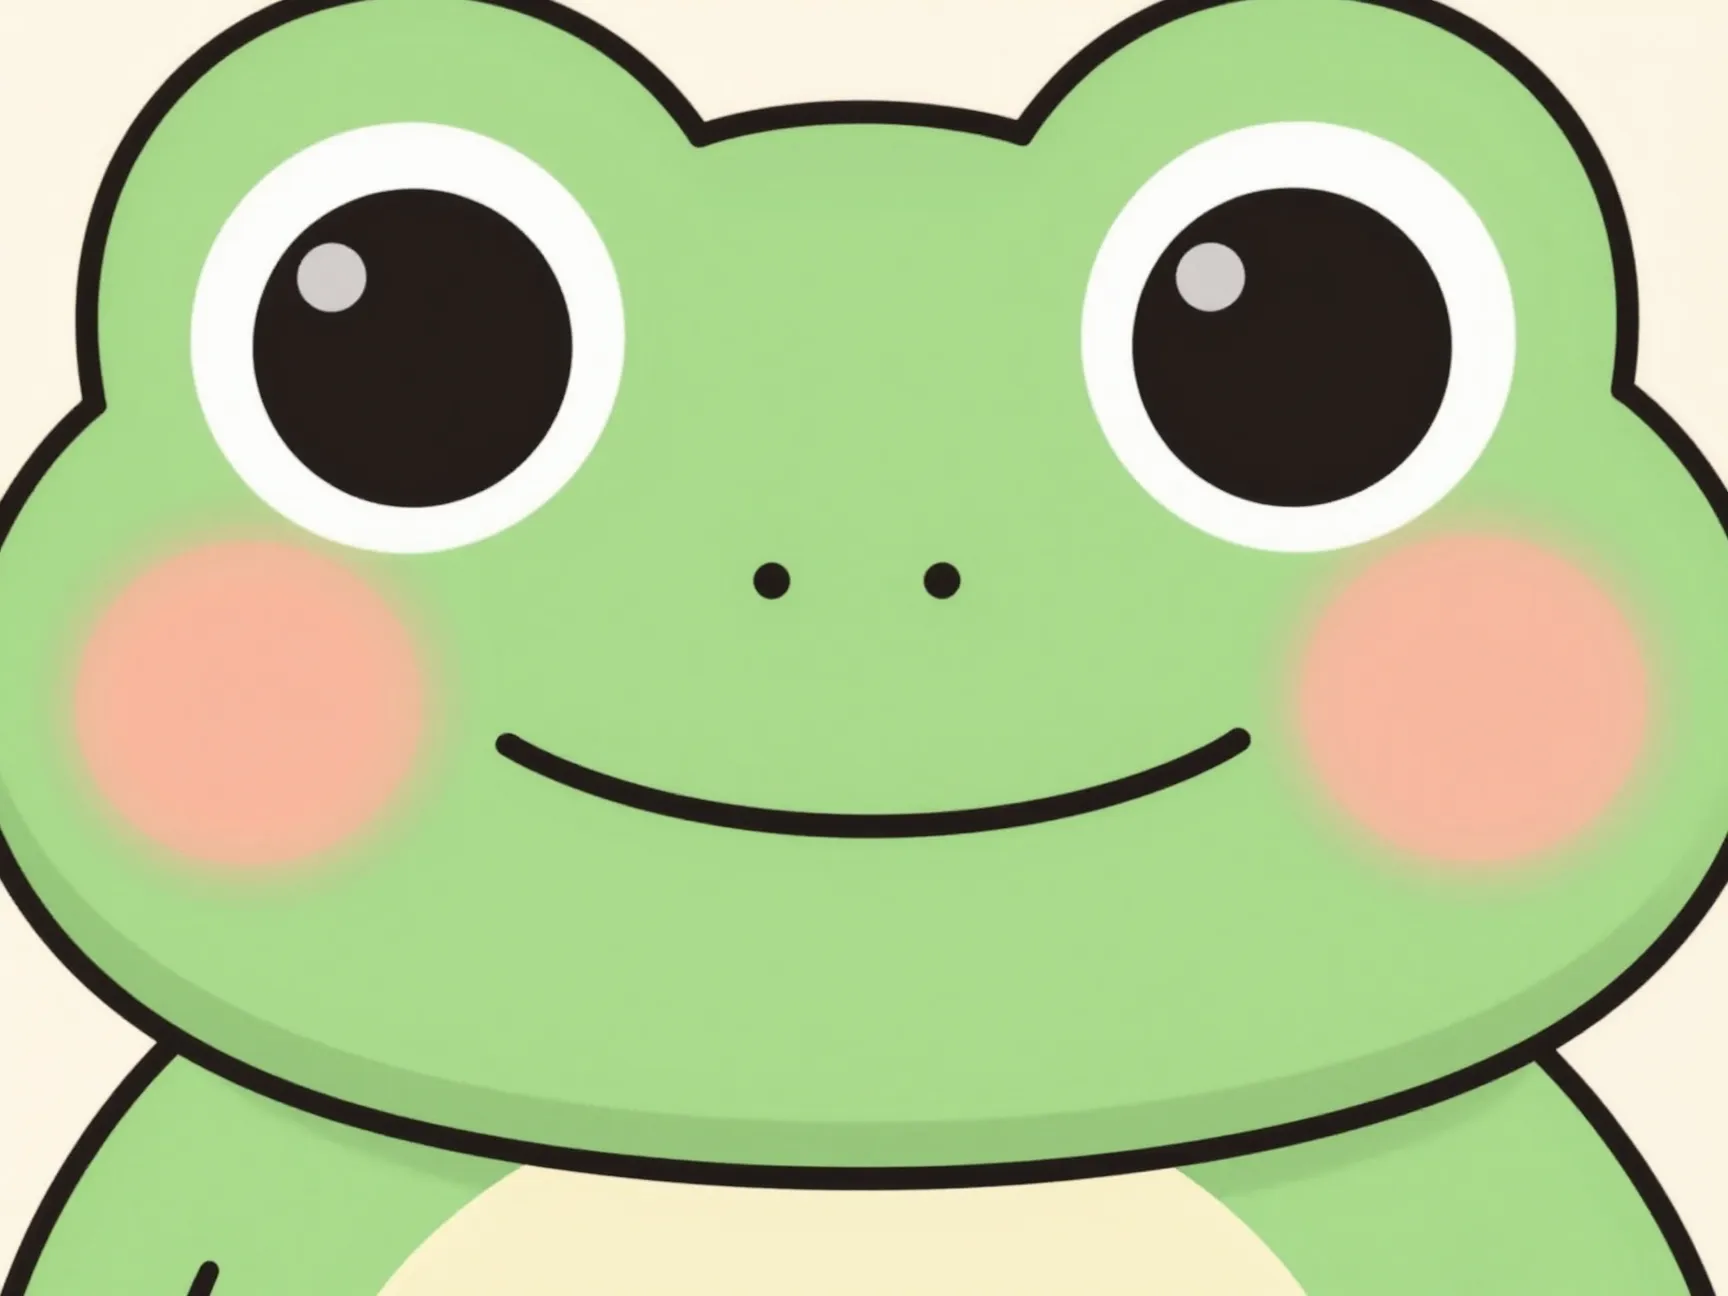
Building on the chibi base, the kawaii style adds two signature details: soft pink cheek circles and a wide, gentle smile. These two additions do more to convey personality than any other feature. Cheeks are typically drawn as light pink or peach-colored ovals placed just below and outside the eyes, blended softly if coloring digitally or with light cross-hatching if working traditionally.
The smile itself should curve upward at both corners without showing teeth, since an open mouth with visible teeth often reads as less cute and more cartoonish in a different way. A small vertical line or two tiny dots above the mouth can suggest nostrils without adding visual clutter. This method works particularly well for sticker art, greeting cards, and children’s book illustrations because the expression communicates friendliness instantly, even at a small size.
3. Sitting Frog Using the “3” Shape Guideline Method
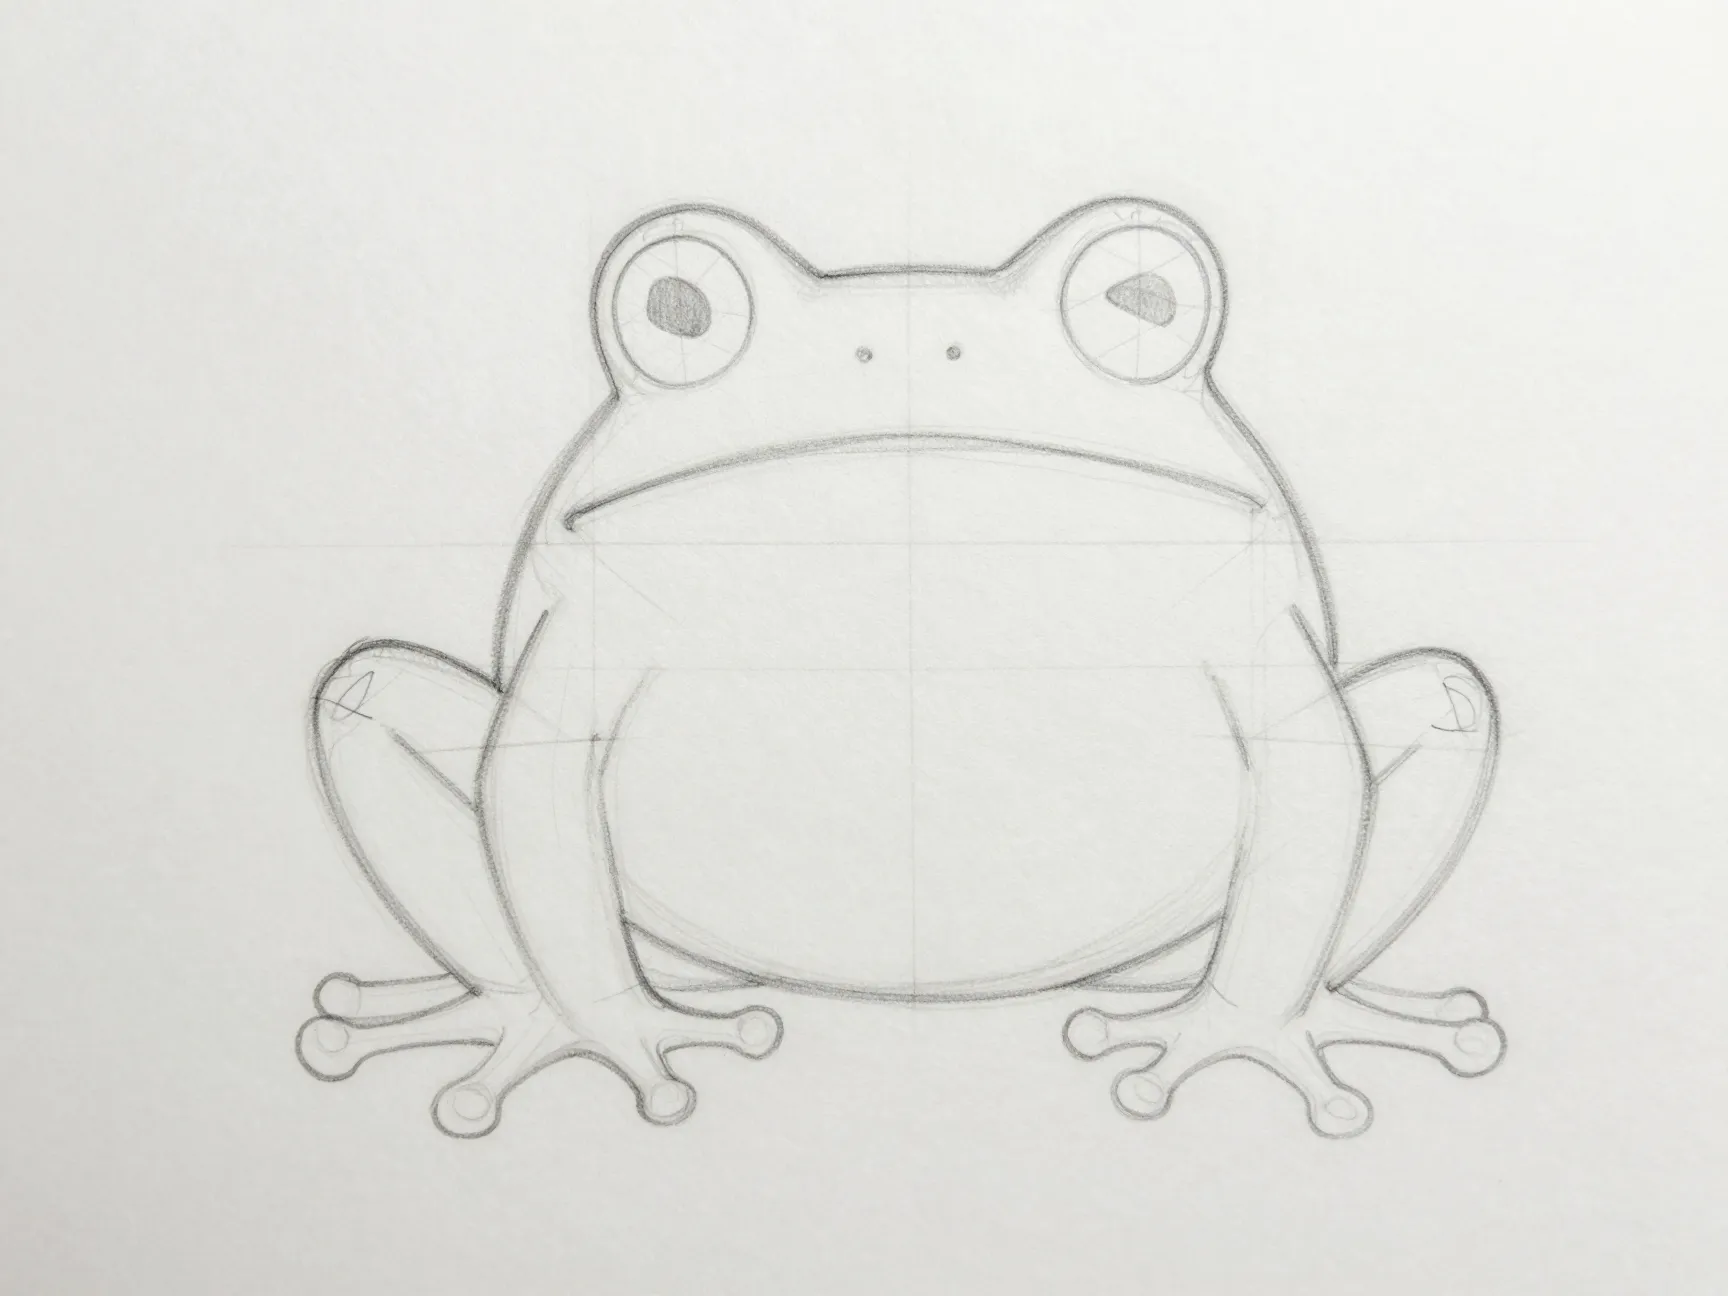
This approach focuses specifically on leg construction, which many beginners find the hardest part of drawing a frog. Step-by-step tutorials aimed at younger artists break the legs into a repeatable sequence: draw a curved line shaped like the number three for the back leg, close the shape with a small foot, then mirror it on the opposite side.
The sequence works like this:
- Draw the oval body and head first, keeping them connected.
- Sketch one “3” shape curve extending from the lower body to form the near-side back leg.
- Mirror the same curve on the far side for the second back leg.
- Add two short, simple front legs or arms, often just a curved line ending in a small round paw.
- Finish with webbed-toe details, three or four tiny curved lines at the end of each foot.
Because the legs are built from a repeatable shape rather than freehand guesswork, this method produces consistently symmetrical results even for artists who struggle with proportion. It is especially popular in guided kids’ tutorials published in late 2026 because each step can be demonstrated and copied individually.
4. Frog on a Lily Pad with Leafy Details
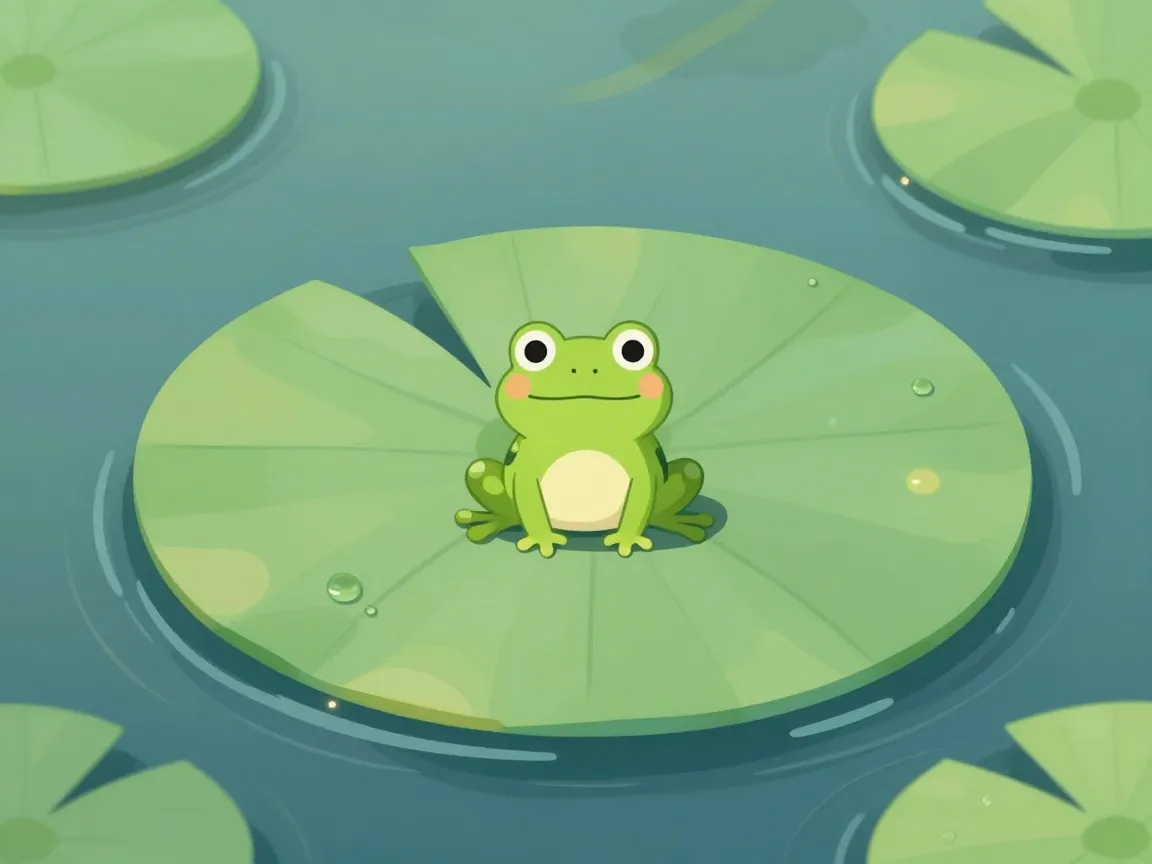
Environment and accessory elements are one of the easiest ways to elevate a simple frog sketch without adding drawing difficulty. A frog sitting on a lily pad instantly reads as a complete scene rather than an isolated character study. The lily pad itself is just a large flattened circle with a single notch cut into one edge and a few curved lines radiating from the center to suggest leaf veins.
Small water droplets, a few ripple lines around the pad’s edge, or a single floating leaf in the background round out the composition. This approach pulls directly from idea collections that catalog dozens of cute frog concepts, where environmental staging, ponds, mushrooms, flowers, rain puddles, consistently ranks among the most requested themes. Adding an environment also gives the piece a sense of scale and story without requiring any additional figure drawing skill.
5. Dressed-Up Frog with Hats, Crowns, and Flowers
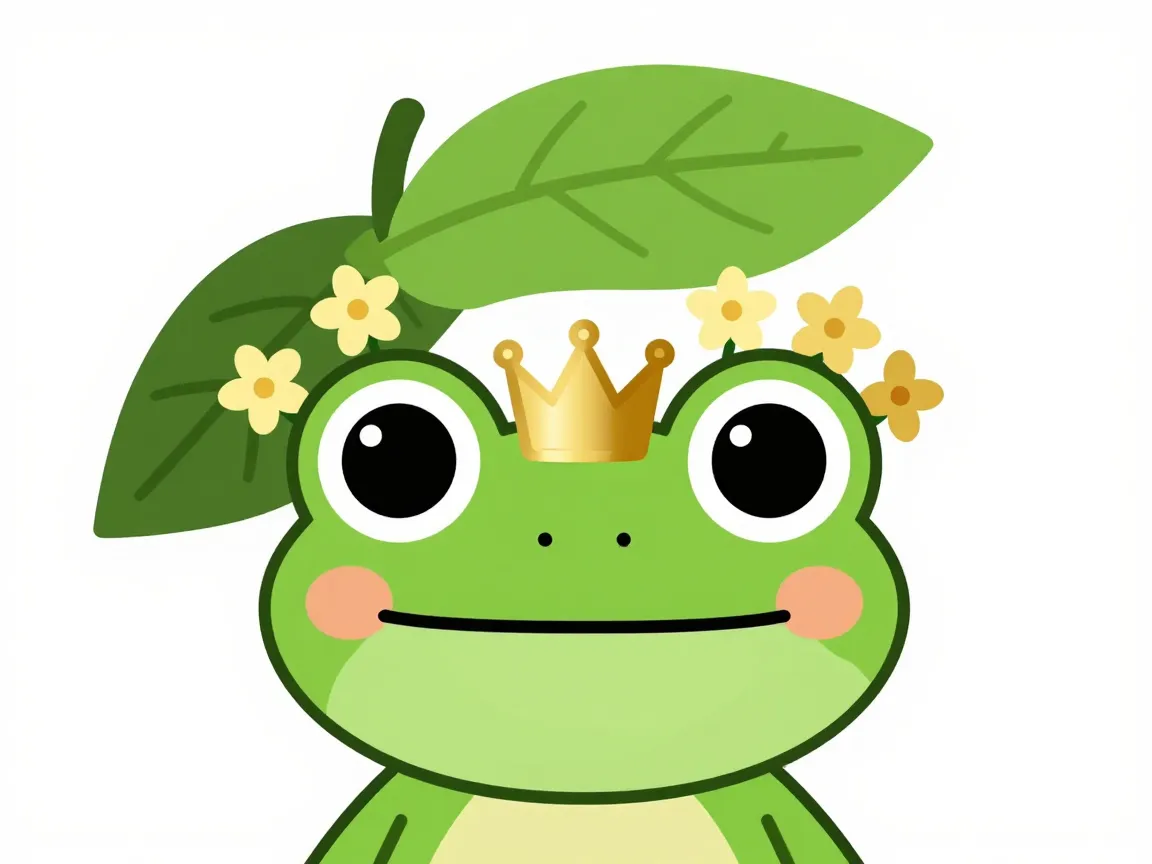
Costuming a frog character is a favorite technique among artists building a series or sticker pack, since one base drawing can be reused with different accessories to create variety quickly. A tiny crown sitting between the eyes, a wide-brimmed leaf hat tilted to one side, or a ring of small flowers around the head are the three most common options, and each changes the character’s personality without altering the underlying anatomy.
The key to making accessories look intentional rather than awkward is scale: hats and crowns should be drawn smaller than feels natural at first, since oversized headwear can overwhelm the already-large head shape. A thin outline and a single flat color block for the accessory, matching the simplicity of the rest of the drawing, keeps the whole piece visually consistent. This method is ideal for themed content, holiday cards, birthday illustrations, or fantasy-style character sets.
6. Digital Cute Frog Drawing with Layered Color
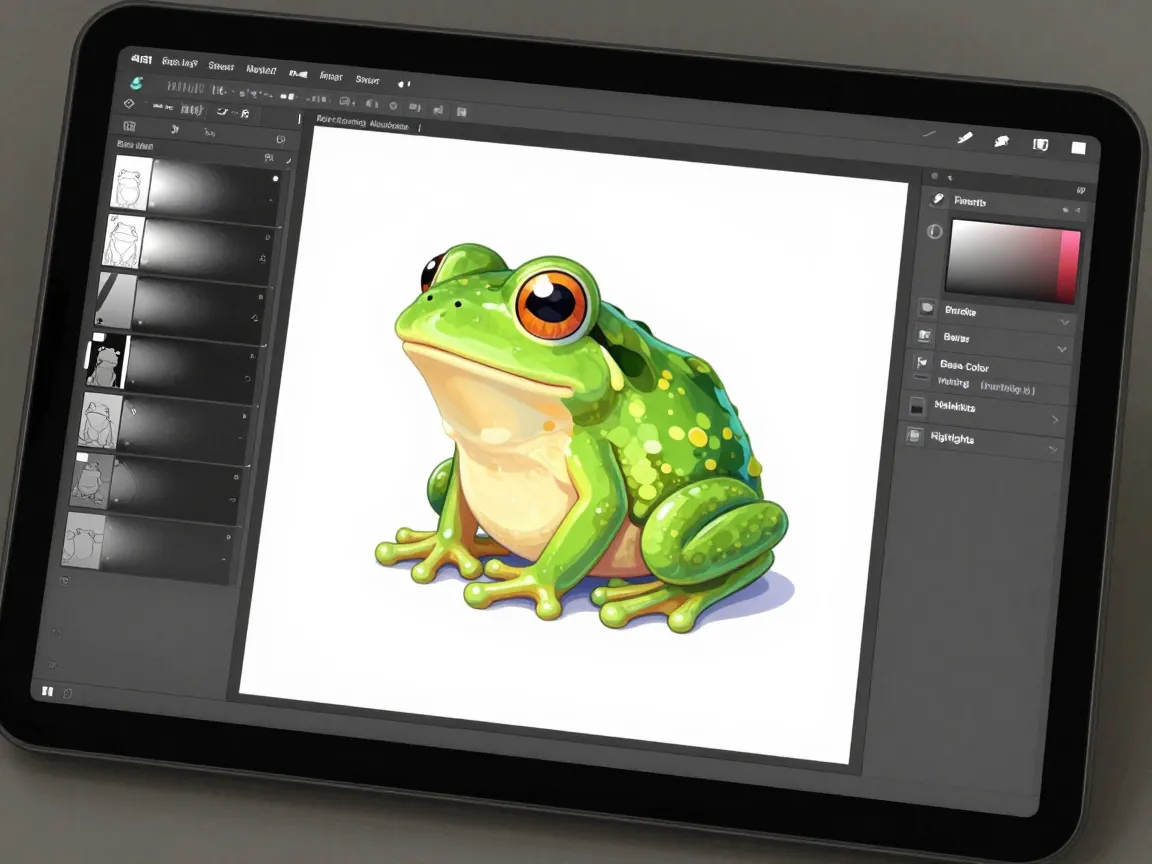
The sixth method shifts from paper to screen, taking advantage of digital layering to achieve a more polished, finished look. Late-2026 digital art tutorials emphasize a specific workflow: sketch the base shapes on one layer, lock the line art on a second layer, then build color on separate layers underneath so shading never disturbs the clean outline.
A typical layered color sequence looks like this:
Layer 1: Rough pencil sketch using the cross-and-oval guidelines.
Layer 2: Clean, finalized line art in a soft dark green or brown, not pure black.
Layer 3: Base color fill, usually a medium green for the back and a pale yellow for the belly.
Layer 4: Shading using a slightly darker green on a low-opacity “multiply” layer to suggest rounded form.
Layer 5: Highlights using a light, almost white-green on a “screen” or “add” layer for shine on the eyes and back.
This layered technique is what produces the glossy, dimensional look seen in trending digital frog illustrations, compared to the flatter appearance of traditional marker or colored pencil work. Because each layer can be adjusted independently, mistakes in shading or color choice are easy to fix without redrawing the entire piece.
Color and Finishing Touches That Make Any Cute Frog Drawing Pop
Regardless of which of the six methods is used, certain color choices show up again and again in cute frog art, and for good reason, they mimic real amphibian coloring while staying bright and appealing. A layered green back, a pale yellow or cream underbelly, and small pink accents on the cheeks form the backbone of nearly every popular design.
| Body Part | Typical Color Choice | Finishing Tip |
|---|---|---|
| Back and head | Medium to forest green | Add a slightly darker green shadow underneath the body |
| Belly | Pale yellow or cream | Keep the color flat and bright for contrast |
| Cheeks | Soft pink or peach | Blend edges softly or use a light stippling texture |
| Eyes | Black pupil with white highlight dot | Position highlight slightly off-center for sparkle |
| Legs and feet | Matches back color, slightly darker | Add small curved lines for webbed toe detail |
Sticking to three or four colors total, rather than a full realistic palette, keeps the final piece reading as intentionally stylized rather than unfinished. This restraint is a recurring theme across recent tutorials and is one of the simplest ways to make a drawing look professionally designed.
Comparing the 6 Adorable Ways To Create A Cute Frog Drawing
Choosing the right method depends on the intended use, available tools, and comfort level with drawing. The table below summarizes where each approach fits best.
| Method | Best For | Skill Level | Tools Needed |
|---|---|---|---|
| 1. Classic chibi frog | Quick sketches, icons | Beginner | Pencil and paper |
| 2. Kawaii expression focus | Stickers, greeting cards | Beginner | Pencil, fine-tip pen |
| 3. Guideline leg construction | Teaching kids to draw | Beginner to intermediate | Pencil, eraser |
| 4. Lily pad and environment | Scene-based illustrations | Intermediate | Pencil, colored markers |
| 5. Dressed-up accessories | Themed character sets | Intermediate | Pencil, fine liner, color |
| 6. Digital layered color | Polished digital art, social media | Intermediate to advanced | Tablet and drawing software |
Many artists combine elements from several rows at once, for example, pairing the guideline leg method from option three with the lily pad staging from option four, then finishing everything digitally using the layering approach from option six.
Frequently Asked Questions
What is the easiest way to start a cute frog drawing for a complete beginner?
The classic chibi method using a cross and two overlapping ovals is the most forgiving starting point. It requires no precise measuring and looks charming even with slightly uneven lines.
How do I make a frog drawing look cute instead of realistic?
Exaggerate the head size relative to the body, enlarge the eyes well beyond natural proportions, and round every edge. Realistic frogs have small heads and narrow eyes, so reversing both of those traits instantly shifts the drawing toward “cute.”
What colors work best for a cute frog drawing?
A medium green back, pale yellow belly, and soft pink cheeks form the most widely used and recognizable color combination. Limiting the palette to three or four total colors keeps the design clean.
Can these six methods be used for digital art as well as traditional drawing?
Yes. The guideline shapes, eye placement, and leg construction techniques described in methods one through five all transfer directly to a drawing tablet. Method six specifically addresses the digital layering workflow for finishing.
Do I need special tools to draw a cute frog?
No specialized tools are required for the first five methods, a pencil, eraser, and either colored pencils or markers are enough. Only the sixth, digital method requires a tablet and illustration software.
Conclusion
Creating a cute frog drawing does not require advanced artistic training, it requires understanding a handful of repeatable shapes and knowing which features signal “adorable” to the human eye. Across all 6 Adorable Ways To Create A Cute Frog Drawing covered here, the same principles keep appearing: oversized eyes, rounded bodies, soft color palettes, and simplified leg construction built from crosses, ovals, and curved guideline shapes.
The best next step is simple: pick one method from this list that matches current skill level and available tools, sketch the guideline shapes first, and resist the urge to add fine detail before the basic proportions feel right. Once one style feels comfortable, experimenting with accessories, environments, or digital color layering becomes a natural way to build a personal collection of frog character designs worth sharing.