Easy Bird Drawings To Help Any Artist Take Flight
A single curved line is all it takes to start a bird. That is not an exaggeration or a marketing line from an art supply store. It is the literal first step in nearly every modern beginner tutorial, from social media doodle guides to structured online art courses. Birds look complicated in the sky, but on paper they break down into shapes almost anyone can draw within a few minutes of practice.
Disclosure: This post contains affiliate links. As an Amazon Associate, we earn from qualifying purchases, and at no extra cost to you.
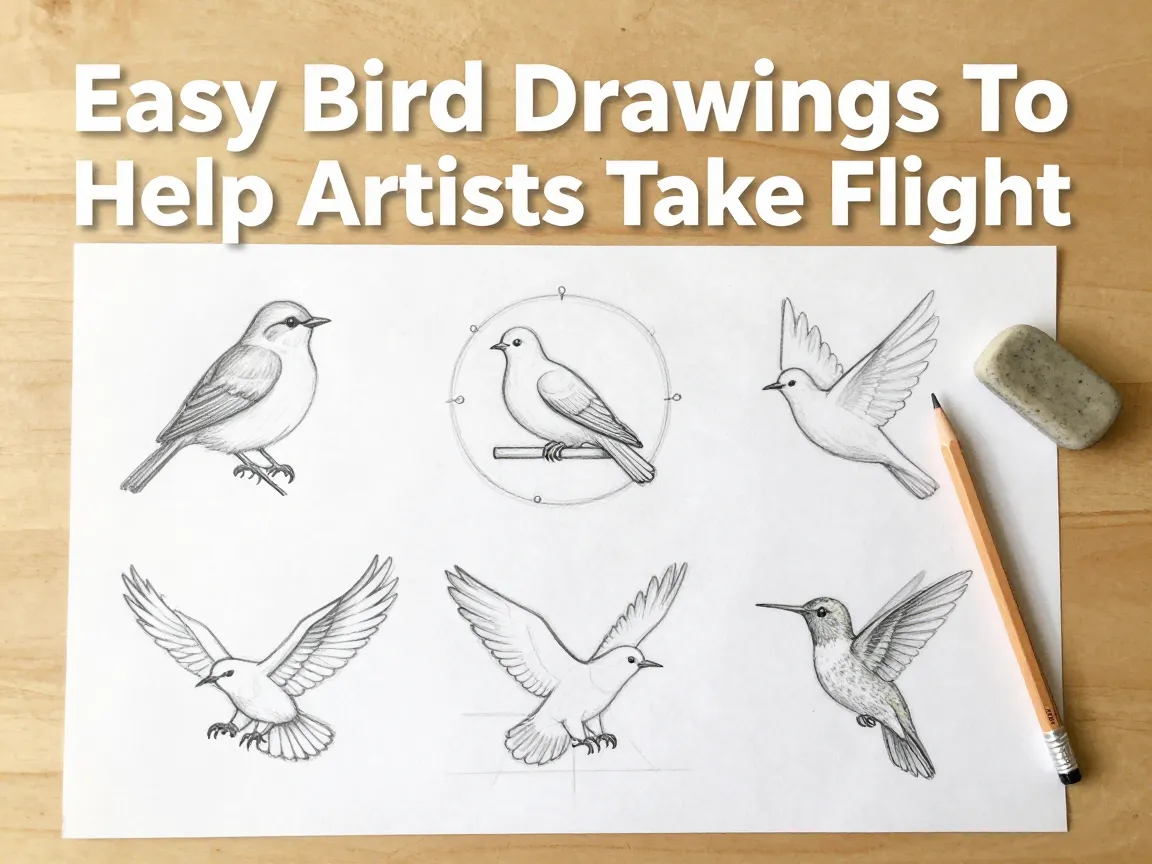
This guide collects 6 Easy Bird Drawings To Help Any Artist Take Flight, moving from the simplest curved-line sketches to slightly more advanced poses that capture motion, feather texture, and the illusion of lift. Each drawing is based on construction methods currently used by beginner art guides, kids’ printable worksheets, and more advanced flight-focused courses. None require fine art training. All of them can be completed with a pencil, an eraser, and a few sheets of paper.
Whether the goal is a quick doodle for a greeting card or a first step toward more realistic wildlife art, this list offers a clear path. Every method below has been simplified from real tutorials so beginners, parents helping kids with homework, and hobbyists returning to drawing after years away can follow along without frustration.
Key Takeaways
- 6 Easy Bird Drawings To Help Any Artist Take Flight range from a single curved C-shape songbird to a feather-layered hummingbird, so artists of any skill level have a starting point.
- Most beginner-friendly bird tutorials rely on basic shapes: circles, ovals, the letter V, and simple triangles, rather than complex anatomy.
- Adding slight wing asymmetry and wingtip feather spread makes even simple drawings look more dynamic and lifelike in flight poses.
- Understanding basic lift and wing angle, concepts taught in grade-school science units, helps artists position wings more convincingly on paper.
- Progressing through all six drawings builds a foundation for more advanced techniques like feather layering and anatomically correct feet.
What Makes 6 Easy Bird Drawings To Help Any Artist Take Flight So Effective for Beginners
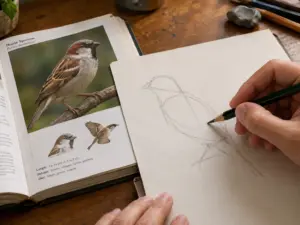
Bird drawing has quietly become one of the most popular entry points into sketching, and the reason is structural. Unlike human figures or complex landscapes, birds can be broken into two or three basic shapes that almost guarantee a recognizable result. A curved line for the body, a circle for the head, and a small triangle for the beak are often enough to produce something that reads clearly as “bird” to any viewer.
This shape-based approach is not a shortcut for people who cannot draw well. It reflects how professional illustrators actually plan their work. Before adding feather detail or shading, most artists rough out a skeleton of simple forms. The six drawings featured in this guide follow that same professional logic, scaled down for beginners.
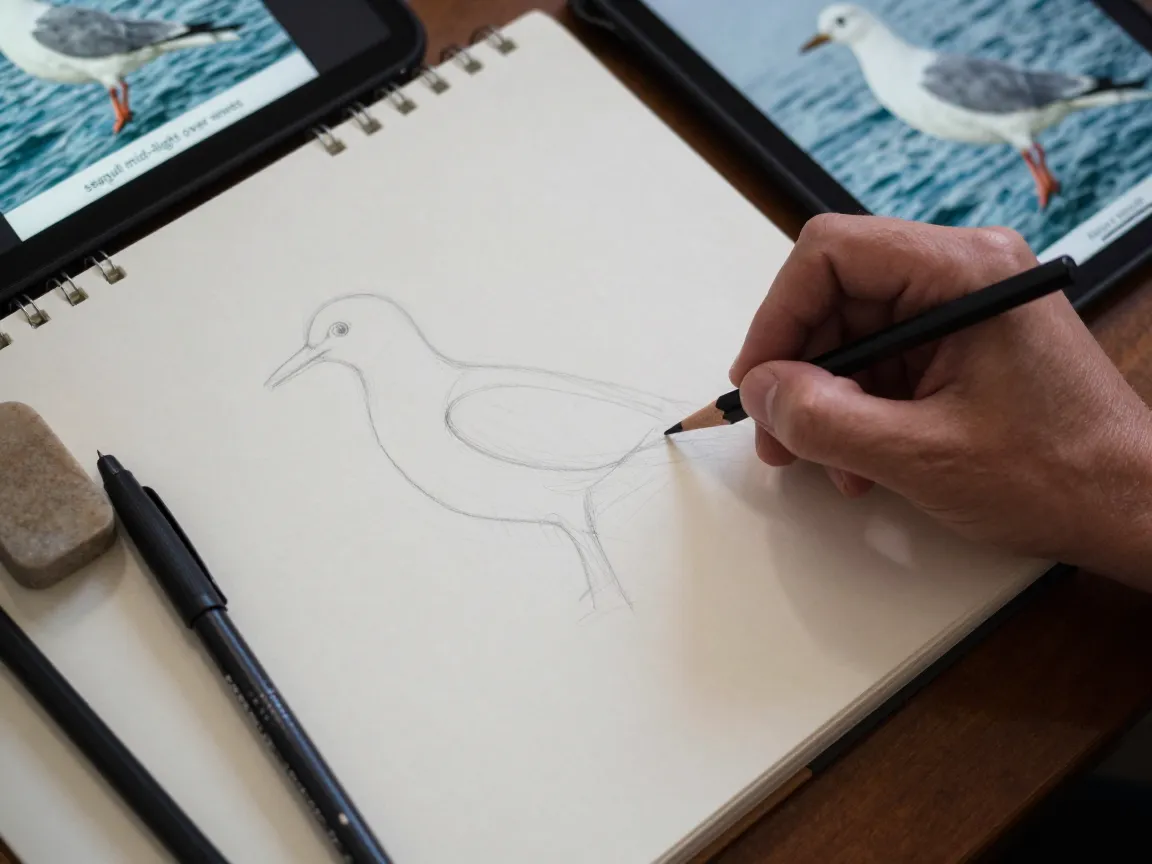
Recent tutorials have also started blending digital tools into the planning stage. Some artists now generate quick reference images using text-to-image generators, typing prompts like “watercolor robin at sunset” or “seagull mid-flight over waves” to see multiple pose options before picking up a pencil. This does not replace the drawing itself, but it gives beginners a faster way to choose a pose, background, and style before committing to paper. Combined with traditional shape-based construction, this makes the planning phase of bird drawing faster and less intimidating than it used to be.
Another shift worth noting is the growing emphasis on motion and aerodynamics, even in simplified tutorials. Guides aimed at slightly more advanced beginners now mention wingtip feather spread and intentional asymmetry between the two wings, since real birds rarely hold both wings in a perfectly mirrored position during flight. Basic science lessons on lift, the upward force that helps birds rise into the air, are increasingly referenced in art tutorials to explain why wings are angled the way they are. Artists who understand even a little of this aerodynamic logic tend to produce flight poses that feel more convincing, not just technically correct.
The 6 Easy Bird Drawings To Help Any Artist Take Flight You Can Start Today
Each of the following drawings builds on simple shapes first, then adds detail. They are ordered from the most beginner-friendly to slightly more involved, so new artists can start at the top and work down as confidence grows.
1. The C-Curve Songbird
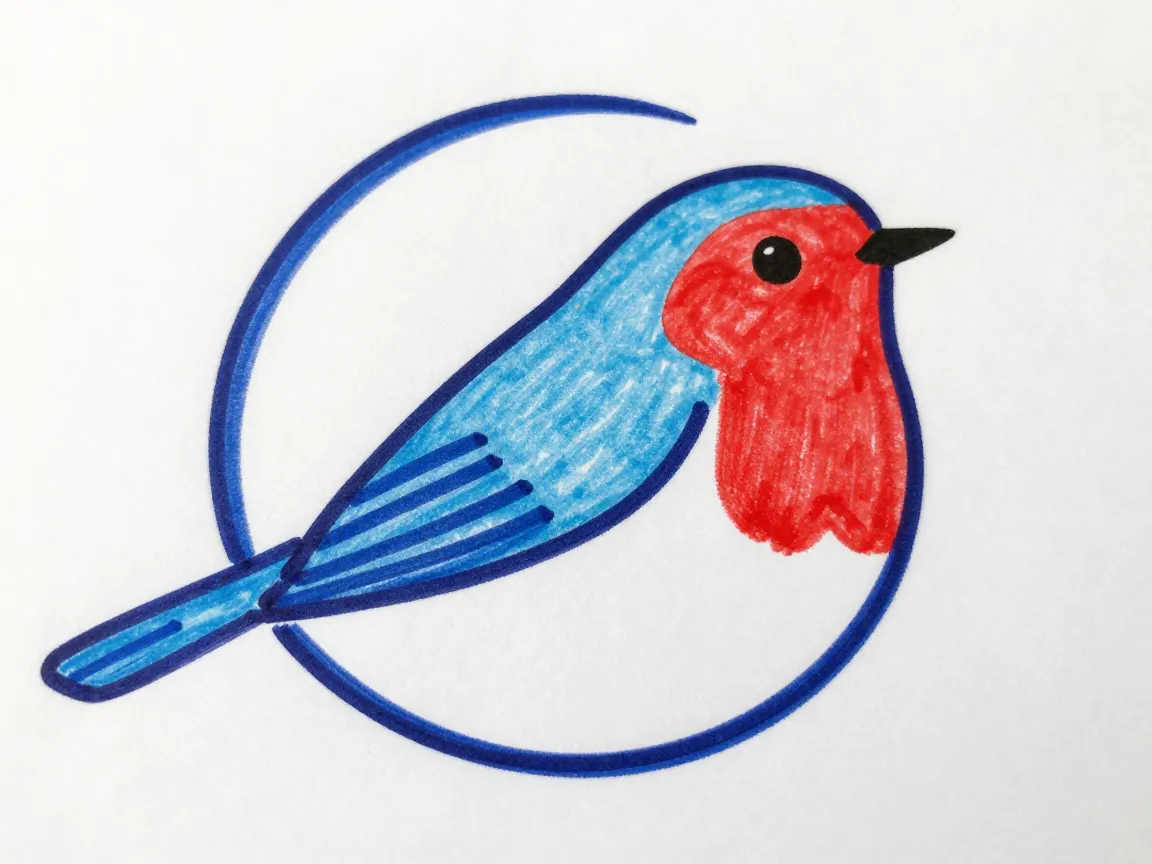
This drawing starts with one long, curved line shaped like the letter C, which forms the entire back and chest of the bird in a single stroke. From there, a small circle is added for the head, overlapping slightly with the top of the C-curve. Two simple U-shapes create the eye and the beak, while a short curved line beneath the body suggests a wing.
This method is popular in beginner tutorials because it removes the guesswork of proportion. There is no need to measure head-to-body ratio or worry about symmetry, since the single curve naturally creates a balanced, rounded shape. Once the basic form is sketched, color choice can transform the same outline into a robin, a bluebird, a sparrow, or an entirely invented species. This flexibility is part of why the C-curve method remains one of the most recommended starting points for new artists of any age.
2. The Oval-and-Circle Perching Bird
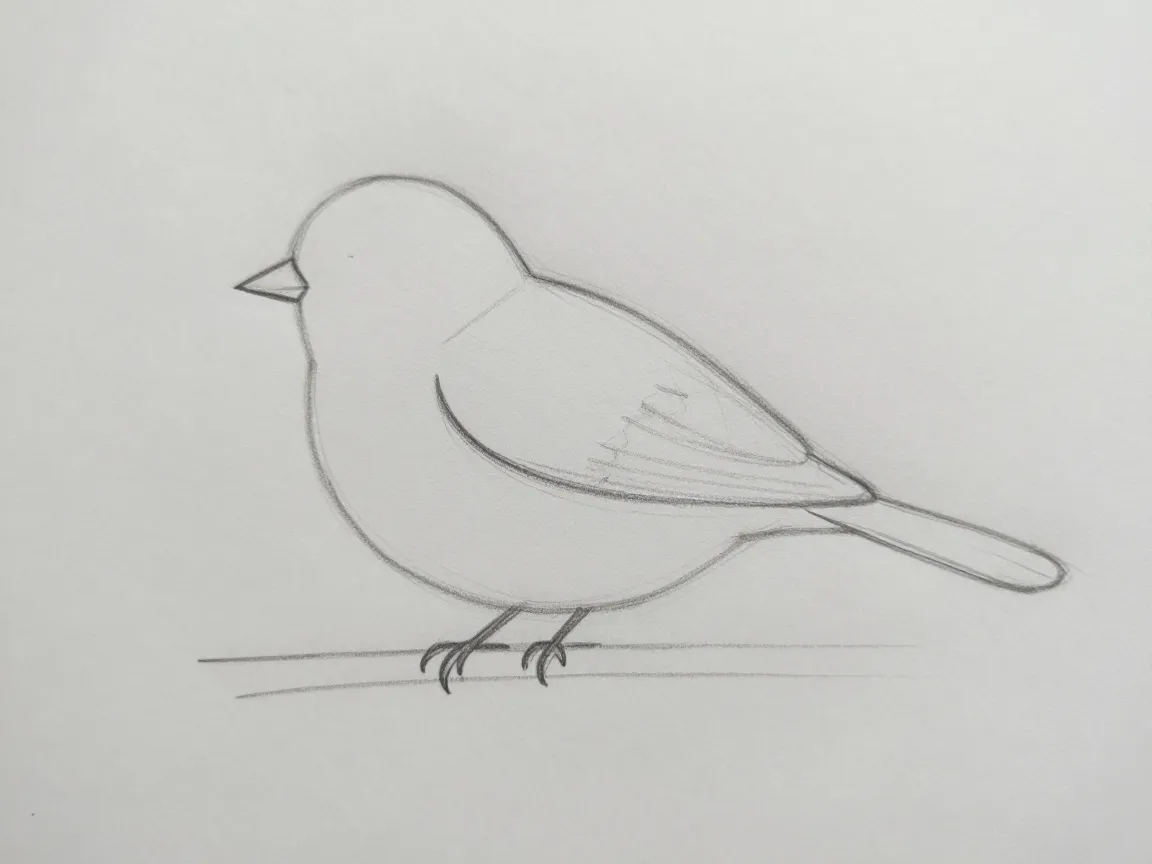
The second drawing uses two separate shapes, an oval for the body and a smaller circle for the head, connected by a short curved neck line. This two-shape method, sometimes called the “2s method” in social-style tutorials, gives slightly more control over posture than the single C-curve, since the head and body can be angled independently.
After placing the two main shapes, a curved line defines the wing, a small triangle forms the beak, and two thin lines with tiny forward-pointing claws create simple feet. This drawing works well for a bird at rest on a branch or fence, which makes it a natural second step after the C-curve songbird. Many step-by-step guides aimed at younger artists use this exact sequence, gradually adding wings, tail feathers, and feet one shape at a time so no single step feels overwhelming.
3. The V-Shape Flying Dove
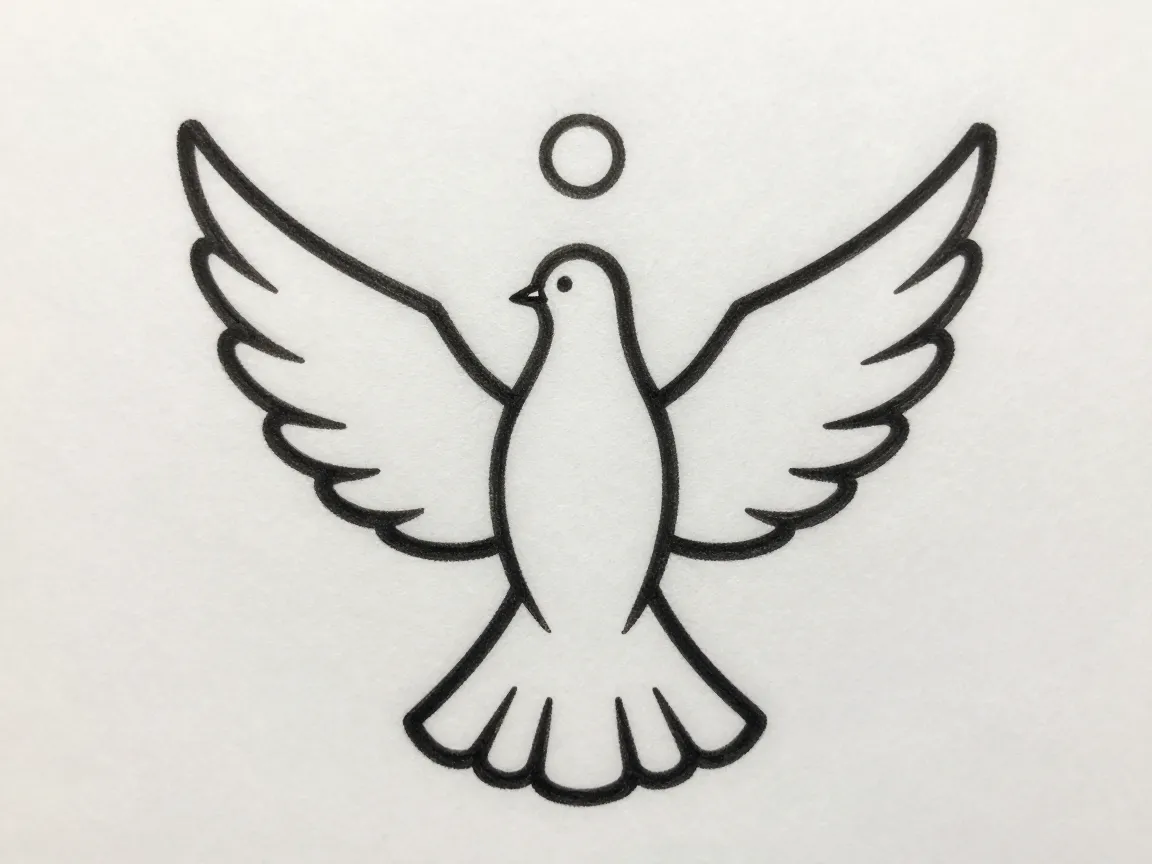
Moving from a resting bird to one in motion, the third drawing starts with the letter V turned upside down, which immediately suggests a bird gliding with both wings spread. The point of the V becomes the chest, while the two upward strokes form the outer edges of the wings.
A small circle is added above the point for the head, with a short beak extending forward. Curved lines added along the inside of each wing shape create the suggestion of feathers without requiring detailed featherwork. This drawing is especially popular for greeting cards, peace symbols, and simple nature-themed artwork, since a dove shape reads clearly even at a small size. Because it relies on a single recognizable letter shape, the V-shape flying dove is often taught as the easiest “birds in flight” drawing available to beginners.
4. The Triangle-Wing Flyer in Motion
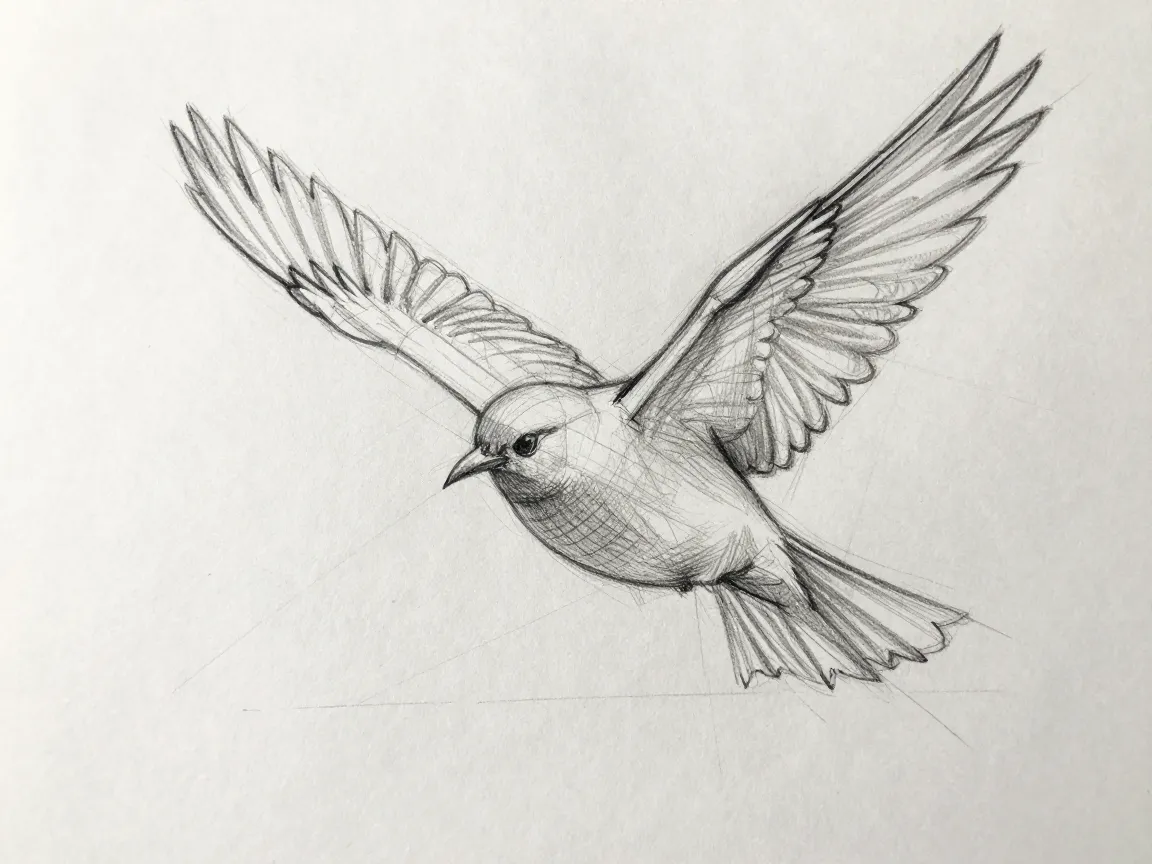
The fourth drawing introduces a bit more structure for artists ready to depict active flight rather than a gliding silhouette. It begins with an oval or circular form for the head and torso, similar to the perching bird, but the wings are built from elongated triangle shapes rather than simple curves.
The key technique here is adding curved, slightly jagged edges to the wide end of each triangle to suggest individual feather tips. Light pencil strokes are used first to rough out proportions before darker outlines are added, which allows for easy correction if the wing angle looks off. This step mirrors a widely used approach among flight-focused drawing guides, which recommend refining proportions lightly before committing to final lines. The result is a bird that looks like it is actively flapping or banking, rather than simply floating in a fixed pose.
5. The Minimalist Line-Art Eagle
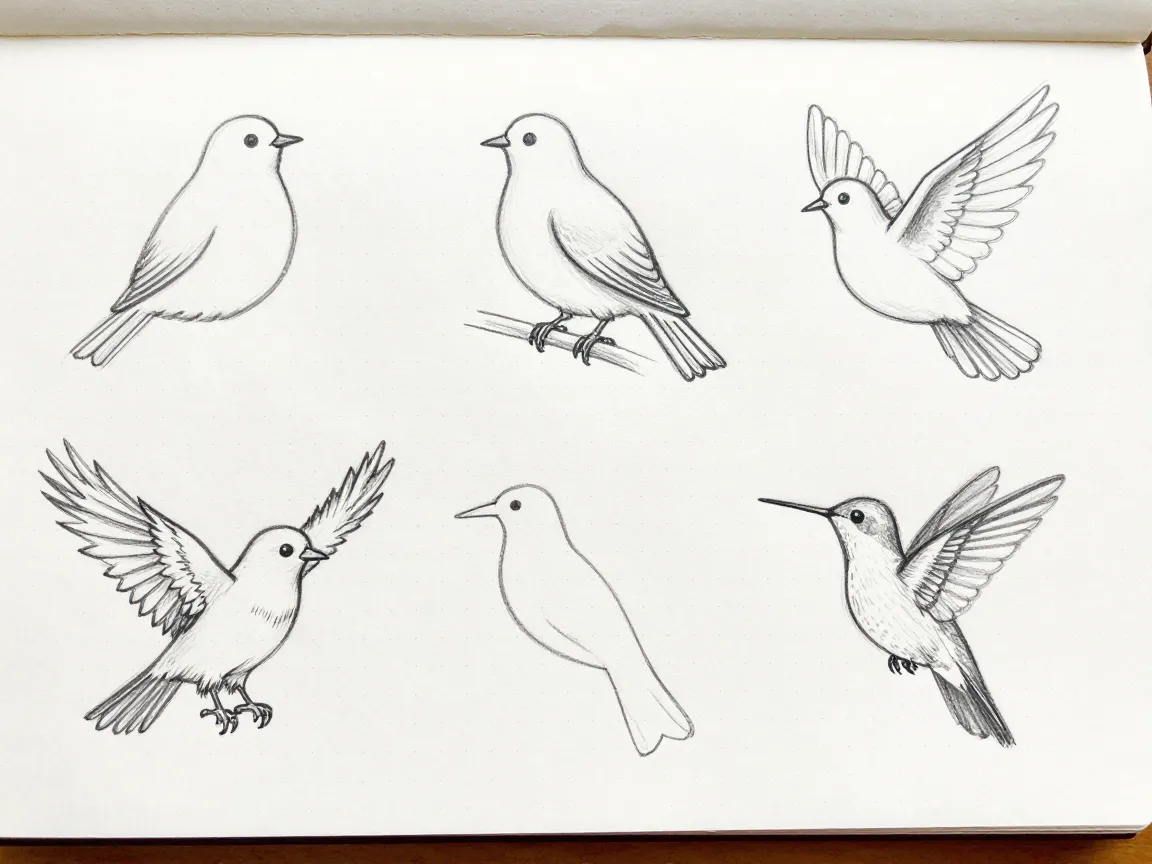
The fifth drawing shifts away from rounded, cartoon-style shapes toward a single continuous line style popular in modern minimalist art. Instead of building the bird from separate circles and triangles, the artist draws one flowing line that outlines the wingspan, head, beak, and tail in a single pass whenever possible.
This method works especially well for species with strong, recognizable silhouettes, such as eagles, flamingos, or peacocks, where one or two defining features carry the whole image. For the eagle specifically, the focus stays on a wide wingspan, a sharply hooked beak, and a slightly spread tail, while smaller details like individual feathers are left out entirely. Keeping the line smooth and continuous, rather than broken into many small strokes, is the single most important habit for this style. Artists who rush this step often end up with a shaky, uneven outline, so slow and steady pencil movement matters more than drawing speed.
6. The Feather-Layered Hummingbird in Flight
The sixth and most advanced drawing in this list introduces basic feather layering and wing asymmetry, two techniques that separate simple doodles from more believable wildlife art. The body still starts from a simple oval, and the head from a small circle, but the wings are drawn as two separate blurred or angled shapes rather than a mirrored pair, since a hummingbird’s wings rarely appear in identical positions during flight.
Short, directional pencil strokes are then added from the base of each feather toward the tip, layering slightly overlapping marks rather than single flat outlines. This technique, borrowed from more structured bird-anatomy courses, creates texture without requiring hundreds of individually drawn feathers. Feet are kept simple, typically three small forward-pointing toes and one shorter back toe, which reflects how most perching and flying birds are actually built. The combination of layered feather strokes, slight wing asymmetry, and simplified but anatomically correct feet makes this the most realistic drawing in the set, while still remaining achievable in under thirty minutes.
Tools and Materials That Make 6 Easy Bird Drawings To Help Any Artist Take Flight Even Easier
None of the six drawings above require expensive supplies. The table below outlines a simple, budget-friendly kit that covers every technique in this guide, from the basic C-curve songbird to the feather-layered hummingbird.
| Tool | Purpose | Needed For |
|---|---|---|
| HB or No. 2 pencil | Light sketching and shape planning | All six drawings |
| Kneaded eraser | Gently lifting pencil lines without smudging | Minimalist eagle, feather layering |
| Fine-tip black pen | Final outlines once pencil sketch is approved | C-curve songbird, V-shape dove |
| Blending stump or tissue | Softening pencil shading for feather texture | Triangle-wing flyer, hummingbird |
| Plain or lightly gridded paper | Keeping proportions consistent | Perching bird, minimalist eagle |
| Colored pencils or watercolors | Turning basic outlines into finished art | Any drawing, optional |
A gridded page is particularly useful for beginners and younger artists, since many printable worksheets now pair simple grid puzzles with close observation prompts, encouraging artists to study real bird photos before sketching. This habit of brief observation before drawing, even just thirty seconds of looking at a reference photo, noticeably improves proportion accuracy across all six drawings in this guide.
“A bird drawing does not need fifty feathers to look convincing. It needs the right two or three shapes in the right places.”
How to Add Motion and Realism After Mastering the Basics
Once all six drawings feel comfortable, a few additional habits can push the results further without starting from scratch. These adjustments apply to almost any bird pose and are especially useful for flight scenes.
- Add slight asymmetry between the two wings. Real birds rarely hold both wings in an identical mirrored position, so staggering the angle slightly makes a flying bird look more natural instead of stiff.
- Widen the wingtip feathers slightly compared to the base of the wing. This small detail, often called wingtip feather spread, mimics how flight feathers fan out to catch air and is one of the fastest ways to make a simple wing shape look aerodynamic.
- Lower the body angle slightly during a diving or swooping pose. Basic science lessons on lift explain that wing angle changes how air moves around a bird’s body, and tilting the torso forward or backward in a drawing visually communicates speed and direction.
- Layer feather strokes from base to tip rather than drawing flat outlines. Short, directional pencil marks create texture that reads as feathers from a normal viewing distance, without requiring painstaking detail work.
- Pose the feet correctly for context. Three forward-pointing toes and one back toe suggest a perching or landing bird, while tucked or trailing feet suggest active flight.
These five adjustments do not require redrawing any of the six birds from scratch. They can be layered onto the same basic shapes used throughout this guide, which is part of why the shape-first method remains so popular even among artists working toward more realistic wildlife illustration.
Frequently Asked Questions
Which of the 6 Easy Bird Drawings To Help Any Artist Take Flight is best for complete beginners?
The C-Curve Songbird is the simplest starting point. It uses a single curved line for the entire body, which removes most of the proportion guesswork that trips up new artists.
Do these drawings work for kids as well as adults?
Yes. The shape-based construction method used throughout this guide, circles, ovals, triangles, and simple letters like V, is widely used in printable worksheets designed for school-age children, as well as in tutorials aimed at adult hobbyists. The main difference is usually the level of detail added after the basic shapes are complete.
How long does each drawing typically take?
Most of the first four drawings can be completed in ten to fifteen minutes once the shapes feel familiar. The minimalist eagle and the feather-layered hummingbird usually take closer to twenty or thirty minutes because of the added line control and feather texture work.
Is it necessary to understand bird anatomy to draw birds well?
No, but a basic understanding helps. Knowing that most birds have three forward toes and one back toe, or understanding why wings are angled during flight, makes small details more convincing without requiring formal anatomy study.
Can digital tools replace traditional sketching for these drawings?
Not entirely. Some artists use text-to-image generators to explore poses, colors, or backgrounds before drawing, which can speed up the planning stage. However, the actual construction techniques, shapes, feather layering, and line work, still rely on traditional pencil and paper practice.
Conclusion
Bird drawing rewards patience with simple shapes more than it rewards natural talent. The six drawings in this guide, from the single-curve songbird to the feather-layered hummingbird, prove that a recognizable, attractive bird sketch is within reach for almost anyone willing to practice basic circles, ovals, and lines. Each method builds on the last, so progressing through all six creates a natural skill ladder rather than six unrelated exercises.
The next step is simple. Pick one drawing from this list, gather a pencil and paper, and spend fifteen minutes following the shapes described above. Repeat the same drawing two or three times before moving to the next one, since repetition is what turns a shaky first attempt into a confident, repeatable skill. Artists who work through all 6 Easy Bird Drawings To Help Any Artist Take Flight in order will come away with more than six finished sketches. They will have a practical, shape-based toolkit for drawing birds in almost any pose going forward.