Golden Doodle Drawing Tutorials For Aspiring Pet Portrait Artists
A Goldendoodle’s coat contains thousands of overlapping curls, and drawing even one convincingly wrong curl can flatten an entire portrait. That single detail explains why so many pet portrait artists get stuck the moment they move from sketching a generic dog to capturing this specific breed’s fluffy, expressive charm. Curly fur behaves differently under pencil, ink, or digital brush than the sleek coats of Labradors or the straight fur of German Shepherds, and it demands its own toolkit of techniques.
Disclosure: This post contains affiliate links. As an Amazon Associate, we earn from qualifying purchases, and at no extra cost to you.
This guide rounds up 6 Golden Doodle Drawing Tutorials For Aspiring Pet Portrait Artists that cover everything from basic construction shapes to advanced fur-shading systems used by professional illustrators. Each tutorial has been selected for its practical value, current relevance, and ability to teach a distinct skill, whether that is proportion, texture, or emotional expression. Readers will also find guidance on choosing the right tutorial for their experience level and avoiding the mistakes that most commonly derail beginner pet portraits.
Key Takeaways
- Goldendoodle portraits require breed-specific techniques for curly fur, floppy ears, and expressive eyes that generic dog tutorials often skip.
- The most current and detailed resources use a layered approach: geometric scaffolding first, then rounded forms, then multi-tone shading.
- Overlapping, wavy strokes that follow curl direction create believable texture without excessive over-detailing.
- A four-shade color system (base tone, two shadow gradations, one highlight tone) produces dimensional, realistic fur in both traditional and digital media.
- Beginners should start with simple construction tutorials before attempting advanced shading or digital rendering techniques.
Why Goldendoodle Portraits Demand Specialized Techniques
Goldendoodles combine the sturdy build of a Golden Retriever with the tight curls of a Poodle, creating a breed that looks deceptively simple but is technically demanding to render. The fur alone can shift from loosely wavy to densely curled depending on the individual dog, and artists who ignore this variation often end up with a portrait that reads as a generic fluffy blob rather than a specific, recognizable pet.
Anatomically accurate references matter here. Vet-informed drawing guides emphasize that the skull should start as a rounded circle, the muzzle should follow a gently curved line rather than a sharp angle, and the body needs a sturdy, slightly stocky oval rather than the leaner lines used for sighthounds. Floppy ears and a naturally curled tail are two of the most identifying features of the breed, and skipping them, even in a loose sketch, makes the drawing far less recognizable as a Goldendoodle specifically.
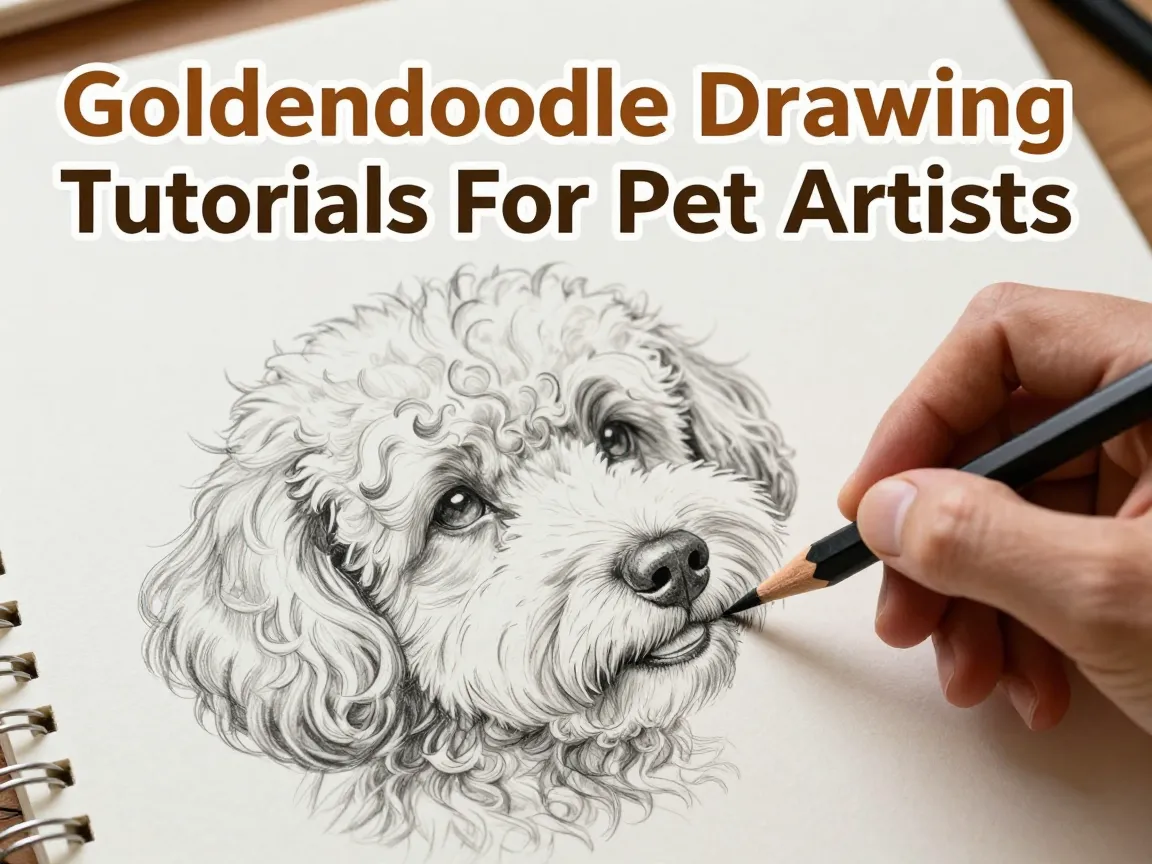
Texture is the second major hurdle. Recent Goldendoodle-focused tutorials recommend short, overlapping strokes that follow the direction curls actually grow, rather than uniform scribbles applied evenly across the coat. Lighter pressure works best for base layers, while darker, more deliberate strokes should be reserved for shadow pockets under the ears, along the neck, and beneath the belly. Over-detailing every single curl is a common trap; suggesting texture through variation and rhythm almost always looks more convincing than attempting to render each individual curl with equal precision.
Finally, expression separates a technically correct drawing from a portrait that feels alive. Curved eyebrow-like lines above the eyes, oval eyes with small circular pupils, and a glossy highlighted nose are small details that carry enormous weight in making a Goldendoodle portrait feel warm and personable rather than stiff.
6 Golden Doodle Drawing Tutorials For Aspiring Pet Portrait Artists Compared at a Glance
Before diving into each tutorial individually, it helps to see how they differ in focus, format, and skill level. The table below summarizes the core strengths of each resource covered in this roundup.
| Tutorial Focus | Best For | Core Skill Taught | Format |
|---|---|---|---|
| Mini Goldendoodle fur technique | Intermediate artists | Overlapping curl strokes and layered values | Written, illustrated steps |
| OodleLife structured step-by-step guide | Beginners to intermediate | Full-body construction and coloring stages | Written, illustrated steps |
| Vet-authored anatomy guide | Beginners focused on accuracy | Proportions and breed-specific structure | Written, diagram-based |
| Clip Studio digital dog construction | Digital artists | Construction shapes and multi-tone shading | Video and written |
| Wacom tablet dog-drawing method | Digital artists using tablets | Rounding forms and realistic rendering | Video and written |
| Pose and composition idea collection | Artists seeking variety | Staging, gesture, and character | Visual reference gallery |
Each of these approaches contributes something different, and many professional pet portrait artists combine techniques from several sources rather than relying on just one.
1. Mastering Curly Fur Texture with the Mini Goldendoodle Method
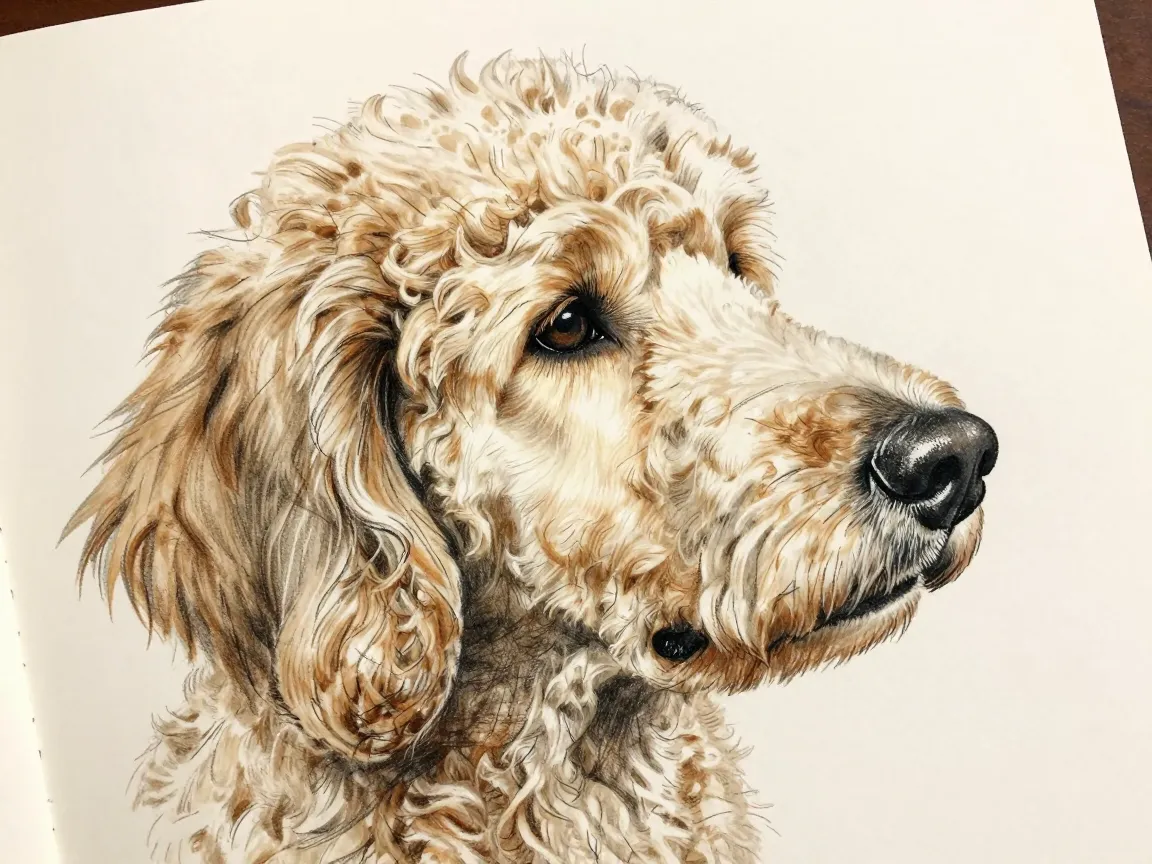
The most recently published Goldendoodle-specific tutorial focuses almost entirely on solving the curly fur problem, and it does so through a technique built around overlapping strokes that follow the natural direction of the curls. Rather than treating fur as a flat surface to be shaded uniformly, this method treats each cluster of curls as its own small shape with its own light source consideration.
The tutorial’s timed sketch exercises are particularly useful for portrait artists working from live reference or photographs of an active dog. By setting a short time limit, such as sixty or ninety seconds, artists are forced to capture the essential pose and expression before worrying about texture detail. This builds a stronger foundation because gesture and proportion errors become much harder to fix once fur rendering has begun.
Layered values are the second pillar of this approach. Artists are guided to establish three to four value zones across the coat: a light base tone for areas catching direct light, a mid-tone for the bulk of the coat, a darker tone for recessed curls and shadow pockets, and an even deeper tone reserved for areas like under the chin or inside the ear folds. This layered value system creates the illusion of volume that flat, single-tone fur rendering simply cannot achieve.
Artists who struggle with fur looking “matted” or “flat” in their portraits will benefit most from this tutorial, since it directly addresses the texture problem that separates amateur Goldendoodle drawings from convincing ones.
2. Following the Structured Head-to-Tail Method for Full-Body Accuracy
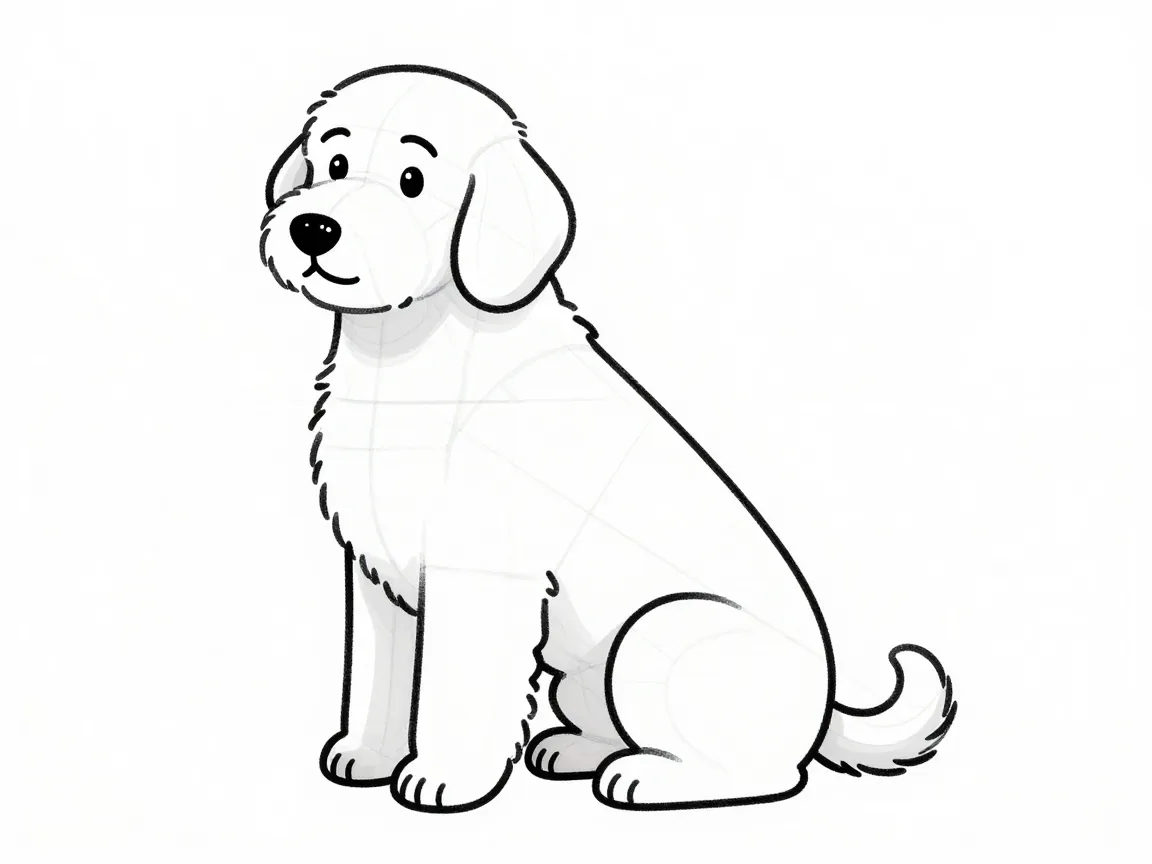
For artists who want a complete, methodical walkthrough rather than a technique-focused lesson, a structured step-by-step guide breaks the entire drawing process into five clear stages: the head, the facial expression, the body, the tail, and finally coloring. This sequential structure makes it one of the most beginner-friendly options available, since each stage builds logically on the last without requiring the artist to jump between different areas of the drawing.
The facial expression stage deserves particular attention because it is where most of a Goldendoodle’s personality lives. This method recommends curved lines above the eyes to suggest expressive brows, oval-shaped eyes with small circular pupils positioned slightly off-center for a warmer look, and a nose rendered with a small highlighted patch to suggest wetness and shine. These small choices make an enormous difference in whether a portrait feels alive or lifeless.
“The eyes and nose carry more emotional weight than any other feature in a pet portrait. Get those two elements right, and the rest of the drawing has room to be imperfect.”
Once the body and tail are blocked in using simple ovals and curves, the coloring stage introduces layered browns and fine brushwork to indicate fur direction and depth. This approach works equally well in traditional pencil, colored pencil, or digital media, making it one of the more versatile options among the 6 Golden Doodle Drawing Tutorials For Aspiring Pet Portrait Artists featured in this roundup.
3. Building Anatomical Accuracy Through Vet-Informed Construction
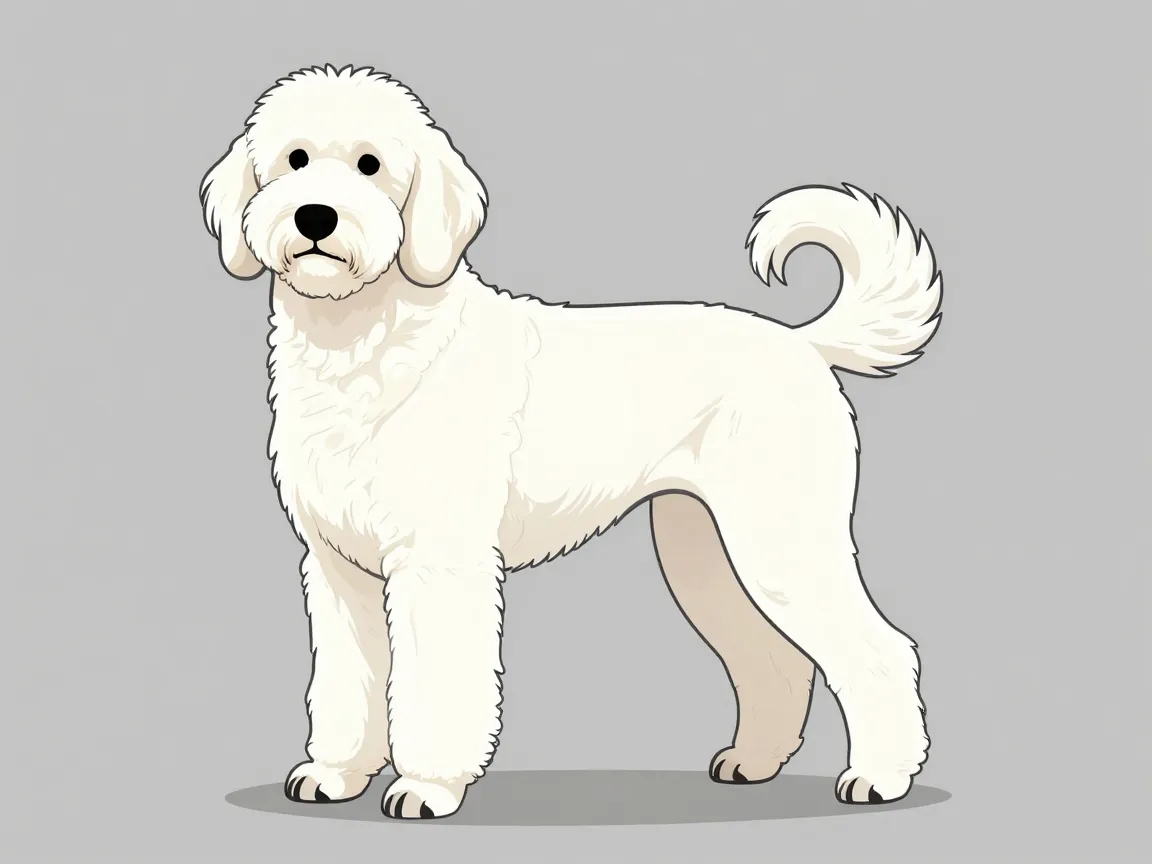
Artists who want their Goldendoodle portraits to hold up under close scrutiny, particularly from clients who own the actual dog, should pay close attention to anatomically grounded instruction. A vet-authored drawing guide bridges the gap between veterinary knowledge of canine structure and practical art instruction, and it remains one of the more authoritative resources for getting proportions right.
This method begins with a circle for the skull and a curved line to establish the muzzle, ensuring the head shape reflects the actual bone and muscle structure underneath the fur rather than an arbitrary artistic interpretation. From there, a sturdy body construction accounts for the Goldendoodle’s characteristically stocky, athletic build, which differs noticeably from leaner or more elongated dog breeds.
Special attention is given to the floppy ears and curled tail, two features that instantly signal breed identity to viewers even before fur texture or coloring is added. Getting the ear placement and droop angle correct, along with an appropriately curled (rather than straight or overly tight) tail, prevents the common mistake of a Goldendoodle drawing looking generic or breed-ambiguous.
This tutorial is best suited to artists who plan to take commissions or produce portraits for clients, since anatomical credibility is often the difference between a portrait that satisfies a discerning pet owner and one that falls short despite otherwise strong technique.
4. Learning Construction Shapes Through Clip Studio’s Digital Dog Method
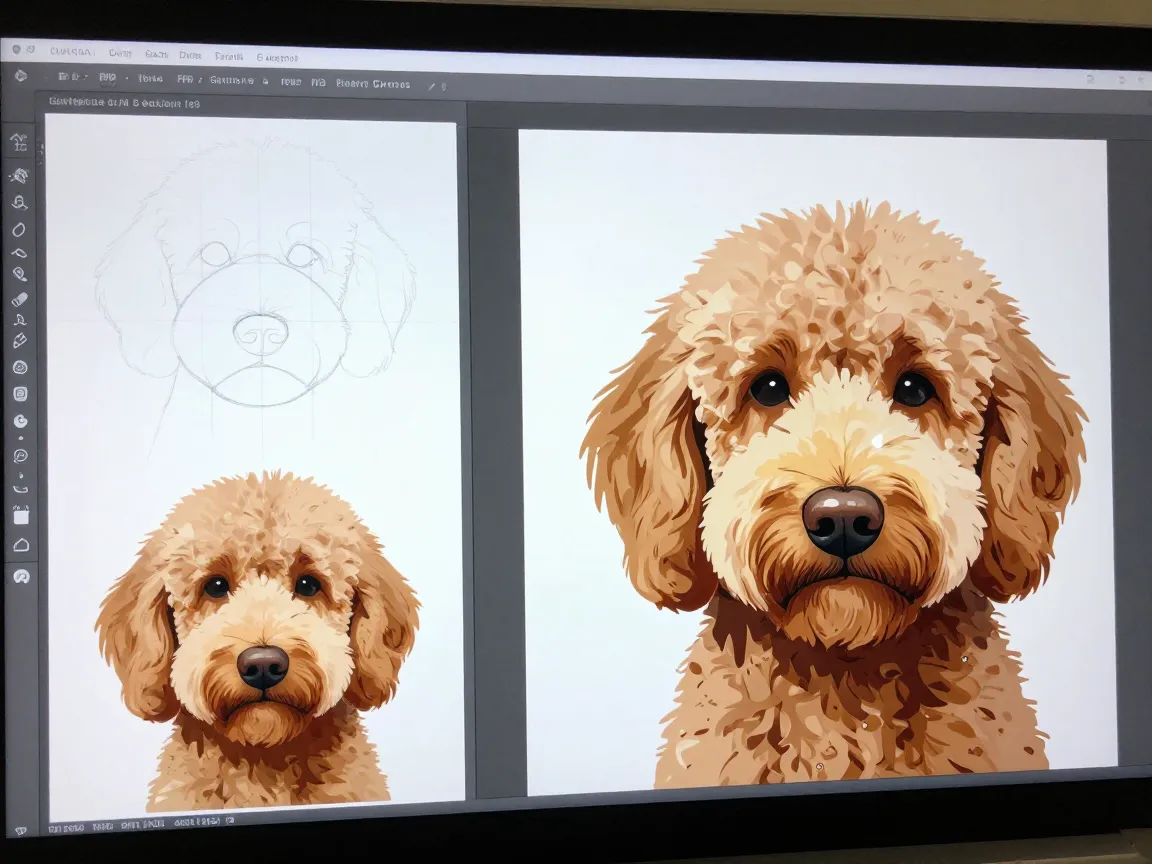
Digital artists working in programs designed for illustration will benefit from a widely used three-step construction method that, while not exclusively about Goldendoodles, translates directly to the breed when combined with curly-fur techniques from the more specialized tutorials above. This method emphasizes starting with simple geometric shapes, rounding those shapes into believable forms, and then applying multi-tone shading to create dimension.
The construction-shape approach is particularly valuable for digital artists because it takes advantage of layering, a feature unavailable in traditional media. Artists can block in basic shapes on one layer, refine proportions on another, and add fur texture and shading on separate layers entirely, which makes corrections far easier than erasing and redrawing on paper.
The multi-tone shading system taught in this method uses four distinct color values: a base tone representing the dog’s natural coat color, two darker gradations for shadow areas, and one lighter tone for areas catching direct light. Applied to a Goldendoodle’s warm, varied brown coat, this four-shade approach produces a noticeably more three-dimensional result than flat single-tone coloring.
Realistic nose and eye rendering rounds out this method, with specific attention paid to how light interacts with the wet, reflective surfaces of a dog’s nose and eyes. These small highlight placements are often what separates a competent digital sketch from a portrait that looks genuinely lifelike.
5. Applying Wacom’s Tablet-Based Rendering Techniques for Realistic Fur
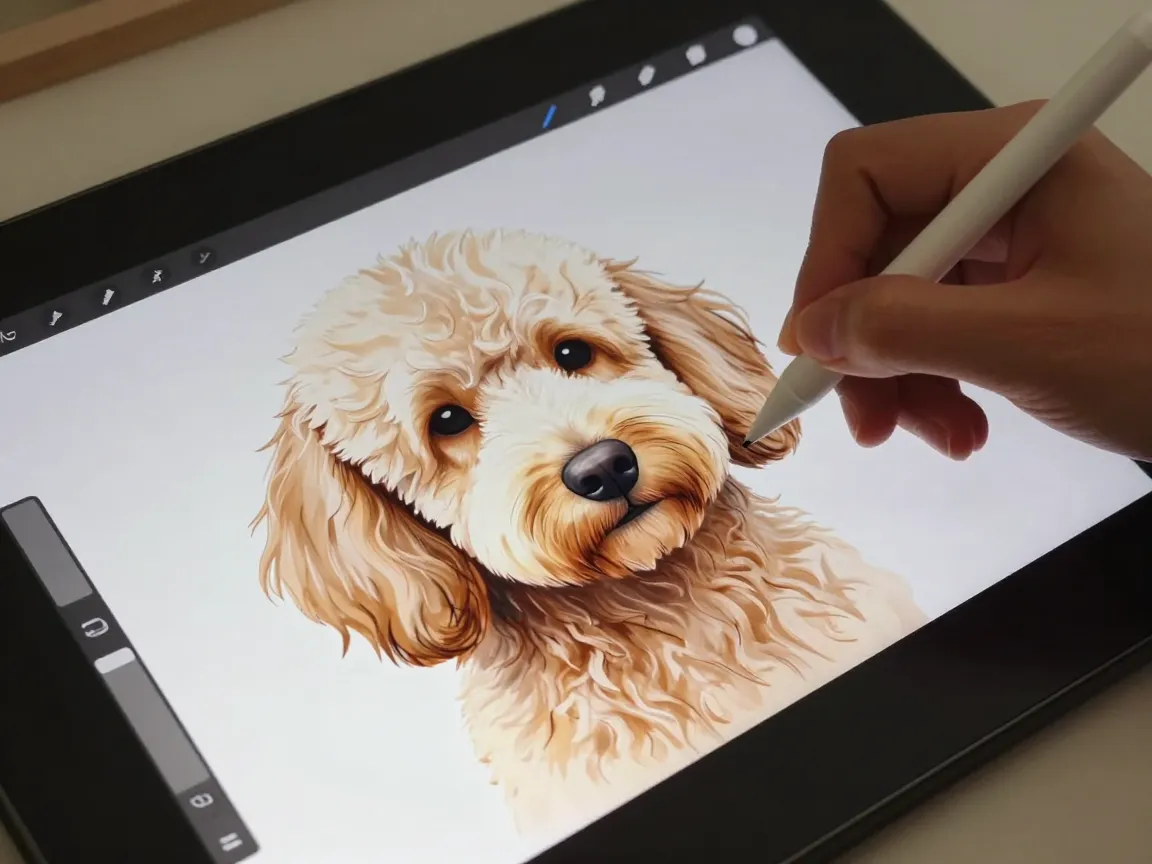
Tablet users working with stylus-based drawing hardware have access to a rendering method that focuses heavily on rounding forms and building realistic fur through pressure-sensitive brushwork. While this tutorial covers dogs broadly rather than Goldendoodles specifically, its techniques for simulating fur density and directional growth apply directly to the breed’s curly coat when paired with breed-specific texture guidance.
Pressure sensitivity is the key advantage tablet artists have over traditional media users. By varying stylus pressure, artists can create the same lighter-to-darker stroke variation that traditional pencil tutorials achieve through hand pressure control, but with far more consistency and the ability to undo mistakes instantly. This makes tablet-based methods especially forgiving for beginners still developing fur-texture instincts.
This method also stresses rounding forms early in the drawing process, meaning basic shapes should be softened into more organic, rounded silhouettes before any fine detail work begins. Skipping this step often results in portraits that look stiff or geometric even after fur texture has been added, since the underlying structure never actually reads as a living, breathing animal.
Combined with a multi-tone shading system similar to the one described in Clip Studio’s method, this tablet-based approach gives digital pet portrait artists a complete toolkit for producing polished, professional-looking Goldendoodle illustrations.
6. Exploring Pose and Composition Ideas for Character-Driven Portraits
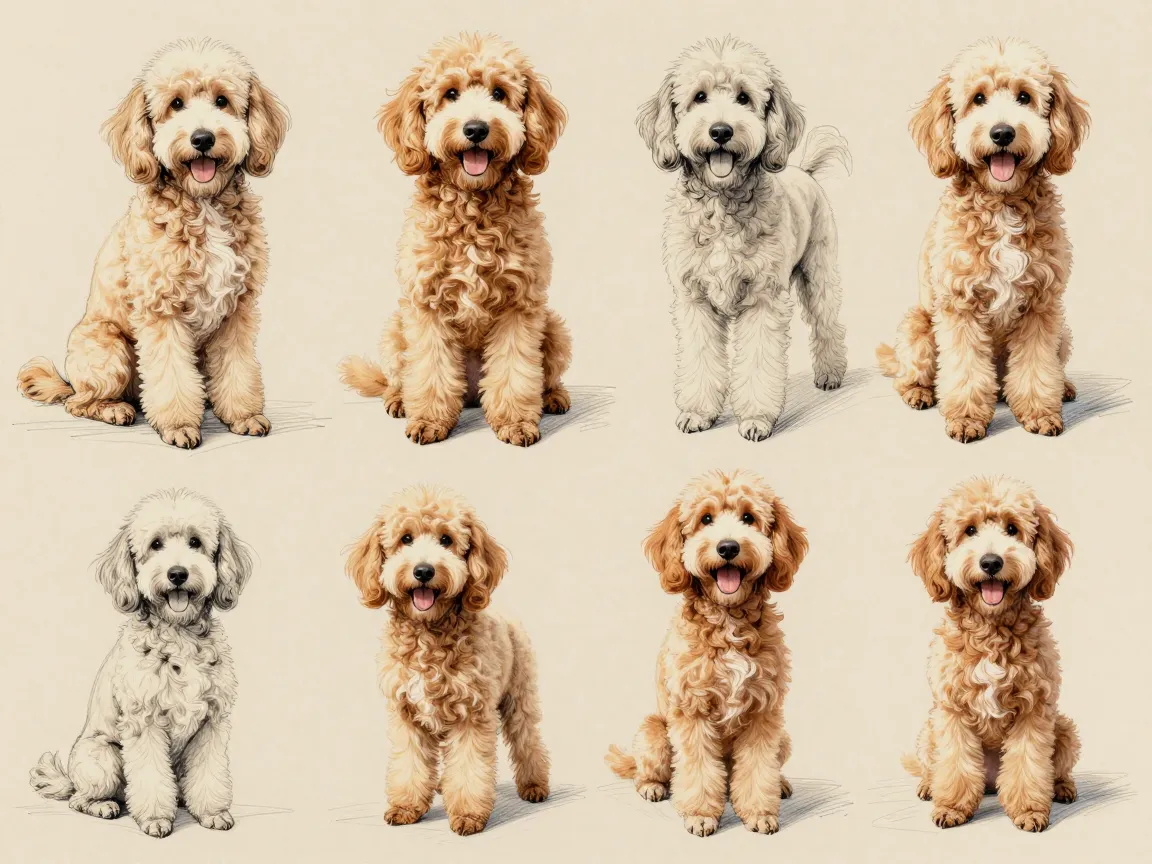
Technical skill alone does not guarantee a compelling pet portrait. The sixth tutorial in this roundup shifts focus away from rendering technique and toward composition, staging, and gesture, drawing from a curated collection of Goldendoodle drawing ideas designed to inspire variety beyond a single static pose.
Seated poses are among the most popular compositions featured in this resource, typically constructed using a small circle for the head and a larger oval for the body, with front legs tucked neatly underneath and back legs peeking out from behind. This pose reads as relaxed and approachable, making it a strong default choice for portrait artists working with clients who want a warm, friendly depiction of their pet.
Beyond seated poses, this collection encourages artists to experiment with action poses, playful expressions, and unconventional angles that capture more of a dog’s individual personality than a straightforward front-facing portrait ever could. For portrait artists building a professional body of work, having a range of compositional options on hand makes it far easier to match a drawing style to a specific dog’s temperament and a client’s preferences.
This tutorial pairs particularly well with the anatomical and texture-focused lessons covered earlier in this list, since strong composition combined with accurate proportions and convincing fur rendering produces the most complete, professional-quality result.
How to Choose the Right Tutorial for Your Skill Level
Not every artist needs to work through all 6 Golden Doodle Drawing Tutorials For Aspiring Pet Portrait Artists in this list at once. Matching a tutorial to current skill level produces faster improvement than attempting advanced techniques prematurely.
- Complete beginners should start with the structured head-to-tail method, since its sequential stages prevent the overwhelm that comes from trying to tackle fur texture and shading before basic proportions are solid.
- Artists comfortable with basic dog anatomy but struggling with texture should move directly to the curly fur technique tutorial, since it addresses the single biggest visual challenge specific to Goldendoodles.
- Those planning to take client commissions should prioritize the vet-informed anatomy guide, since accuracy and breed recognizability matter more in professional work than stylistic flourishes.
- Digital artists new to tablets or illustration software should begin with either the Clip Studio or Wacom method, choosing based on which software or hardware they already own.
- Artists who have technical skill but feel their portraits lack personality should study the pose and composition collection to expand their range beyond static, front-facing drawings.
Common Mistakes to Avoid When Drawing Goldendoodles
Even with strong tutorials, several recurring mistakes tend to undermine otherwise promising Goldendoodle portraits.
Uniform fur texture is the most frequent issue. Applying the same stroke pattern across the entire coat, regardless of light direction or curl density, flattens the drawing and removes the sense of volume that makes curly fur visually interesting.
Ignoring breed-specific anatomy is a close second. Drawing a generic dog shape and simply adding curly texture on top, without adjusting for the Goldendoodle’s characteristic floppy ears, curled tail, and stocky build, produces a drawing that fails to read as the specific breed being depicted.
Over-detailing individual curls rather than suggesting texture through variation is another common trap, particularly among artists new to rendering fur. Attempting to draw every single curl with equal precision often results in a busy, cluttered coat that actually looks less realistic than a looser, more suggestive approach.
Neglecting eye and nose highlights rounds out the list of frequent errors. These small reflective details carry disproportionate emotional weight, and skipping them, even when the rest of the drawing is technically strong, often results in a portrait that feels flat or emotionless.
Frequently Asked Questions
What is the easiest Goldendoodle drawing tutorial for a complete beginner?
The structured head-to-tail method is generally the most beginner-friendly option, since it breaks the process into five clear, sequential stages that prevent the artist from feeling overwhelmed by fur texture or anatomical detail too early in the process.
Do I need a digital tablet to follow these tutorials successfully?
No. Most of the techniques covered, including overlapping curl strokes, layered values, and multi-tone shading, translate directly to traditional pencil, colored pencil, or ink work. Tablet-specific tutorials simply offer additional convenience through pressure sensitivity and non-destructive layering.
How long does it typically take to master Goldendoodle fur texture?
There is no fixed timeline, since progress depends heavily on practice frequency and prior drawing experience. Artists who practice timed sketch exercises regularly and study reference photos of curly-coated dogs tend to see noticeable improvement within several weeks of consistent effort.
Can these techniques be applied to other curly-coated dog breeds?
Yes. The overlapping stroke and layered value techniques used for Goldendoodle fur apply well to other curly or wavy-coated breeds, including standard Poodles, Labradoodles, and Cockapoos, with only minor adjustments for differences in coat density and curl tightness.
Conclusion
Mastering a convincing Goldendoodle portrait comes down to combining several distinct skills rather than relying on a single technique. Strong construction and anatomical accuracy provide the foundation, layered fur texture and multi-tone shading create believable depth, and thoughtful composition brings out the personality that makes a pet portrait feel personal rather than generic.
Working through these 6 Golden Doodle Drawing Tutorials For Aspiring Pet Portrait Artists in a deliberate order, starting with basic construction, moving into texture and shading, and finishing with pose exploration, gives artists a clear, structured path toward genuinely professional results. The most effective next step is simple: choose one tutorial that matches current skill level, complete a full practice drawing using its specific techniques, and compare the result against a reference photo to identify exactly where proportions, texture, or expression can improve. Repeating this process across several Goldendoodle studies, rather than jumping between unrelated subjects, builds the muscle memory and visual judgment that separates a hobbyist sketch from a portrait clients are genuinely proud to hang on their wall.