Cat Body Drawing Tutorial Steps To Master Proportions And Posture
A cat’s spine can bend nearly 180 degrees more than a human’s, which is exactly why so many beginner drawings end up looking like stiff sausages with legs bolted on. That single anatomical fact explains most of the awkward cat sketches cluttering sketchbooks everywhere. The good news: artists who follow a structured, repeatable method consistently produce cats that look alive, balanced, and correctly proportioned, even in tricky poses like crouching or mid-leap. This article breaks down 6 Cat Body Drawing Tutorial Steps To Master Proportions And Posture, drawing on current construction methods used by professional illustrators and animation artists in 2026.
Disclosure: This post contains affiliate links. As an Amazon Associate, we earn from qualifying purchases, and at no extra cost to you.
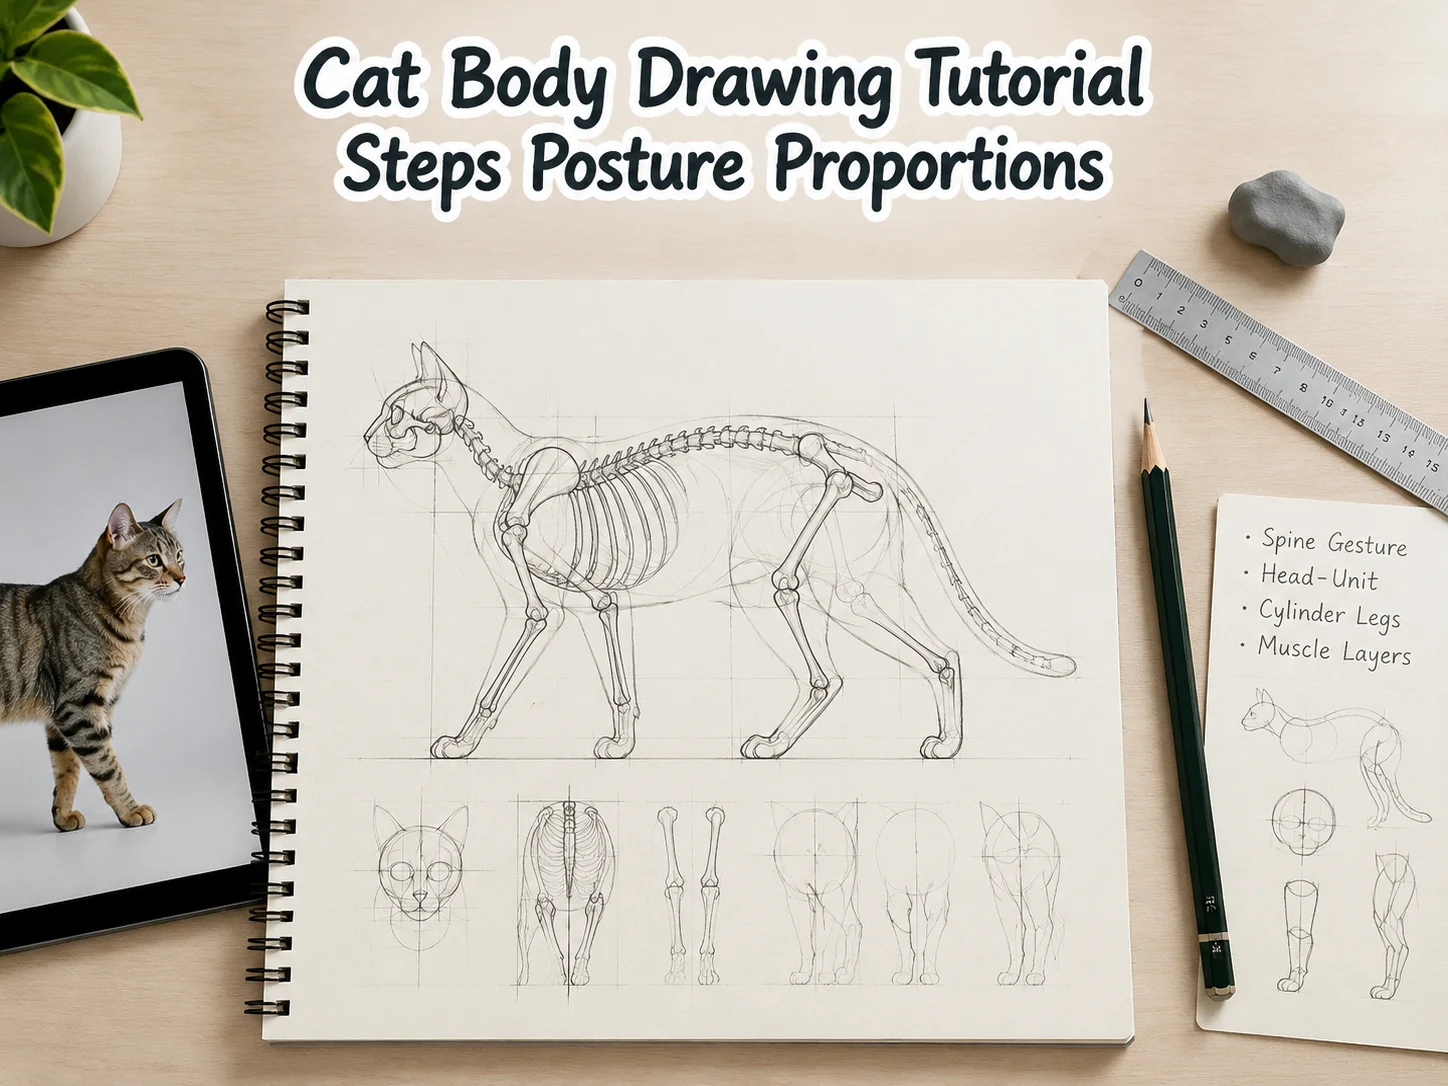
Whether working in pencil, ink, or a digital drawing app, the underlying skeleton of the process stays the same. Understanding the spine gesture, head-unit proportions, and joint placement removes guesswork and replaces it with a system that works across breeds, angles, and moods. The following steps walk through that system in order, from the very first line to the final fur details.
Key Takeaways
- Starting with a loose spine gesture, often an S-curve, before drawing any shapes controls the entire posture of the final cat drawing.
- The head-unit measuring system keeps proportions consistent, with most adult cats measuring roughly four to five heads long and about three to three-and-a-half heads tall.
- Front legs sit at an angle and appear shorter, while hind legs are longer, more vertical, and bend more sharply at the knee, a detail that strongly affects realism.
- Building an internal “skeleton” first, then adding muscle shapes and finally fur, prevents the flat, stiff look common in beginner drawings.
- Reference photos and quick gesture studies from real cats train the eye to spot alignment mistakes before they end up on the page.
Why Mastering Cat Proportions and Posture Matters More Than Style
Many new artists focus on fur texture, whisker placement, or eye shading before the body underneath is even correct. That order of operations almost guarantees frustration, because no amount of surface detail fixes a torso that is too long, legs that point the wrong direction, or a spine that never curves. Proportions and posture form the skeleton of believability. Get them right, and even a rough sketch reads as a convincing cat. Get them wrong, and even carefully rendered fur cannot save the drawing.
Cats also move and rest in ways that are structurally different from dogs or humans. Their spines are more flexible, their shoulder blades are not fixed to a collarbone the way a human’s are, and their hind legs store more power for jumping. This means a drawing method built for generic quadrupeds often falls short. A dedicated approach to cat body drawing tutorial steps accounts for these quirks specifically, which is why standardized head-unit proportions and skeleton-first construction have become the backbone of modern tutorials.
There is also a practical reason to master this system early. Once an artist internalizes head-based proportions and the basic joint structure, drawing cats in new poses becomes dramatically faster. Instead of copying a reference line by line, the artist can construct a pose from memory and adjust it with confidence, which is the real mark of skill progression.
The 6 Cat Body Drawing Tutorial Steps To Master Proportions And Posture
The following sequence reflects how most current tutorials, from traditional sketchbook lessons to digital painting workflows, break down the construction process. Each step builds directly on the one before it, so skipping ahead tends to create compounding errors that are hard to fix later.
1. Sketch the Spine Gesture First
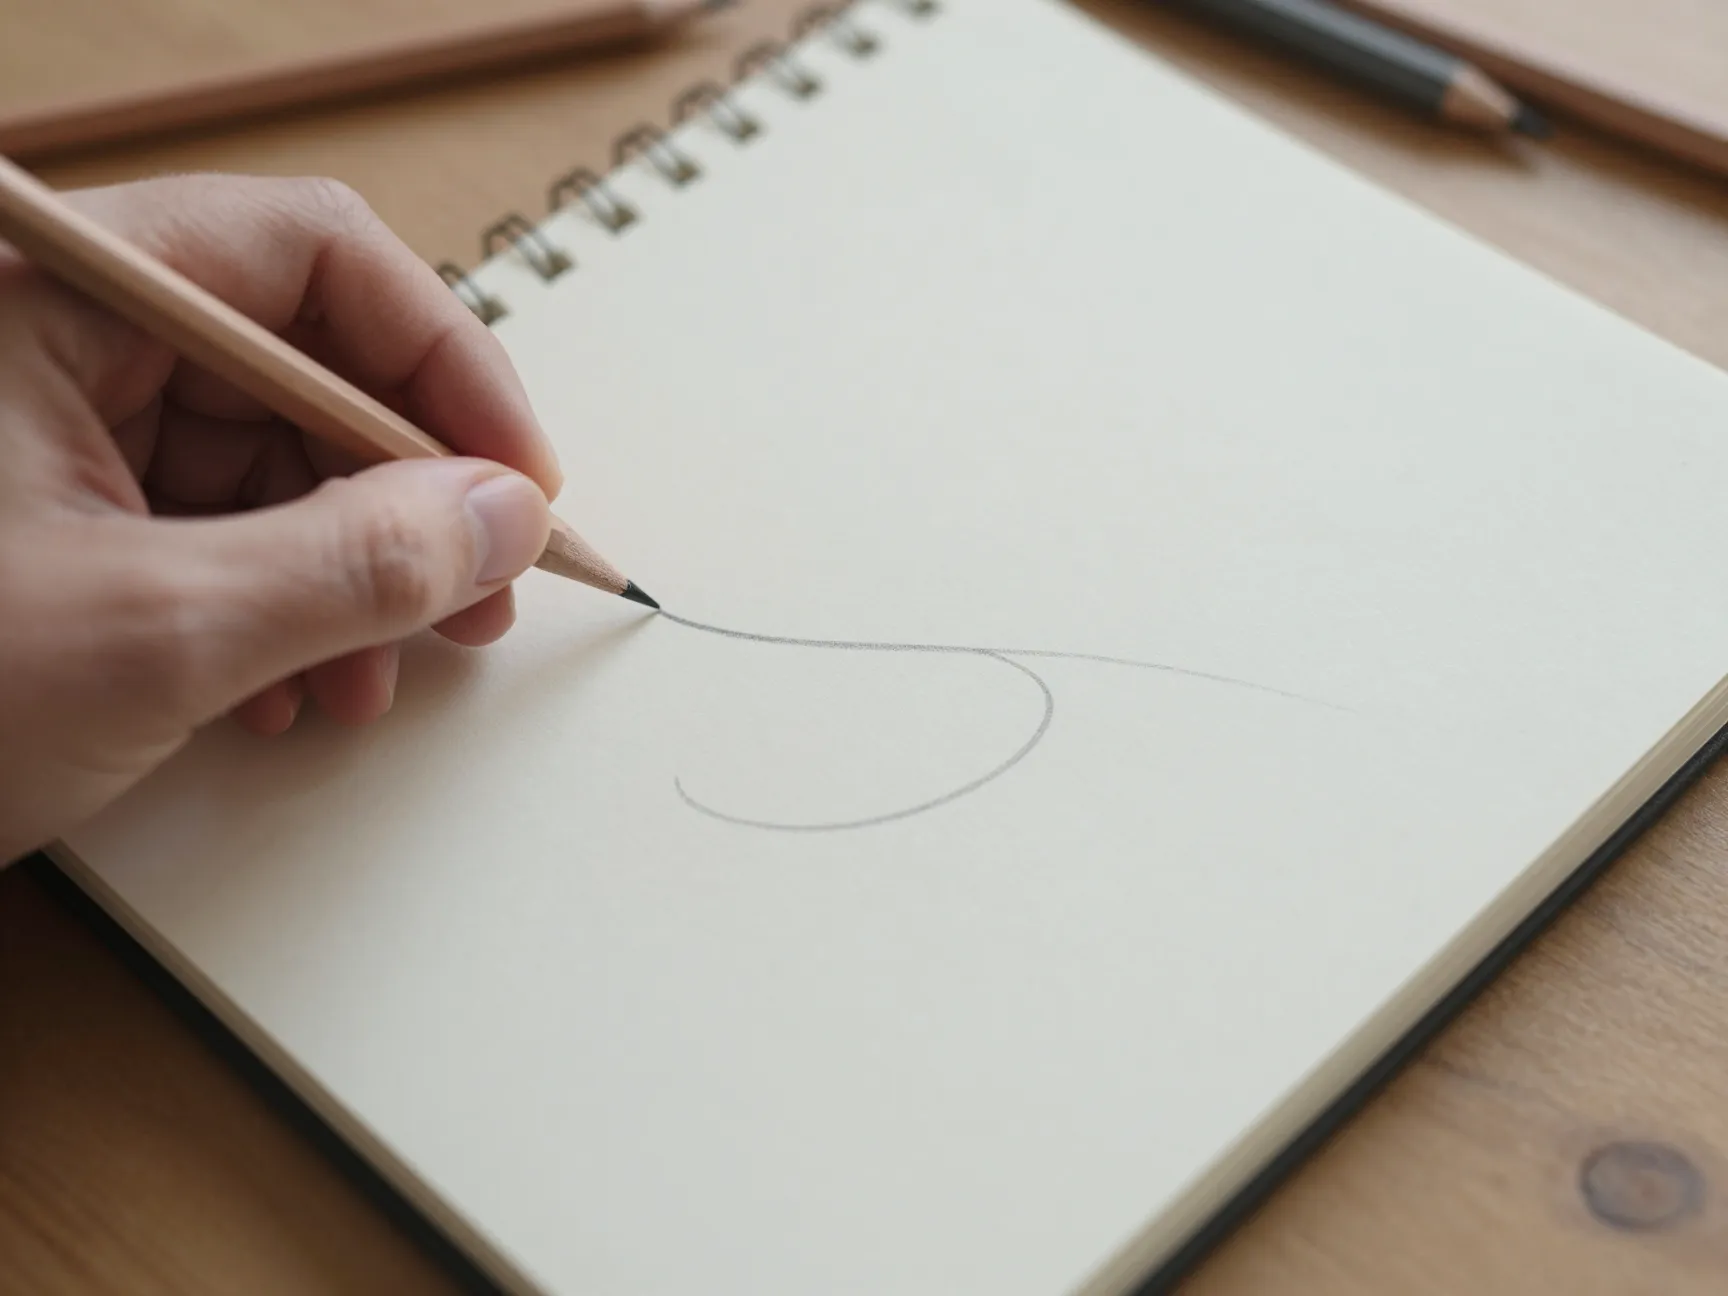
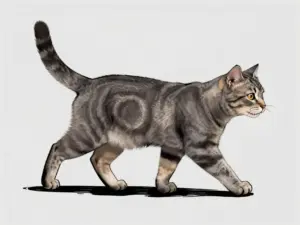
Before drawing a single shape, lay down one flowing line that represents the cat’s spine. This is often called the gesture line, and it typically forms a soft S-curve rather than a straight line. The curve should indicate where the head will sit, how the back arches or dips, and where the tail begins.
This step matters because the spine dictates posture more than any other single element. A cat sitting alert has a very different spine curve than one stretching after a nap or crouching before a pounce. Spend extra time here rather than rushing to shapes, since correcting a gesture line takes seconds, while correcting a fully rendered drawing takes much longer. Many artists draw five or six quick gesture lines on the same page, testing different curves before committing to one that captures the intended mood.
2. Block In the Head, Ribcage, and Pelvis with Basic Shapes
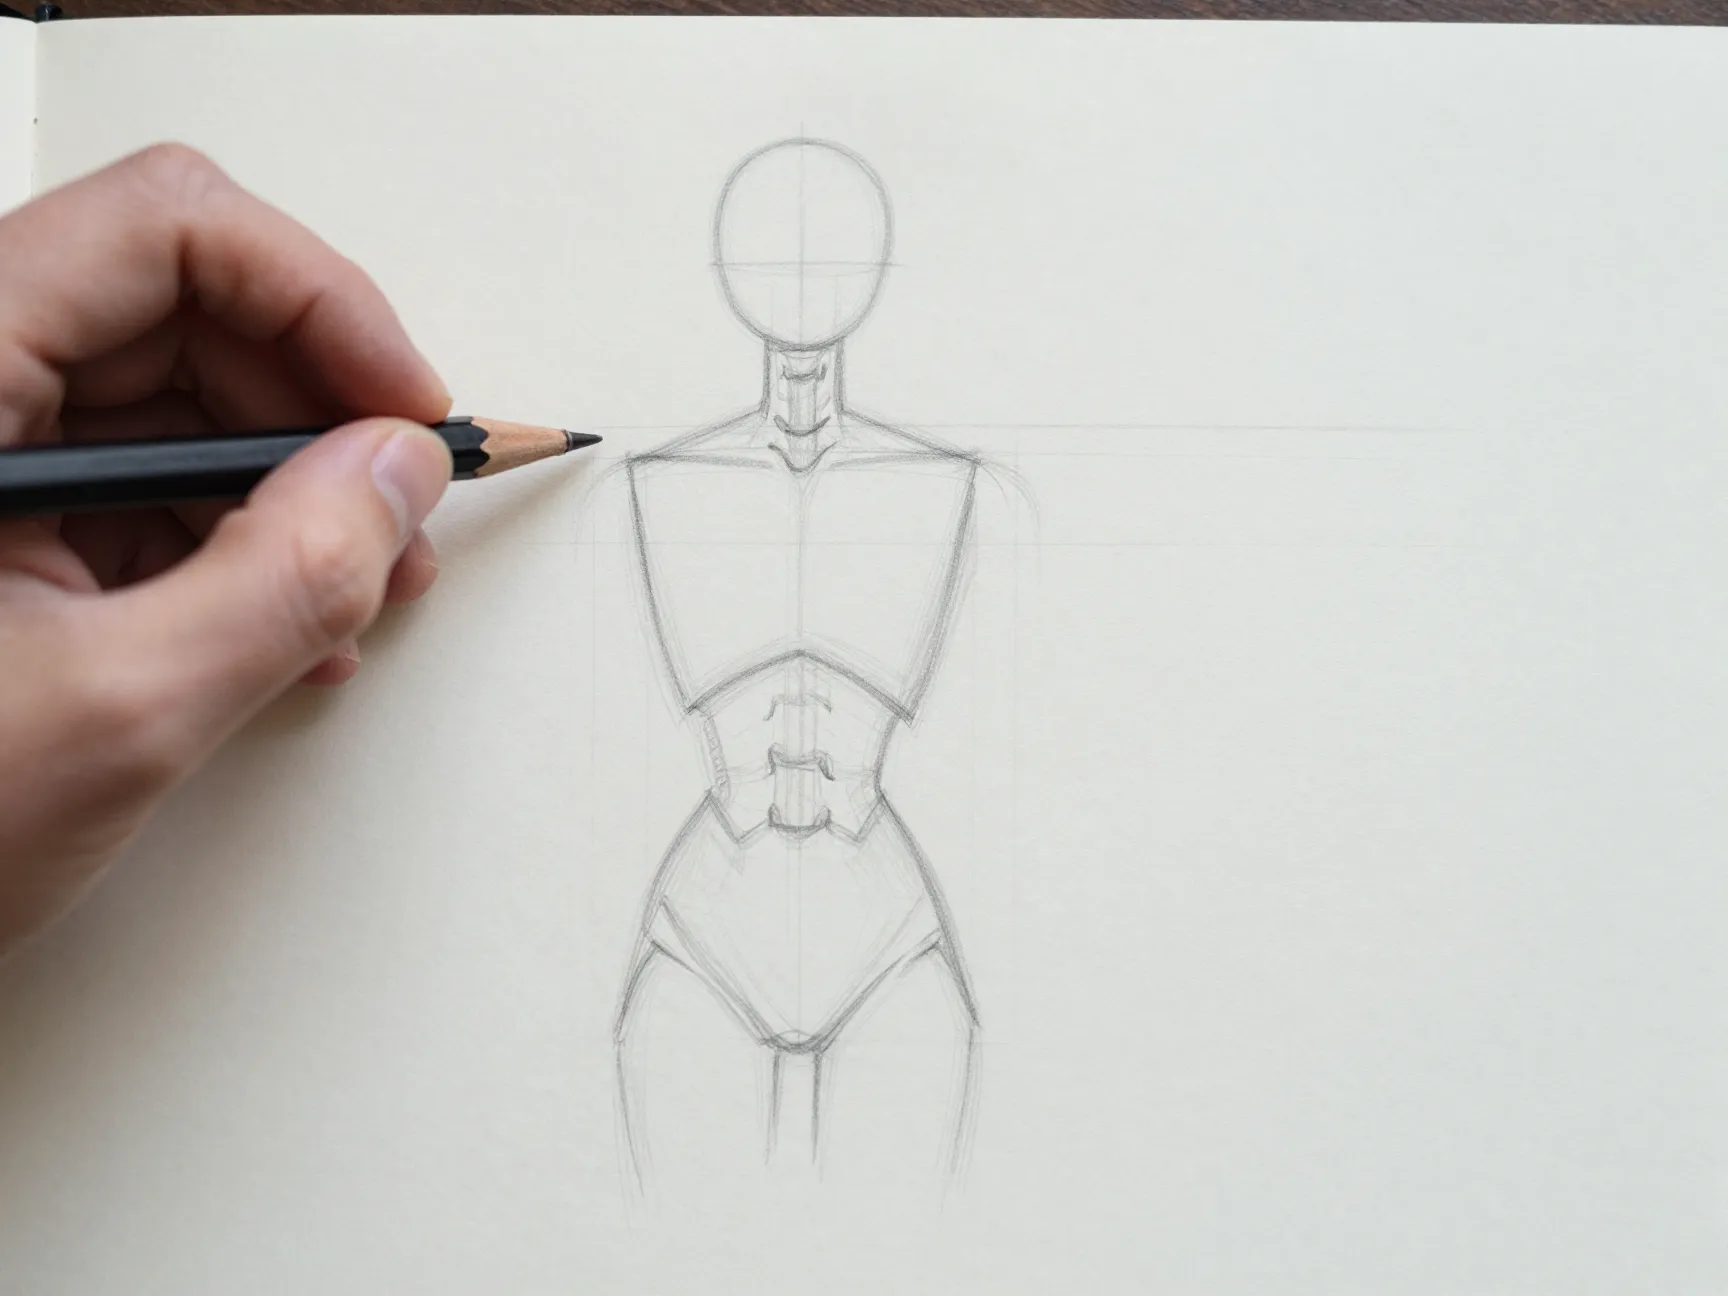
Once the gesture line feels right, add three simple shapes along it: a circle for the head, an oval for the ribcage, and a smaller oval for the pelvis. These three shapes represent the major masses of the body and act as anchors for everything added later.
Place the ribcage oval toward the front portion of the spine curve and the pelvis oval toward the back, leaving a visible gap of spine between them. This gap is important because it is where the waist tapers, giving the cat its characteristic flexible silhouette rather than a stiff, tube-like body. The ribcage oval is usually the largest shape, since it houses the lungs and heart and gives the chest its rounded volume.
3. Measure Proportions Using the Head-Unit System
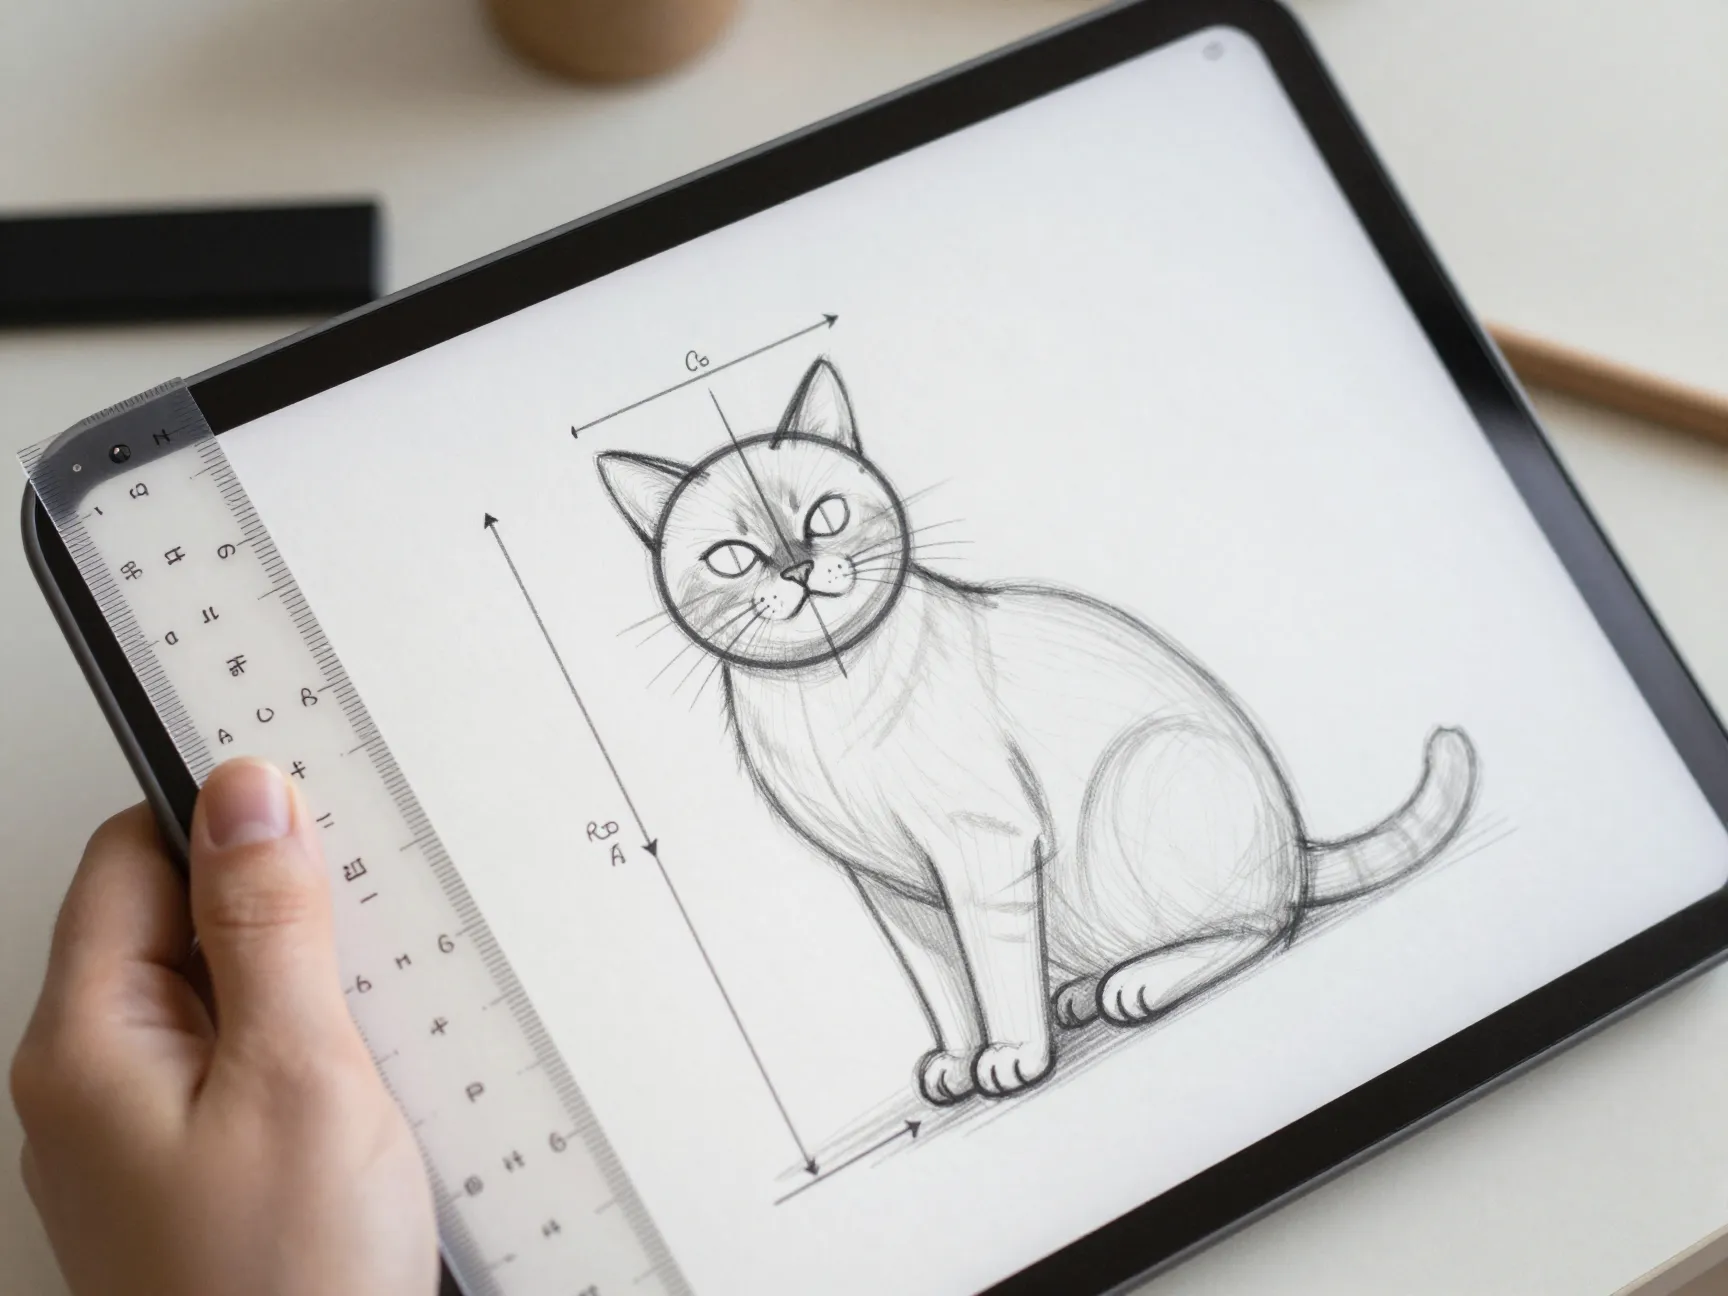
This step is where many beginner drawings quietly go wrong, so it deserves careful attention. Using the head circle from step two as a measuring unit, check the overall body length and height against it. Most adult domestic cats have a body length of roughly four to five head units, while body height at the shoulder often falls around three to three-and-a-half head units. Some simplified guides use a slightly looser two to three head-length rule for the torso alone, excluding the head and tail, so it helps to pick one consistent standard and apply it throughout a single drawing.
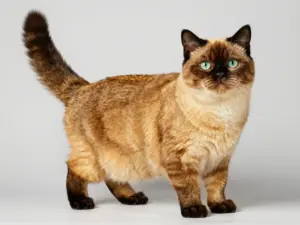
Kittens follow a different ratio, often closer to one head fitting into three body lengths, which is why kittens look proportionally larger-headed and rounder than adult cats. Breed also matters: a British Shorthair tends to have shorter legs relative to its head-unit body length than a lean breed like an Oriental Shorthair. The tail typically measures out to about three head units in many proportion guides, and the space between the head and the shoulder or hip line is roughly one head unit. Checking these measurements before moving forward prevents the frustrating experience of finishing a drawing only to realize the legs are too short or the torso is stretched.
4. Construct the Legs with Cylinders and Joint Circles
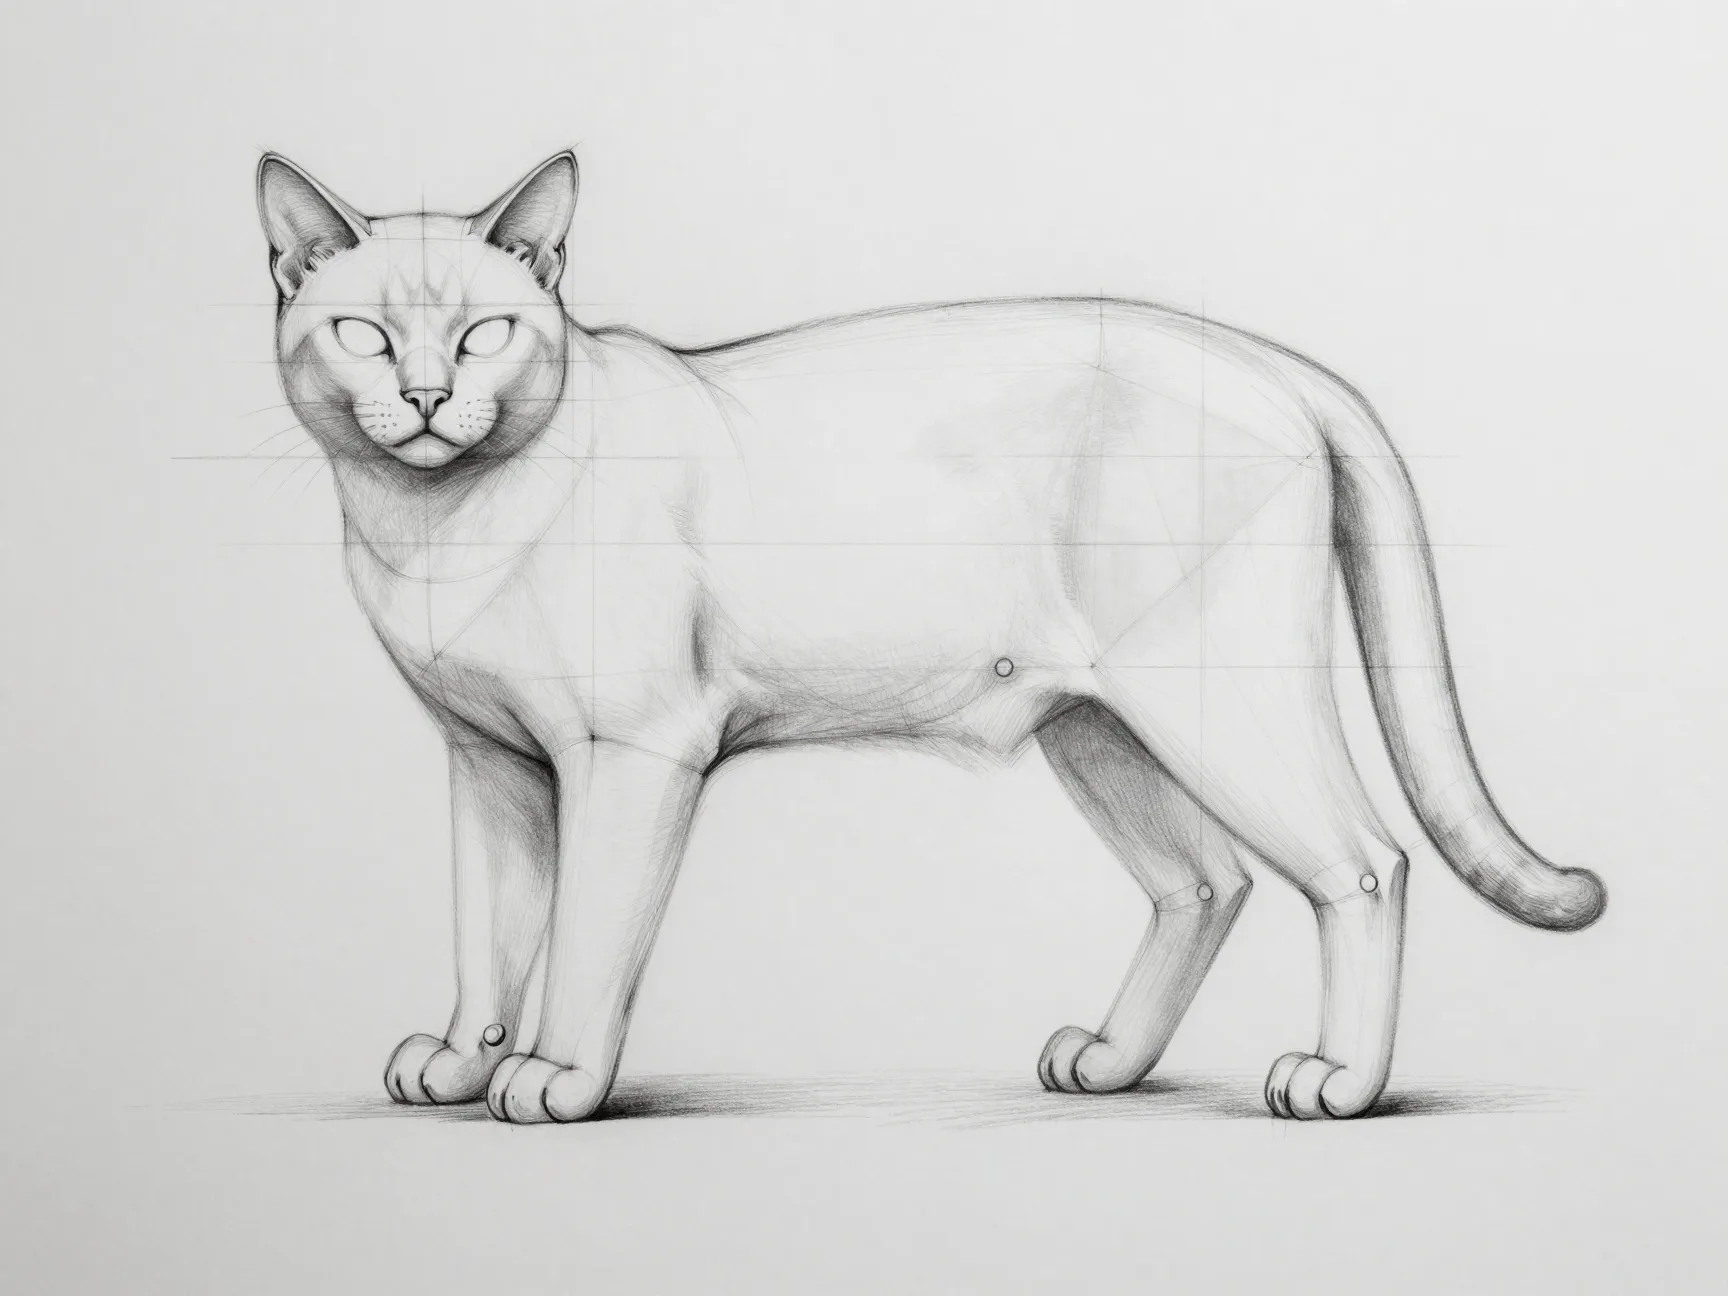
With the torso proportions confirmed, add the legs using simple cylinders connected by small circles at each joint, similar to building a wooden artist’s mannequin. Front legs should emerge from the shoulder area at a slight angle rather than straight down, and they generally appear a bit shorter than the hind legs. Hind legs, by contrast, are longer, positioned more vertically, and bend more sharply at the knee, giving cats their springy, powerful-looking rear stance.
A widely used rule of thumb treats total leg length as roughly half of the body’s height, though this shifts for short-legged breeds. Pay close attention to how the front legs connect to the shoulder blades, since cats lack a rigid collarbone connection, which allows their front legs a wider range of motion than many artists expect. Getting this joint placement correct is often the single biggest factor separating a natural-looking pose from a stiff one.
5. Layer In Muscles and Refine the Silhouette
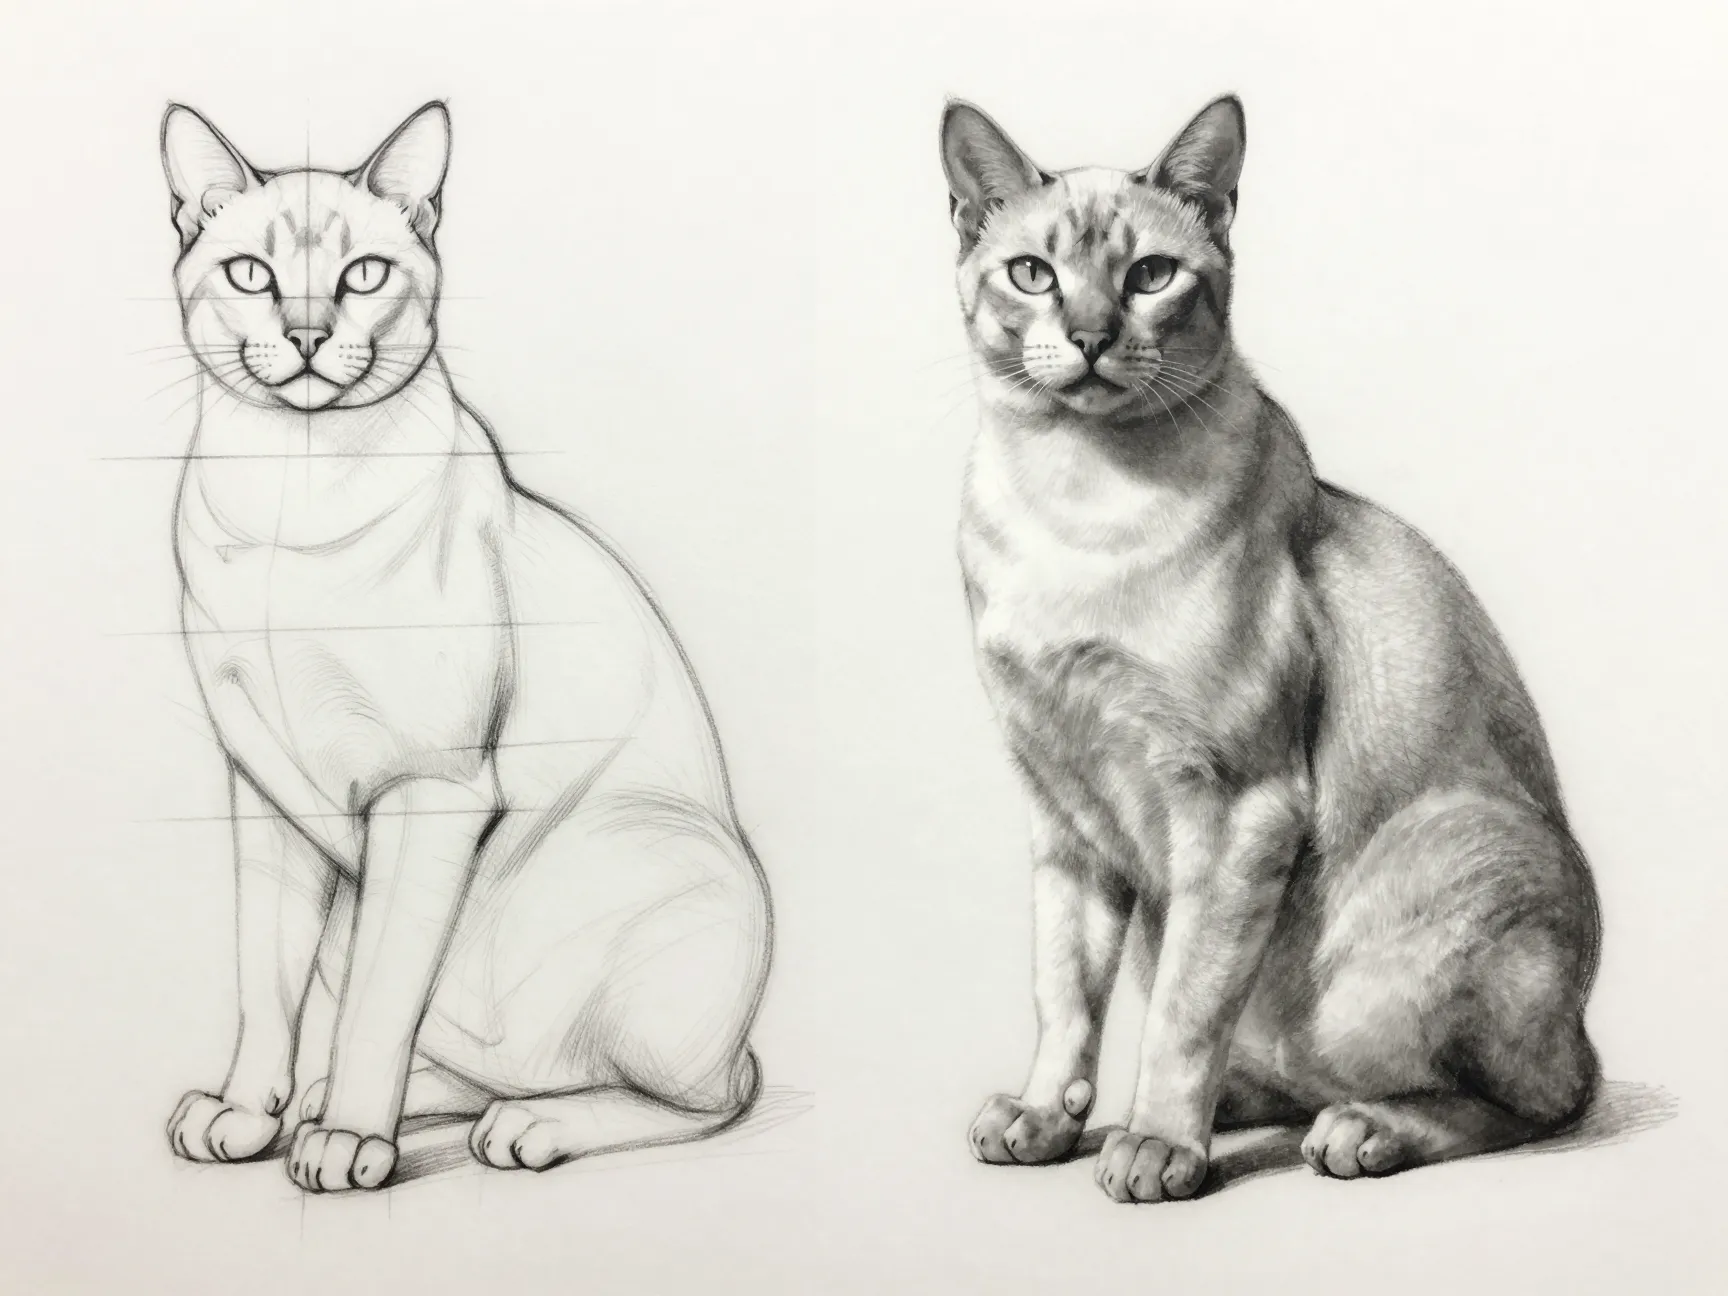
With the skeleton and limb structure in place, it is time to add weight and believability through muscle shapes. Three muscle groups matter most for a convincing cat body: the trapezius area across the shoulders, the latissimus muscles running along the sides of the torso, and the strong gluteal muscles powering the hindquarters. These do not need to be anatomically perfect, but suggesting their bulk transforms a flat, tube-shaped construction into something with real physical presence.
This is also the stage to smooth the silhouette, softening the hard edges of the original circles and ovals into the continuous, flowing outline that reads as a cat. Compare the emerging silhouette against reference photos, checking that the chest, belly curve, and haunches all connect logically along the spine established in step one.
6. Clean Up Line Work and Add Fur, Values, and Final Details
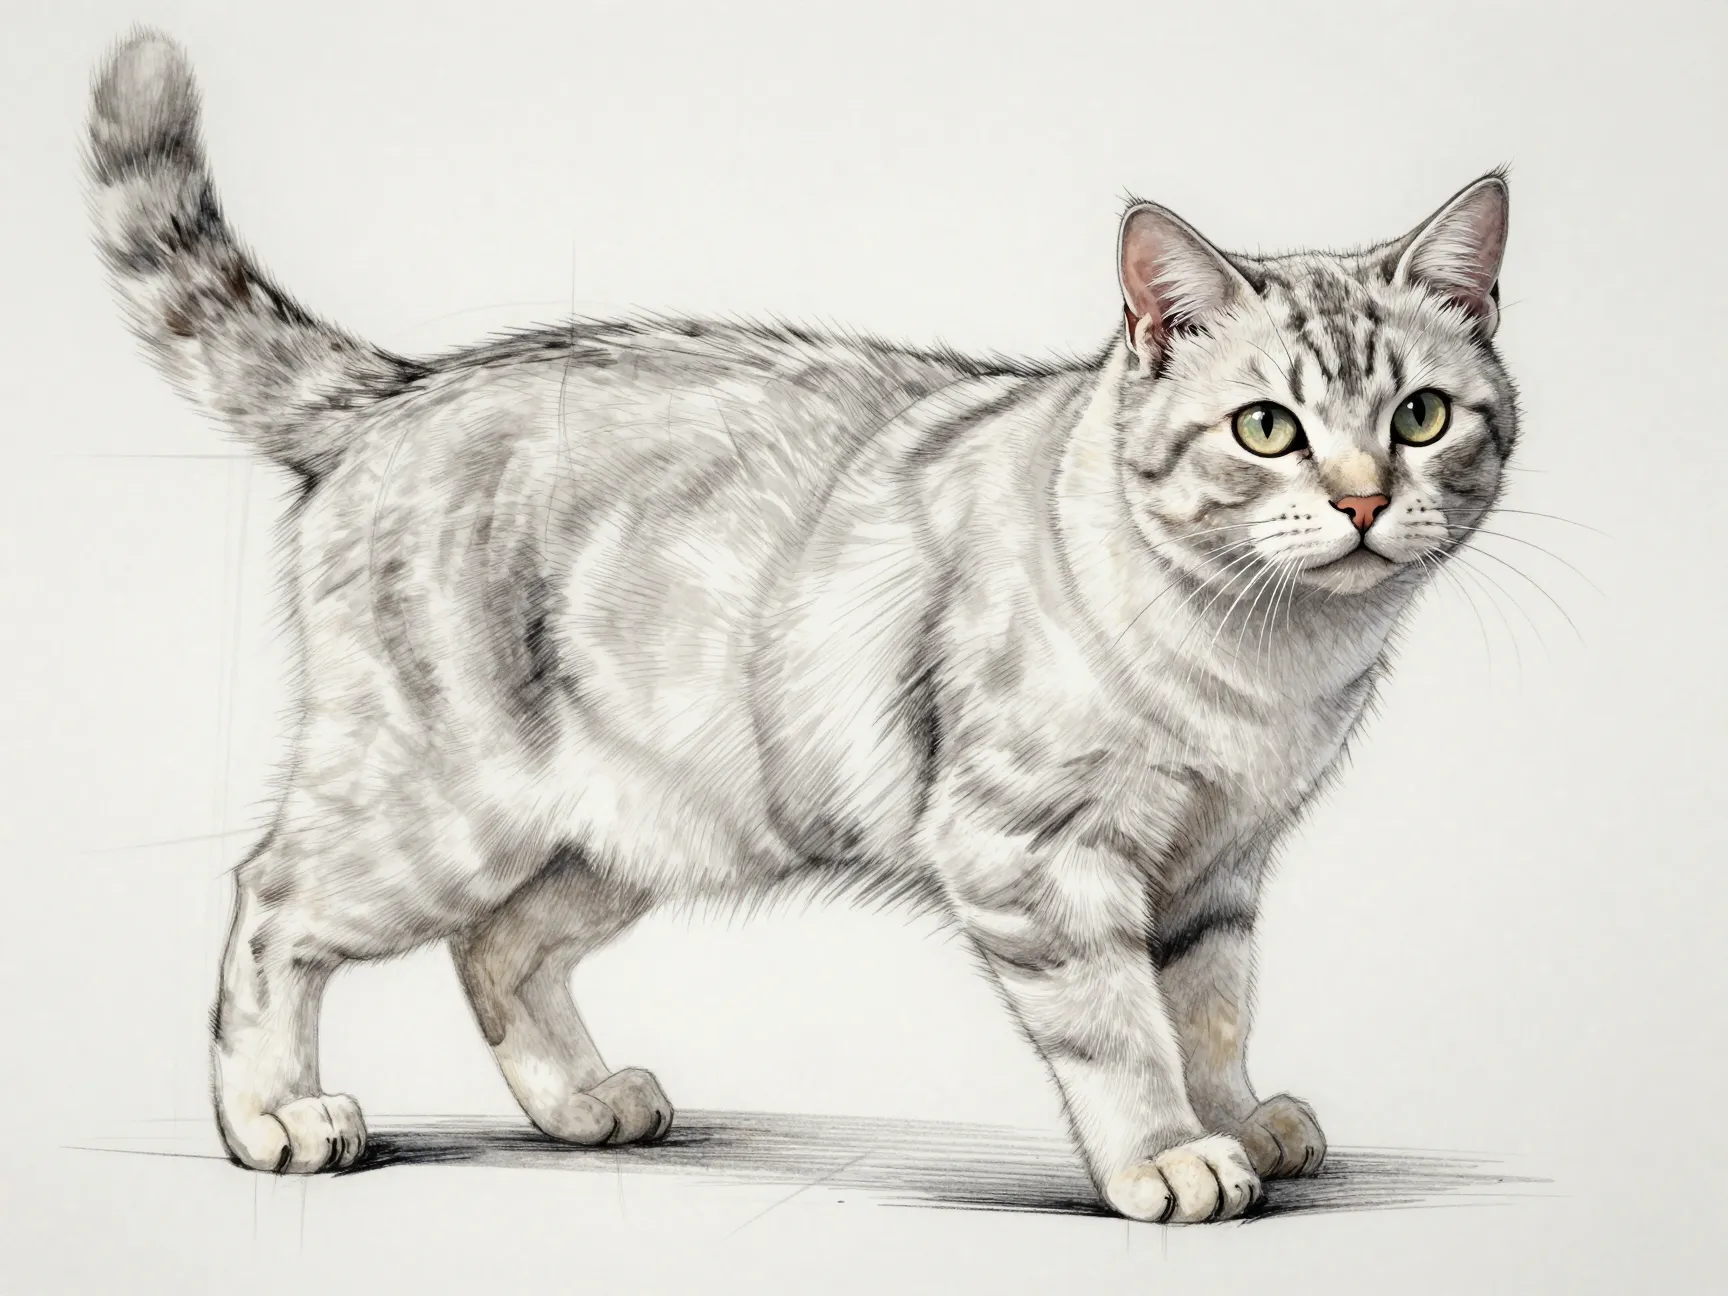
The final step involves committing to clean contour lines over the construction sketch, then adding fur direction, shading, and any texture details like tabby stripes or tufted paws. In digital workflows, this is typically done by keeping the gesture and anatomy work on lower-opacity layers underneath, then drawing final linework and fur strokes on a new layer above. This layered approach makes it far easier to spot and fix proportion issues, such as a torso that reads slightly too long, without having to redraw the entire figure from scratch.
Fur should follow the direction of muscle flow rather than being drawn as random scribbles, since fur direction subtly reinforces the underlying anatomy and adds a sense of movement even in a still pose. Once linework and fur are complete, step back and compare the finished drawing against the original spine gesture from step one to confirm the posture still reads clearly through all the added detail.
Head-Unit Proportion Cheat Sheet for Common Poses
Keeping numeric references handy speeds up the proportion-checking stage described in step three. The table below summarizes commonly used head-unit benchmarks for standing or sitting adult cats.
| Body Part | Typical Head-Unit Measurement |
|---|---|
| Body length (torso) | About 2 to 3 head lengths |
| Body height at shoulder | About 3 to 3.5 head lengths |
| Full body including head | About 4 to 5 head lengths |
| Tail length | About 3 head lengths |
| Leg length | About 2 head lengths, roughly half of body height |
| Head-to-shoulder gap | About 1 head length |
These figures work best as flexible guides rather than strict rules. Kittens run closer to a 1:3 head-to-body ratio, and breeds with compact builds, like Persians or British Shorthairs, often need shorter leg and torso measurements than the averages above.
Fixing the Most Common Posture Mistakes in Cat Body Drawing Tutorial Steps
Even artists who understand the six-step process can end up with poses that feel slightly off. The issue is usually one of a few recurring problems rather than a fundamental misunderstanding.
The most frequent mistake is drawing legs perfectly vertical under a sitting cat, which flattens the pose and removes the natural lean created by weight distribution. A second common error is a completely straight back, which contradicts the flexible S-curve spine that gives cats their signature silhouette. A third issue involves misaligned shoulder, pelvis, chest, and leg angles that do not visually agree with one another, creating a subtle sense that something is wrong even if the viewer cannot pinpoint why.
The fix for all three problems is the same: check three or four key alignment lines against the original spine curve before finalizing a drawing. Draw a faint line across the shoulders, another across the hips, and compare their slant to the tilt of the chest and the angle of the legs. In a natural pose, these lines should feel like they belong to the same relaxed or alert body, not like separate parts assembled at random angles. Comparing a sketch against real reference photos at this stage catches most posture problems before they become permanent in the final linework.
How to Practice These 6 Cat Body Drawing Tutorial Steps To Master Proportions And Posture Consistently
Mastery comes from repetition with intention, not from redrawing the same pose fifty times. A more effective approach involves collecting a varied set of reference photos, including cats sitting, walking, stretching, crouching, and jumping, then running each one through the six-step process as a quick timed sketch. Spending only two or three minutes on the gesture and shape stages, without worrying about final detail, builds the kind of muscle memory that makes proportion checking almost automatic over time.
Observing real cats, whether a household pet or footage of cats in motion, also sharpens an artist’s sense of how the spine curve changes between resting and active poses. Watching how a cat’s shoulder blades shift independently of its ribcage, or how its tail counterbalances a jump, provides information that static reference images sometimes miss.
Digital artists benefit from saving construction layers separately from final linework, since this makes it simple to revisit old drawings and test alternate leg angles or torso lengths without starting over. Over time, many artists find it useful to build a personal reference sheet of head-unit measurements for the specific breeds or cat characters they draw most often, turning the general system in this article into a personalized shorthand.
Frequently Asked Questions
What is the easiest way to start a cat body drawing without stiff results?
Begin with a single loose spine gesture line before drawing any shapes. Committing too early to circles and ovals without first establishing the spine curve is the most common cause of stiff, awkward poses.
How many heads long should a cat’s body be?
Most guides place the torso at roughly two to three head lengths, with the full body including head and tail closer to four to five head lengths. Kittens are proportionally different, often closer to a one-to-three head-to-body ratio.
Why do my cat drawings look flat even after adding shading?
Flatness usually traces back to skipping the muscle-mapping stage. Adding suggested bulk at the shoulders, sides, and hindquarters before final linework gives the body weight and dimension that shading alone cannot fix.
Should front and back legs be drawn the same length?
No. Front legs are typically shorter and angle out from the shoulder blades, while hind legs are longer, more vertical, and bend more sharply at the knee. Treating all four legs identically is a common source of unnatural-looking poses.
How much should I rely on reference photos when learning these steps?
Heavily, especially early on. Reference photos help verify head-unit proportions, spine curvature, and joint angles until those measurements become intuitive enough to sketch from memory.
Conclusion
Mastering cat anatomy on paper or screen comes down to sequence as much as skill. Following these 6 Cat Body Drawing Tutorial Steps To Master Proportions And Posture, starting with a spine gesture, blocking in core shapes, checking head-unit proportions, constructing legs with correct angles, layering in muscle, and finishing with clean linework and fur, gives every drawing a reliable structural foundation. That foundation is what separates a cat drawing that merely looks like a furry blob from one that captures real feline weight, balance, and personality.
The next step is simple: pick three or four reference photos showing different cat poses and run each one through the full six-step sequence as a fast, low-pressure sketch. Track how proportions and posture improve across those attempts, then gradually reduce reliance on step-by-step notes as the head-unit measurements and joint placements become second nature.