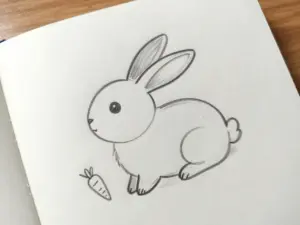
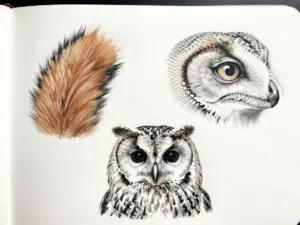
Foundational Steps On How To Draw Animals With Confidence
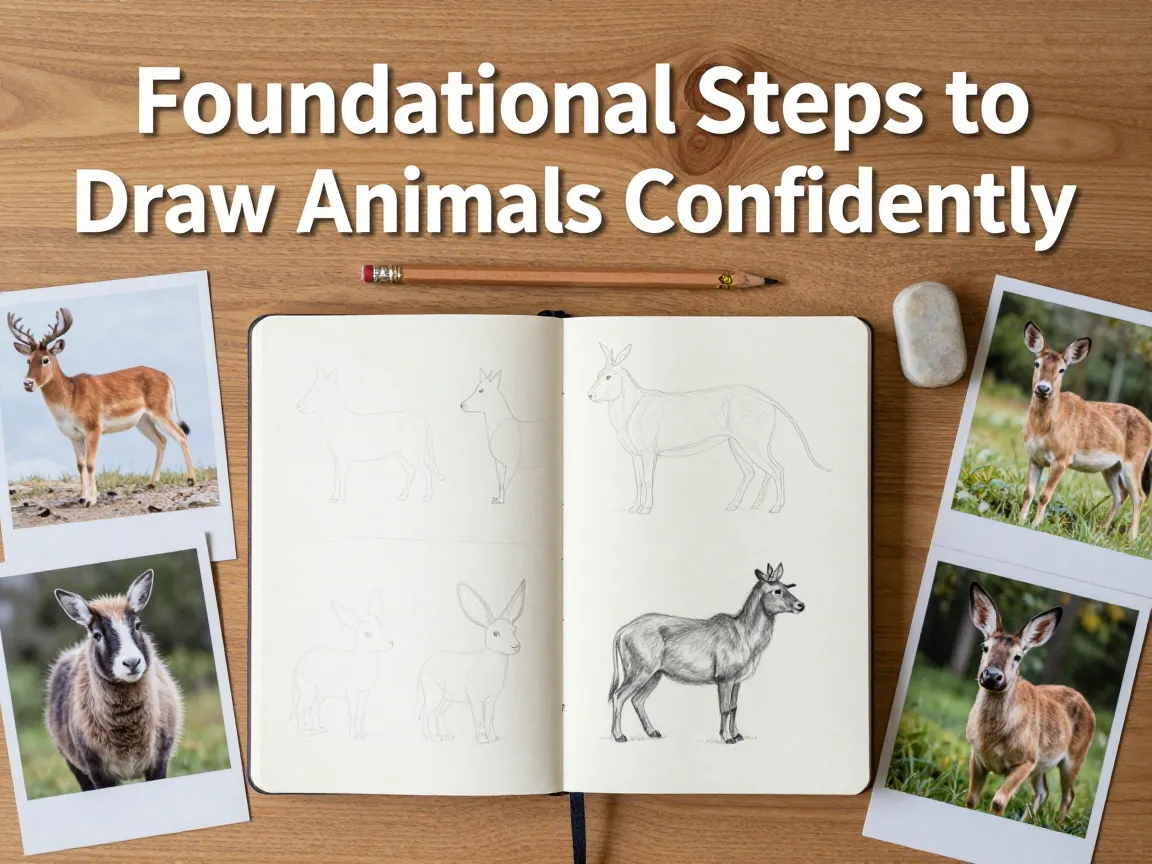
A surprising number of art teachers report the same pattern: students who quit drawing animals almost never quit because of bad hand-eye coordination. They quit because they start with the fur, the eyes, or the face first, hit a wall of frustration, and decide they simply “can’t draw animals.” The fix is not more talent. It is a better order of operations. The 6 Foundational Steps On How To Draw Animals With Confidence give every artist, from a seven-year-old sketching a cat to an illustrator rendering a wolf in full detail, a repeatable sequence that removes guesswork and replaces fear with a plan.
Disclosure: This post contains affiliate links. As an Amazon Associate, we earn from qualifying purchases, and at no extra cost to you.
This guide breaks down that sequence in plain language, shows how each step builds on the one before it, and explains why skipping steps is the single most common reason animal drawings look stiff, lopsided, or lifeless.
Key Takeaways
- Confidence in drawing animals comes from following a consistent process, not from raw natural talent.
- The 6 Foundational Steps On How To Draw Animals With Confidence move from simple shapes to gesture, structure, detail, texture, and finally shading.
- Light, erasable construction lines let beginners experiment freely without fear of ruining a drawing.
- Reference images should be studied for proportion, anatomy, and movement before a single line is drawn.
- Shading and value control, applied last, are what turn a flat sketch into a realistic, three-dimensional animal.
Why Most Beginners Stall Before They Start Drawing Animals
Most people who say they “can’t draw animals” have never actually been taught a sequence. They open a reference photo of a horse or a tabby cat and try to copy the outline from the nose outward, detail by detail. The moment one line looks wrong, the whole drawing feels ruined, and the pencil gets set down for good.
Professional illustrators and anatomy teachers work in the opposite direction. They start broad and general, then narrow in on detail only after the big decisions, proportion, pose, and weight distribution, are already correct. This is the core logic behind the 6 Foundational Steps On How To Draw Animals With Confidence: each step locks in one decision at a time, so mistakes are caught early, while they are still easy to fix, rather than after hours of detailed shading have already gone into the page.
The practical benefit is psychological as much as technical. When an artist knows exactly which stage of the drawing they are in, there is far less anxiety about “doing it right.” The process itself builds confidence, step by step.
The 6 Foundational Steps On How To Draw Animals With Confidence
The following sequence reflects how modern drawing instructors, animation studios, and illustrated training guides consistently teach animal drawing in 2026. Each step should be treated as a checkpoint. Do not move to the next one until the current step feels settled.
1. Study References Before Drawing a Single Line
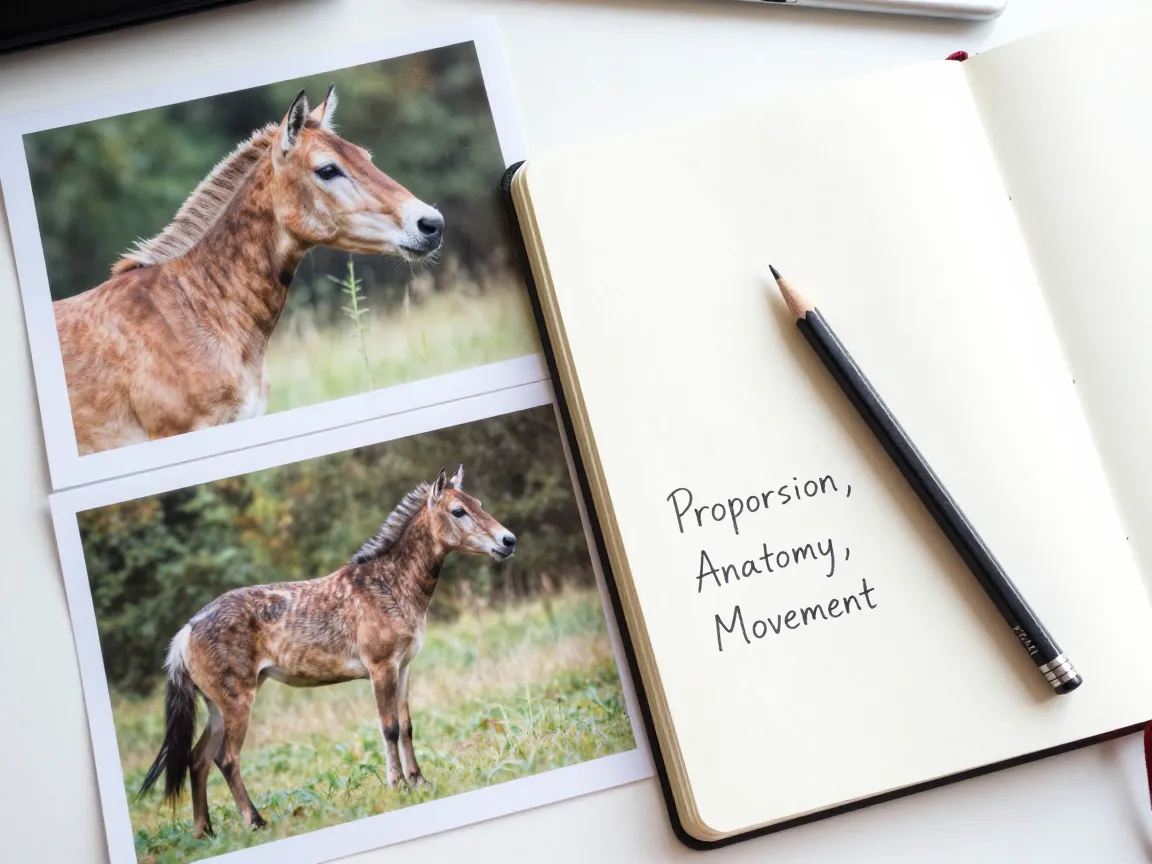
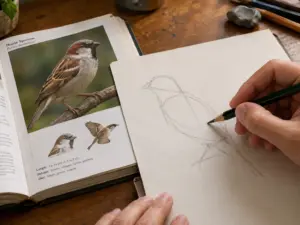
Confident animal drawing starts away from the page. Choose two or three high-quality reference images of the same animal from different angles, ideally including one action shot and one at rest. Study three things specifically:
Table: What to look for in a reference image
| Element | What to Check |
|---|---|
| Proportion | How big is the head compared to the body and legs |
| Anatomy | Where the joints bend and how the ribcage connects to the spine |
| Movement | How weight shifts between legs when the animal stands, walks, or runs |
Skipping this step is the single biggest reason animals end up looking “almost right but off.” A dog drawn with human-style knee joints or a bird with wings attached in the wrong place both trace back to insufficient reference study.
2. Break the Animal Into Basic Geometric Shapes
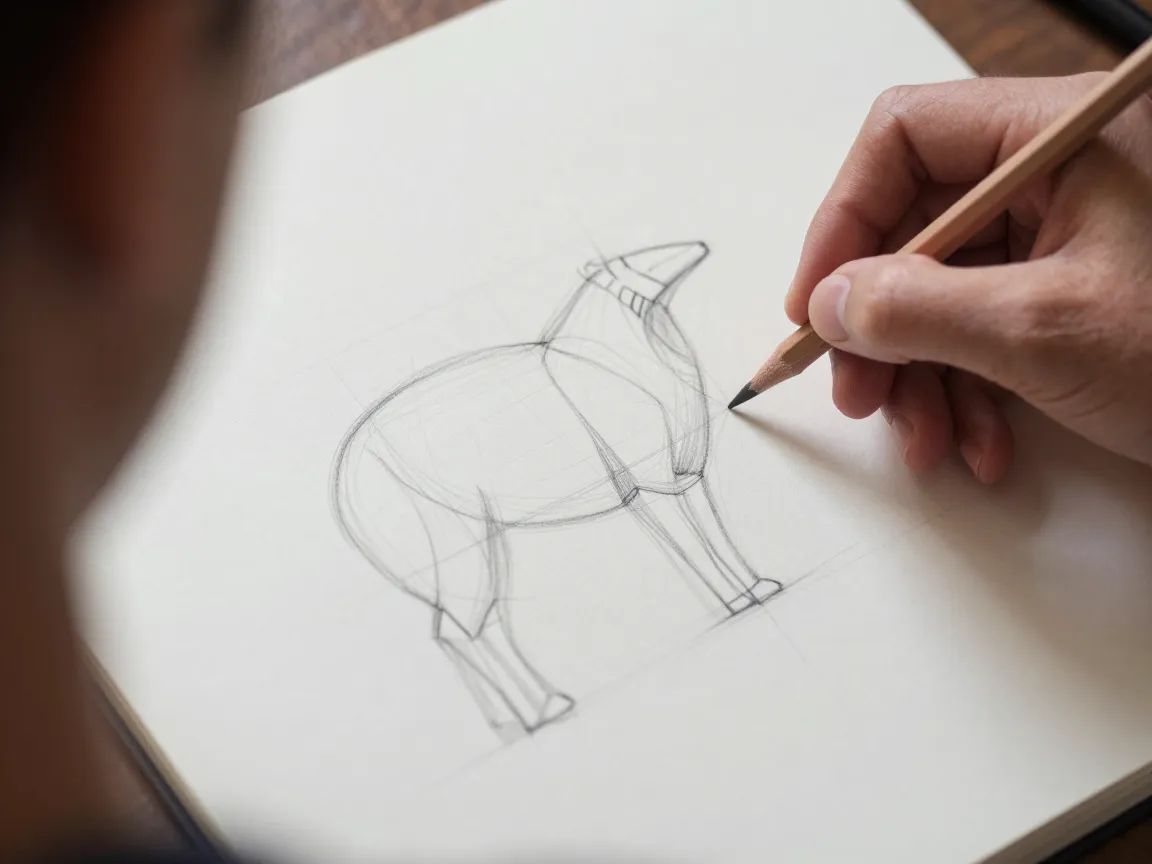
Once the reference is understood, translate it into the simplest possible forms: circles and ovals for the skull, ribcage, and pelvis, cylinders for the neck and limbs, and rectangles or wedges for the muzzle or jaw. This is the construction stage, and it is where every confident animal drawing truly begins.
“An animal is never really drawn from the outline in. It is built from the inside out, shape by shape, the same way a sculptor blocks in a figure before carving details.”
Keep every line extremely light at this stage. A soft pencil held loosely, with barely any pressure, allows mistakes to be corrected with a few strokes of the eraser instead of a full restart. This single habit, sketching lightly before committing to anything, is repeatedly cited across 2026 beginner guides as the fastest way to reduce fear of making mistakes.
3. Establish Gesture, Pose, and Composition
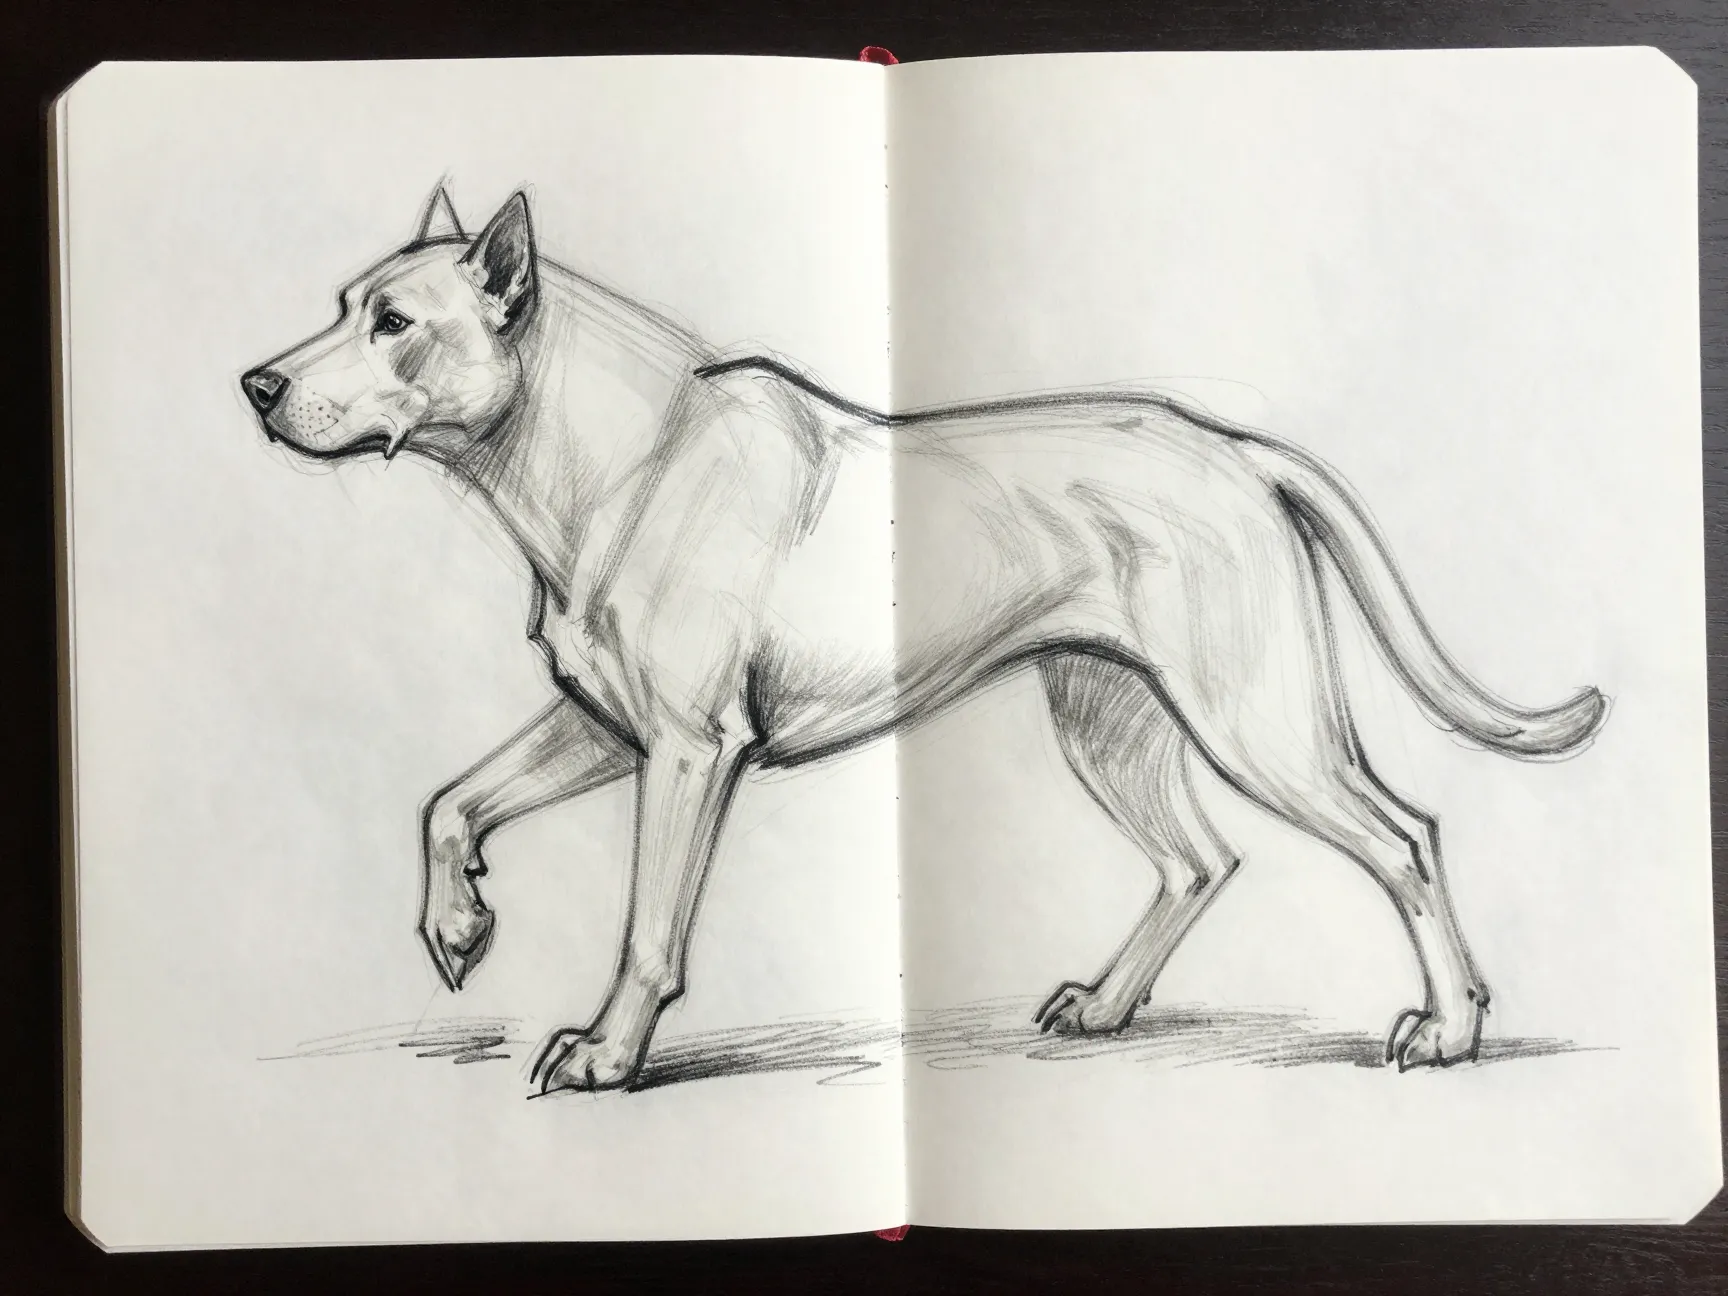
Before refining any shapes, decide what the animal is doing and how it fills the page. Find the gesture line, the single curving line that runs through the spine from skull to tail, since this line carries the energy of the whole pose. Ask three quick questions:
- Where is the weight centered.
- Which direction is the animal looking or moving.
- Does the composition leave balanced space around the subject.
Blocking in the largest masses first, the head, rib cage, pelvis, and major limb masses, before worrying about smaller forms keeps the pose readable and prevents the stiff, frozen look that comes from drawing each limb in isolation. This is also the point to check overall proportion and structure one more time before moving forward, since fixing a pose now takes seconds, while fixing it after full detailing takes much longer.
4. Refine Anatomical Features and Structure
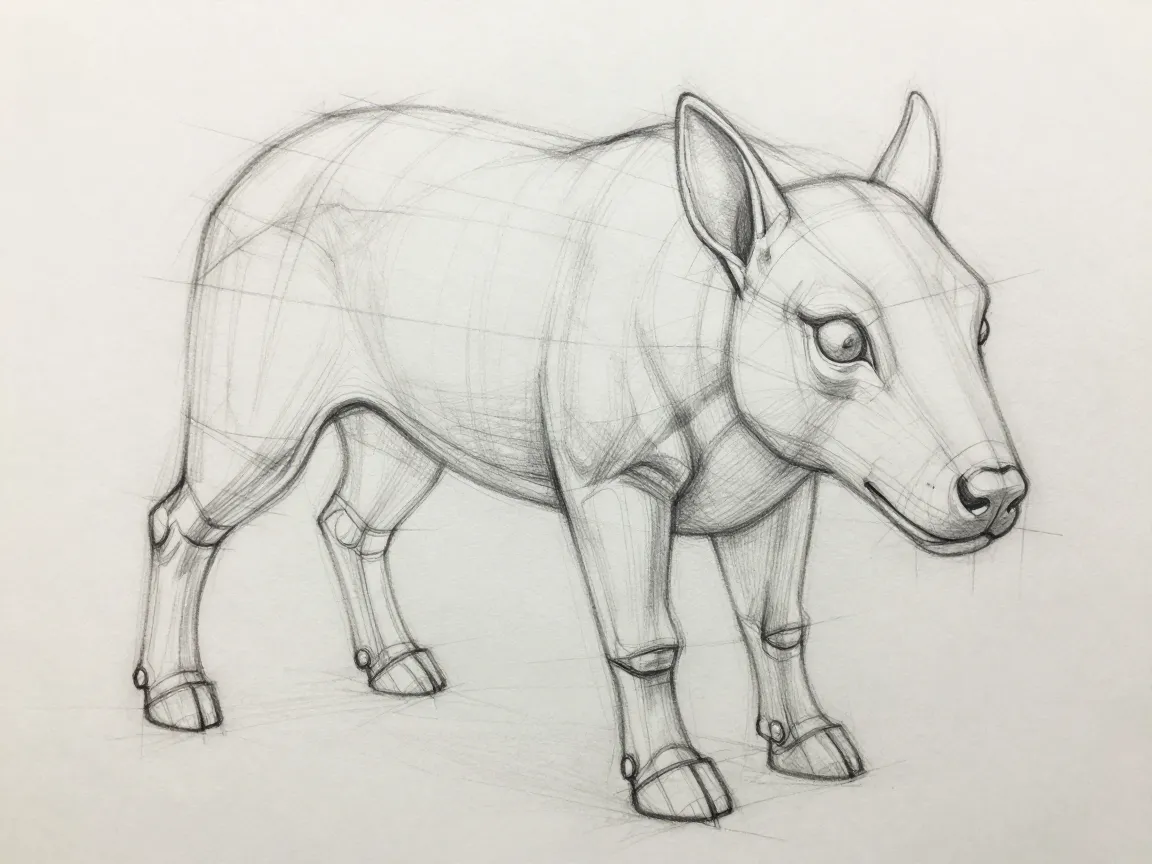
With the gesture and basic shapes locked in, start refining the head, limbs, and musculature. This is where generic shapes become a recognizable species. Define the shape of the skull more precisely, place the eyes, ears, and nose in proportion, and add the major muscle groups over the limb cylinders so the legs look like they have real weight and volume rather than looking like simple tubes.
Classic anatomy-focused manuals that remain influential in 2026 emphasize building the ribcage, neck, and limb joints with attention to actual bone and muscle volumes rather than copying only the surface outline. Understanding why a leg bends where it does, rather than memorizing what it looks like from one angle, is what allows an artist to draw the same animal confidently from a new angle later.
5. Add Fine Details Like Fur, Feathers, and Scales
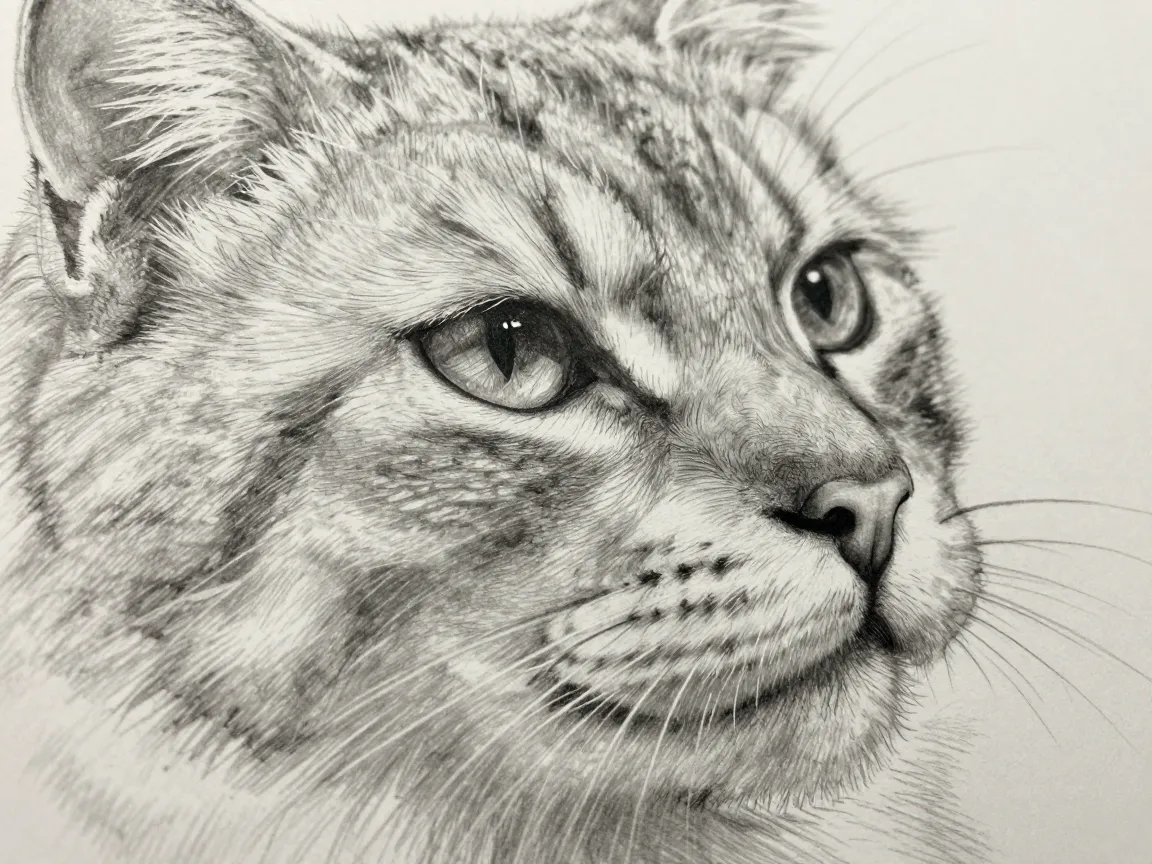
Only after the structure is solid should attention turn to surface details. Trying to draw individual hairs or feather barbs before the underlying anatomy is correct almost always wastes time, since any structural fix at that point means erasing finished detail work.
Build texture in layers, starting with the direction and flow of fur or feather groups, then adding smaller clumps, and finally a few individual strands near the focal point, such as the face or eyes, where the viewer’s attention naturally lands. Save the busiest, most detailed marks for that focal area, and keep secondary areas like the back half of the body simpler. This sequencing matters because concentrating detail only where it counts keeps the composition from feeling cluttered and overwhelming to both the artist and the viewer.
6. Apply Shading and Value to Create Depth
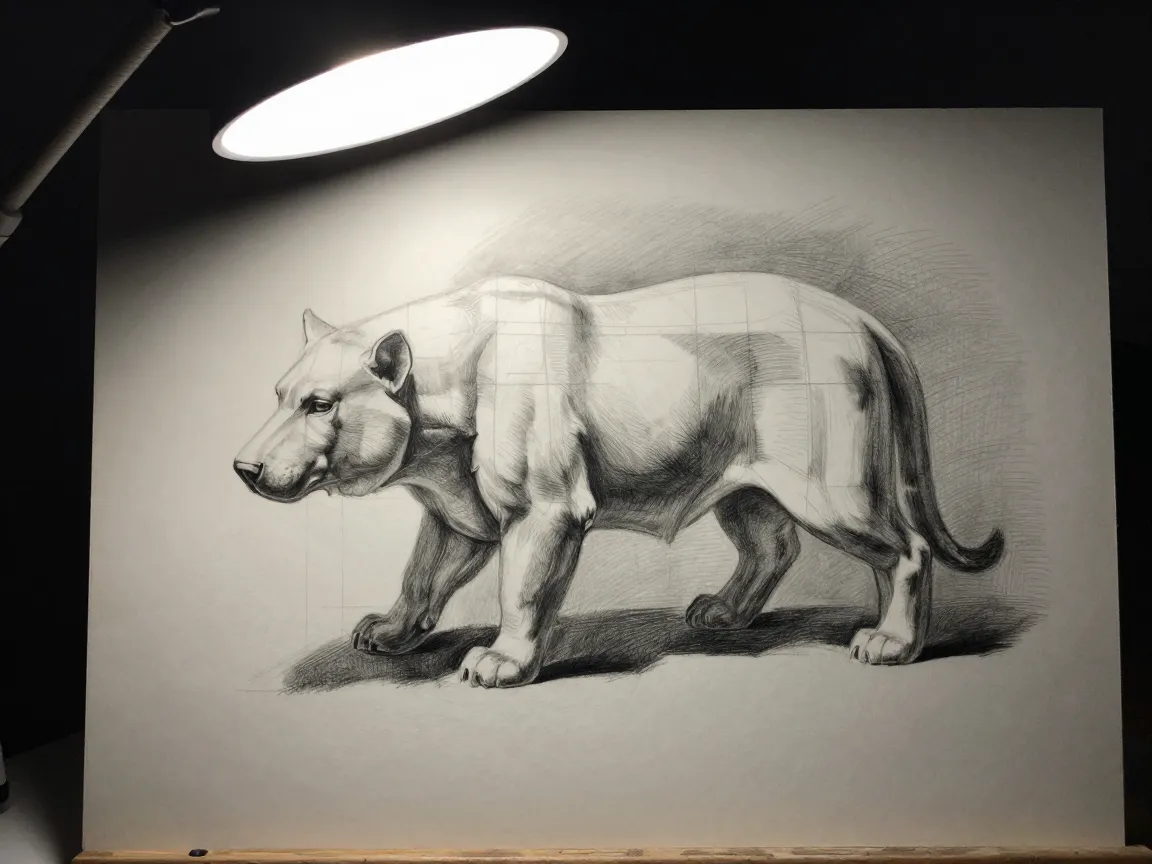
The final step is where a flat sketch becomes a believable, three-dimensional animal. Shading techniques, including hatching, cross-hatching, and smooth blending, establish where light falls and where shadow builds. Start with large, connected shadow shapes rather than scattering small dark marks randomly across the page, then gradually build contrast by darkening the deepest shadows last.
A useful rule borrowed from visual reference guides covering a wide range of species: render lighter tones first, then layer in mid-tones, and reserve the darkest values for the very end. This keeps the drawing editable for longer and avoids the common mistake of making everything too dark too early, which flattens the sense of depth rather than enhancing it.
Common Mistakes That Undermine Confidence
Even with a clear process, certain habits repeatedly derail progress. Recognizing them in advance saves significant frustration.
- Drawing with heavy, dark lines from the very first mark, which makes every shape feel permanent and raises the emotional stakes of a simple sketch.
- Jumping straight to facial details, such as eyes and whiskers, before the head shape and proportions are settled, which almost always forces a frustrating redraw later.
- Ignoring the reference image’s pose and copying a generic “standing animal” shape instead, which produces stiff, lifeless results regardless of how much detail is added afterward.
- Shading before the structure is finalized, which locks in anatomical errors underneath a layer of tone that is hard to erase cleanly.
- Trying to render every hair or feather across the entire body instead of concentrating detail near the focal point, which leads to visual clutter and burnout partway through the drawing.
Avoiding these five mistakes is, in many ways, simply another way of saying: follow the 6 Foundational Steps On How To Draw Animals With Confidence in order, and resist the urge to skip ahead.
How to Practice the 6 Foundational Steps On How To Draw Animals With Confidence Daily
Skill in animal drawing compounds quickly once the sequence becomes automatic. A short, structured practice routine, repeated consistently, builds confidence far faster than occasional long sessions.
Table: A simple weekly practice structure
| Day | Focus | Time |
|---|---|---|
| Day 1 | Reference study and shape construction only | 15 minutes |
| Day 2 | Gesture and pose practice using quick, loose sketches | 15 minutes |
| Day 3 | Anatomical refinement on one chosen animal | 20 minutes |
| Day 4 | Texture layering practice, fur or feathers only | 20 minutes |
| Day 5 | Full six-step drawing from start to finish | 30 to 40 minutes |
A few additional habits accelerate progress:
- Keep a small sketchbook dedicated only to construction shapes, separate from finished drawings, to practice step two without the pressure of producing a “good” result.
- Time-box the early steps. Spending no more than five minutes on shapes and gesture before moving to refinement prevents overthinking the easiest part of the process.
- Revisit the same animal from a new pose every few weeks. Repetition across different poses, rather than repeatedly copying one photo, is what builds real anatomical understanding.
- Compare drawings from the start of the month to the end of the month rather than day to day, since daily comparisons often hide the real progress that is happening gradually.
Beginner-focused and children’s drawing resources updated through 2026 use this exact gradual-complexity model, moving from basic shapes to simple lines to gradual detail to gentle shading, specifically because it removes perfectionism from the early stages. The same scaling logic works just as well for adult learners and working illustrators refining a more advanced skill set.
Frequently Asked Questions
Is it necessary to follow all six steps every single time?
For learning purposes, yes. Once the sequence becomes second nature, experienced artists often compress steps mentally, but beginners benefit from deliberately pausing at each stage until the habit is fully formed.
What if the construction shapes look nothing like the final animal?
That is expected and normal. Shapes are meant to be rough placeholders for mass and proportion, not a preview of the finished drawing. Refinement in step four is where the recognizable species emerges.
How long does it take to feel confident using this method?
Most learners notice a meaningful improvement in control and reduced frustration within two to four weeks of consistent short practice sessions, though full mastery of anatomy and shading takes longer and depends on practice frequency.
Should digital artists follow the same six steps as traditional pencil artists?
Yes. The sequence is medium-independent. Digital artists simply use layers instead of light pencil lines, working from a rough shape layer, to a refinement layer, to a detail layer, and finally a shading and value layer.
What is the single most important step for building confidence specifically?
Step two, breaking the animal into basic shapes with light lines, matters most for confidence because it is the step that removes the fear of permanent mistakes. Every later step becomes easier once that foundation feels safe to adjust.
Conclusion
Drawing animals convincingly is not a mysterious talent reserved for a few naturally gifted people. It is a learnable sequence: study references closely, build with simple shapes, establish gesture and pose, refine the anatomy, layer in texture, and finish with purposeful shading. The 6 Foundational Steps On How To Draw Animals With Confidence work precisely because they separate one decision from the next, so no single mistake feels catastrophic and no stage feels overwhelming.
The next step is simple. Choose one animal, gather two or three strong reference images, and work through all six steps slowly on a single page this week. Resist the urge to rush to detail or shading early. Repeat the process with a new animal next week, and treat every finished sketch, polished or not, as proof that the method is working.