Sea Animal Drawings To Bring Your Underwater Scenes To Life
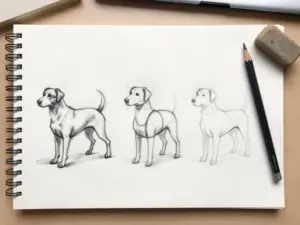
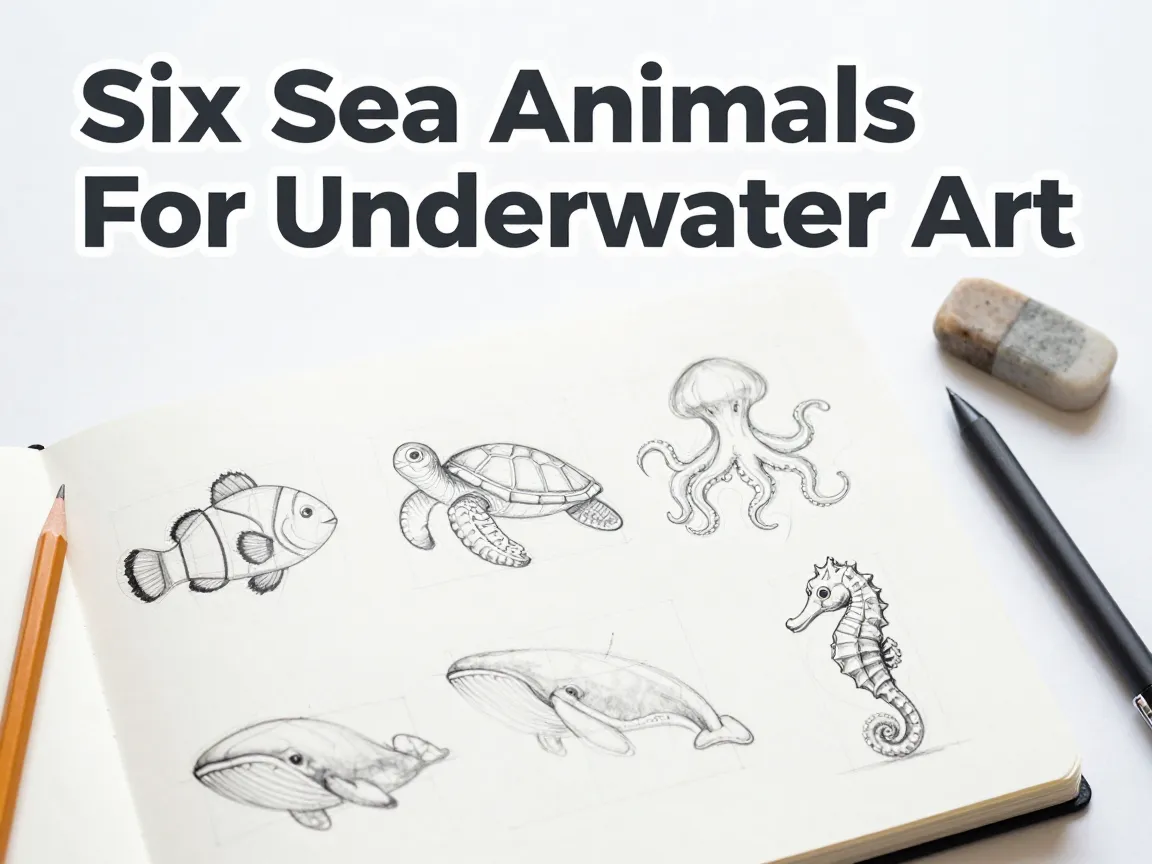
A single fish drawn alone on a blank page looks like a biology diagram. The same fish, swimming beside a sea turtle, an octopus, and a drifting jellyfish, suddenly looks like a living ocean. That shift from “isolated sketch” to “believable world” is the entire reason artists keep searching for structured ways to build multi-creature underwater art. This guide walks through 6 Sea Animal Drawings To Bring Your Underwater Scenes To Life, using the same construction-first approach that beginner tutorials and professional digital workflows have converged on in 2026: start with simple shapes, refine the silhouette, add defining details, then shade or color for volume.
Disclosure: This post contains affiliate links. As an Amazon Associate, we earn from qualifying purchases, and at no extra cost to you.
Whether the goal is a classroom art project, a tattoo concept, or a polished digital illustration, the six animals covered here were chosen because they cover every major body type found in the ocean: streamlined swimmers, armored shells, soft-bodied drifters, and creatures with unusual anatomy like tentacles and curled tails. Mastering all six gives any artist the visual vocabulary needed to populate a full underwater scene convincingly.
Key Takeaways
- The 6 Sea Animal Drawings To Bring Your Underwater Scenes To Life covered here are the clownfish, sea turtle, octopus, jellyfish, whale, and seahorse, chosen to represent the full range of ocean body shapes.
- Nearly every current tutorial, from beginner guides to professional digital workflows, uses the same four-stage method: basic shapes, refined outline, defining details, then shading or color.
- Working from real photo references for body proportions and movement produces far more convincing results than drawing from memory or imagination alone.
- Combining multiple animals into one scene requires attention to scale, overlapping placement, and a single consistent light source to keep the composition believable.
- Pencil grade matters for traditional artists: HB for construction, 2B for detailing, and 6B or 8B for deep shadow areas on creatures like octopuses and jellyfish.
Why These 6 Sea Animal Drawings Transform Underwater Scenes
Most people assume marine art is difficult because ocean creatures look exotic and unfamiliar compared to land animals. The real challenge is different. Underwater bodies rely on smooth, continuous curves rather than sharp joints, and that makes beginners want to overcomplicate the outline before the basic proportions are even correct.
The fix that appears across nearly every current tutorial, from simplified kids’ guides to detailed pencil-shading workflows, is the same: build with circles and ovals first, lay in a light movement line to suggest the direction of swimming, then connect those shapes into one smooth silhouette before adding a single defining detail. This construction-first method matters even more when drawing six different animals for one scene, because it keeps every creature proportionally consistent with the others, rather than letting one species look flat while another looks over-rendered.
A four-stage pipeline has become the de facto standard across both traditional and digital tutorials in 2026:
- Construct with simple shapes (circles, ovals, light guide lines)
- Refine the outline into a clean silhouette
- Add defining details (eyes, fins, tentacles, patterns)
- Apply shading or color for volume and depth
Digital artists follow a close variant of this same logic using layers instead of pencil grades: a rough draft layer, a flat base-color layer, a clean vector line-art layer, and a clipped multiply layer for shadow. The tools change, but the thinking stays identical. This shared structure is exactly why the following six animals were selected; each one teaches a different piece of that pipeline that transfers directly to any other sea creature an artist wants to add later.
The 6 Sea Animal Drawings To Bring Your Underwater Scenes To Life
Each of the following six creatures builds a different drawing skill. Together, they cover nearly every silhouette an underwater scene is likely to need, from a fast-moving fish to a slow-drifting jellyfish.
1. Clownfish: The Foundation Fish Drawing
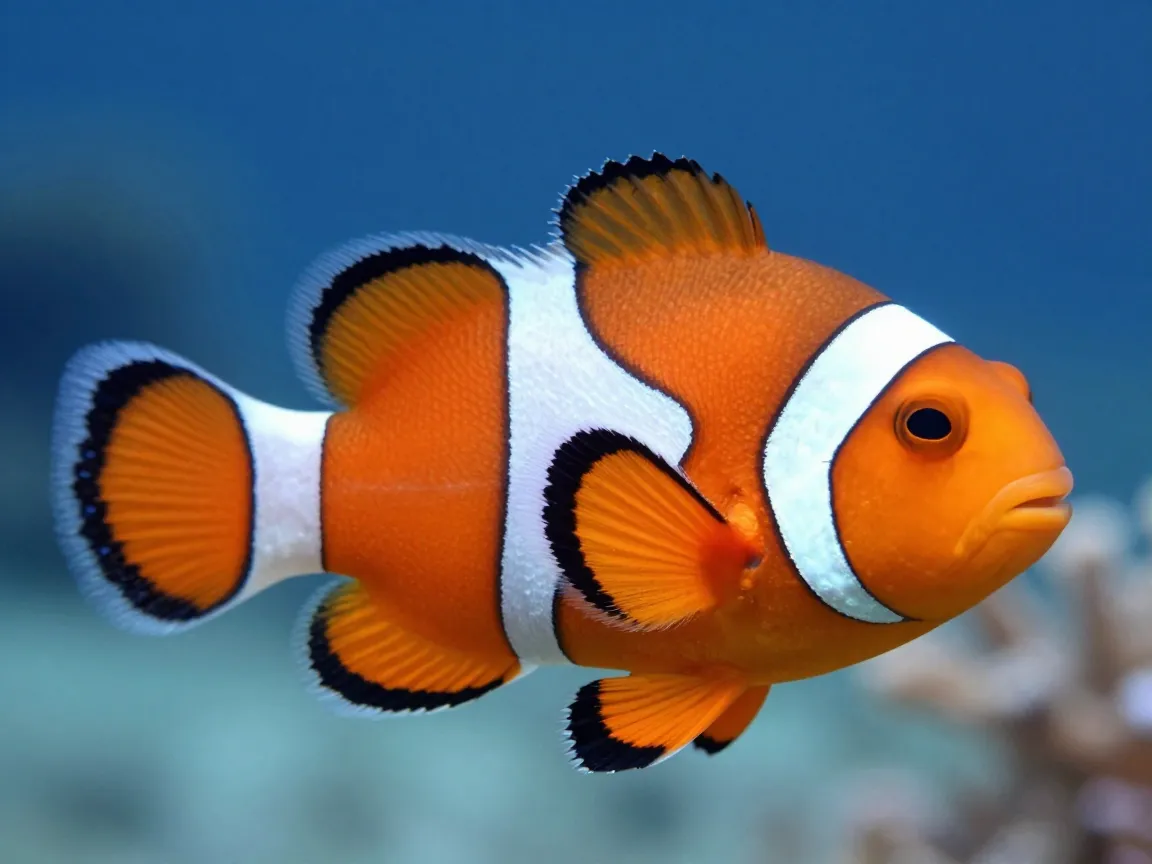
Fish are the natural starting point for any underwater scene because their anatomy is the simplest version of the shape-based method. Begin with an oval for the body and a smaller circle where the head tapers toward the mouth. A single curved guideline running through the center of the oval establishes the direction the fish is swimming, which matters more than people expect; a straight spine line makes a fish look stiff and lifeless, while a gentle S-curve instantly suggests motion through water.
Once the base oval is in place, sketch the triangular tail fin flowing off the back of the body, followed by the smaller dorsal and pectoral fins. Clownfish are an especially good choice for a six-animal scene because their bold white-and-orange banding doubles as a built-in lesson in pattern placement: the stripes should wrap around the curve of the body rather than sitting flat, which reinforces the three-dimensional shape underneath.
For shading, keep the darkest tone along the top of the back where light naturally falls off, and leave the belly lighter to mimic how real fish reflect ambient light from below the water surface.
2. Sea Turtle: Mastering the Domed Shell Silhouette
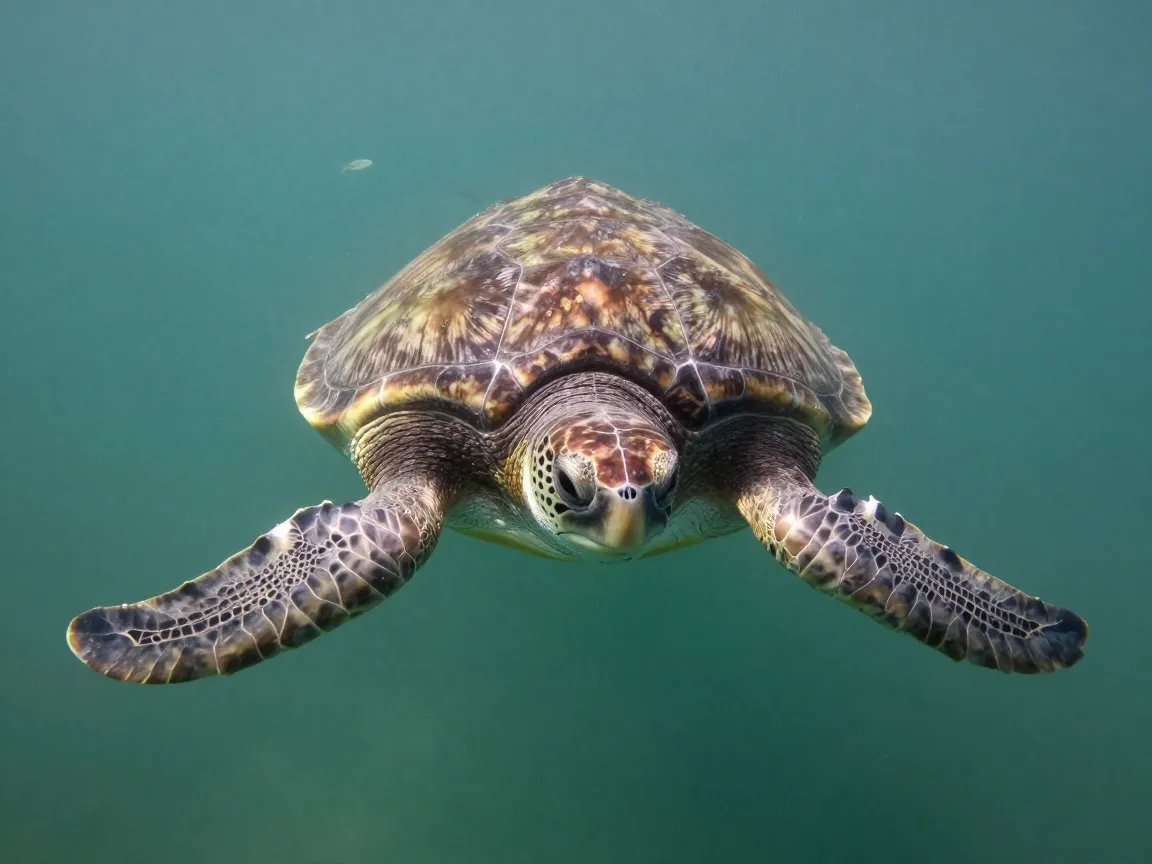
The sea turtle introduces a new challenge: a rigid shell combined with flexible limbs. Start with a large oval for the shell and a smaller circle for the head, positioned slightly ahead of and below the shell’s front edge. The key mistake beginners make here is drawing the shell as a flat semicircle; in reality, the dome has a subtle ridge pattern and a slightly flattened underside where it meets the body.
After the shell outline is refined, add the four flippers using long, tapering oval shapes. Front flippers are larger and more paddle-like, while back flippers are shorter and more rudder-shaped, which matters for making the turtle look like it is actually swimming rather than standing still. Light shell segmentation lines, drawn following the curve of the dome rather than straight across it, add convincing texture without overworking the drawing.
Sea turtles work exceptionally well as a mid-ground anchor in a crowded underwater scene because their slow, deliberate pose contrasts nicely with faster-moving fish nearby, giving the composition a sense of varied motion.
3. Octopus: Building Confidence With Tentacles
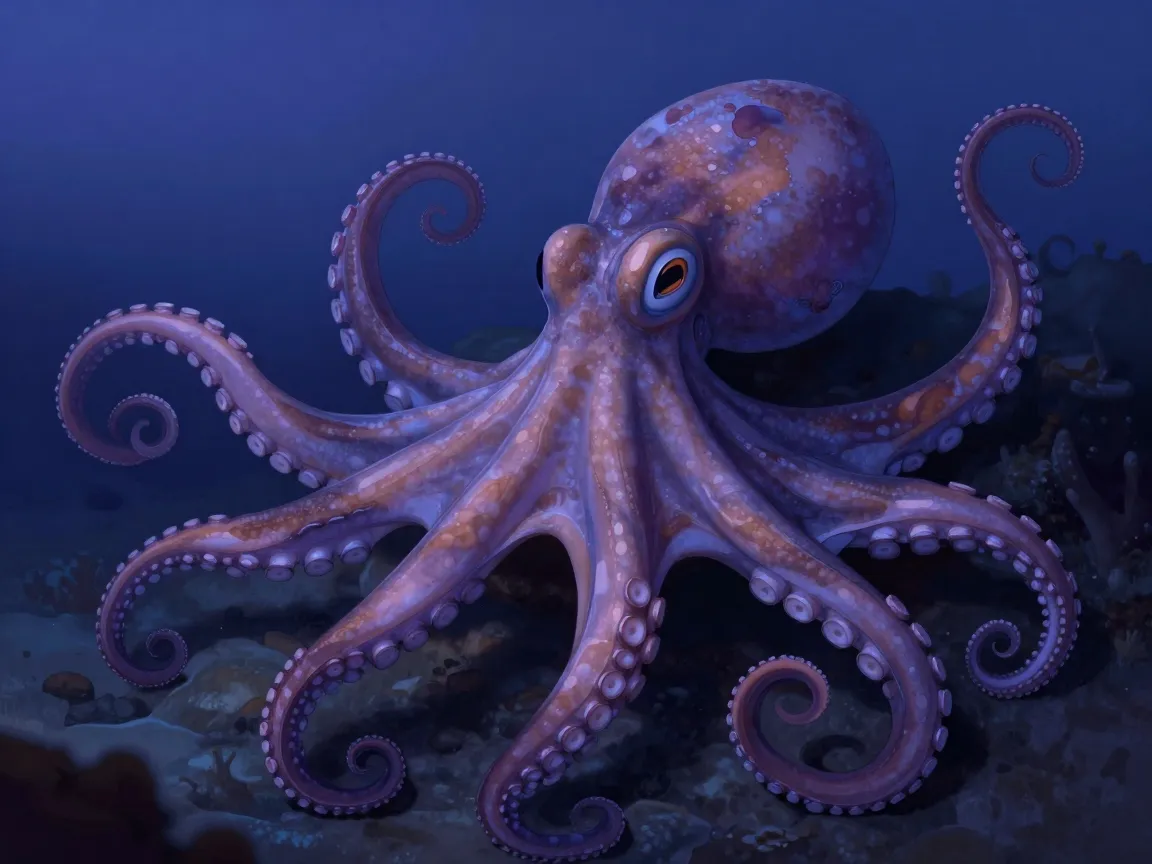
The octopus is where many artists feel the first real jump in difficulty, but it is also one of the most rewarding of the 6 Sea Animal Drawings To Bring Your Underwater Scenes To Life because mastering it unlocks confidence for drawing any tentacled or flowing-limbed creature afterward.
Start with a rounded dome or bulbous oval for the mantle, the main body section. From the base of that dome, sketch eight light, curving guide lines radiating outward. These should never be straight; real octopus tentacles taper gradually and curl with multiple small bends, almost like a flowing ribbon rather than a rope. Thicken each guide line into a tapering tentacle shape, keeping the thickest point closest to the body and the thinnest point at the tip.
Suction cup details are optional but effective when used sparingly along the underside of just two or three tentacles, since drawing them on all eight tends to clutter the image and distract from the overall silhouette. For shading, a layered pencil approach works well: a 2B pencil for the mid-tone body, with deep 6B or 8B shadow pooled where tentacles overlap each other or curl behind the main body mass.
“Smooth curves and layered shading do more to sell realism in a tentacled creature than any amount of surface detail ever will.”
4. Jellyfish: Practicing Transparency and Flow
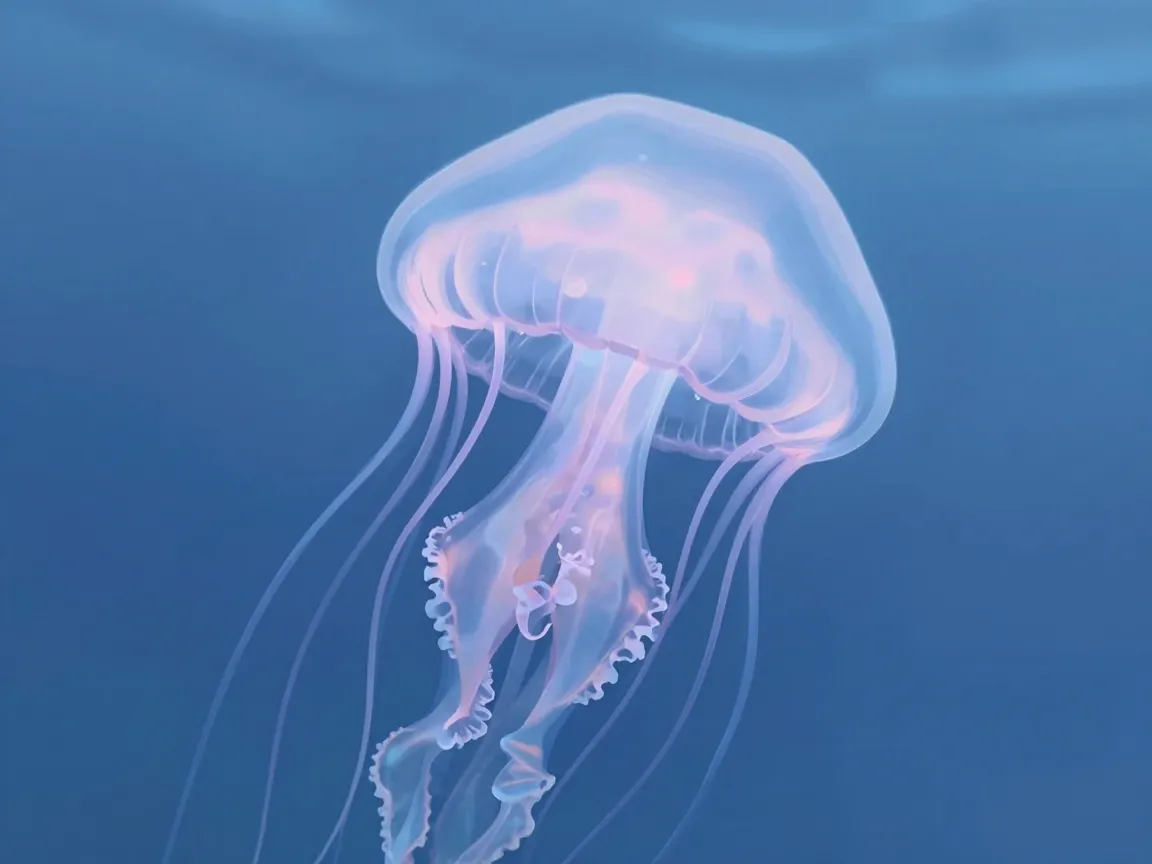
Jellyfish are deceptively simple to outline but genuinely difficult to make convincing, which is exactly why they belong on this list. Begin with a dome shape for the bell, drawn as a soft, slightly flattened half-oval rather than a perfect circle. Beneath that dome, sketch several long, wavy tentacles using loose, flowing lines that taper gradually toward their tips.
The real skill jellyfish teach is suggesting transparency, something very few other sea creatures require. This is typically achieved by using lighter line weight throughout the bell shape, adding only a few internal organ outlines rather than a fully opaque body, and layering soft, light shading rather than hard contrast. In digital workflows, a lowered-opacity base layer combined with a soft airbrush shadow achieves the same transparent effect far more quickly than traditional media.
Because jellyfish drift rather than swim with purpose, they also make an excellent compositional tool for filling empty space in the upper portion of a crowded underwater scene without competing visually with the main focal animal.
5. Whale: Scaling Up Without Losing Proportion
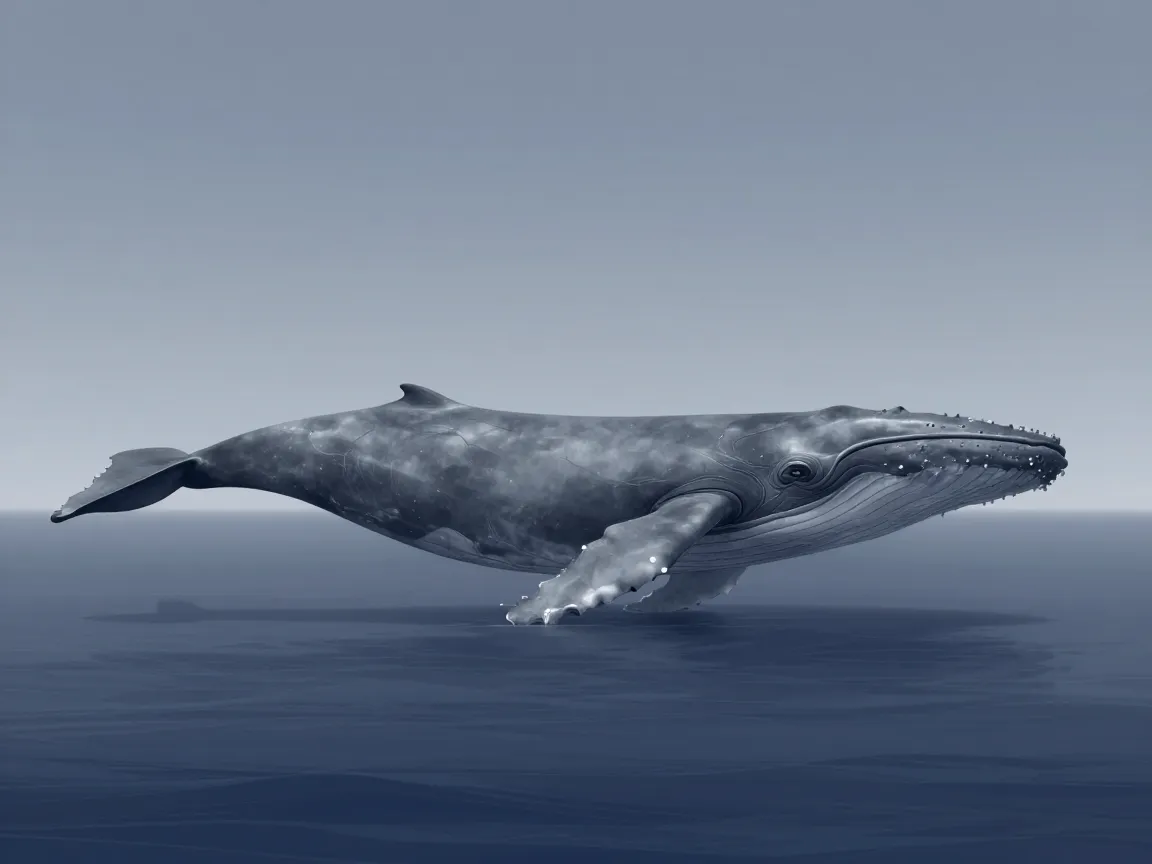
Whales test an artist’s ability to simplify a very large creature into the same basic construction method used for something as small as a seahorse. Begin with one large, elongated oval for the body and a slightly separated, tapering shape for the tail flukes. The head of most whale species blends smoothly into the body rather than forming a distinct separate section, so the guide circle for the head should overlap generously with the main body oval rather than sitting apart from it.
A common proportion mistake is making the pectoral fins too small relative to the body; on most whale species, these fins are longer and more visually prominent than people expect. Adding a single subtle curve along the top of the back, where the dorsal fin or blowhole area sits, helps break up what would otherwise be a very plain, uninterrupted shape.
Shading a whale benefits from a smooth gradient rather than hard line work, moving from a darker gray or blue along the top of the body to a lighter tone underneath, which mimics how real light filters down through open water and reinforces the sheer scale of the animal within the scene.
6. Seahorse: Refining Delicate Curves and Detail
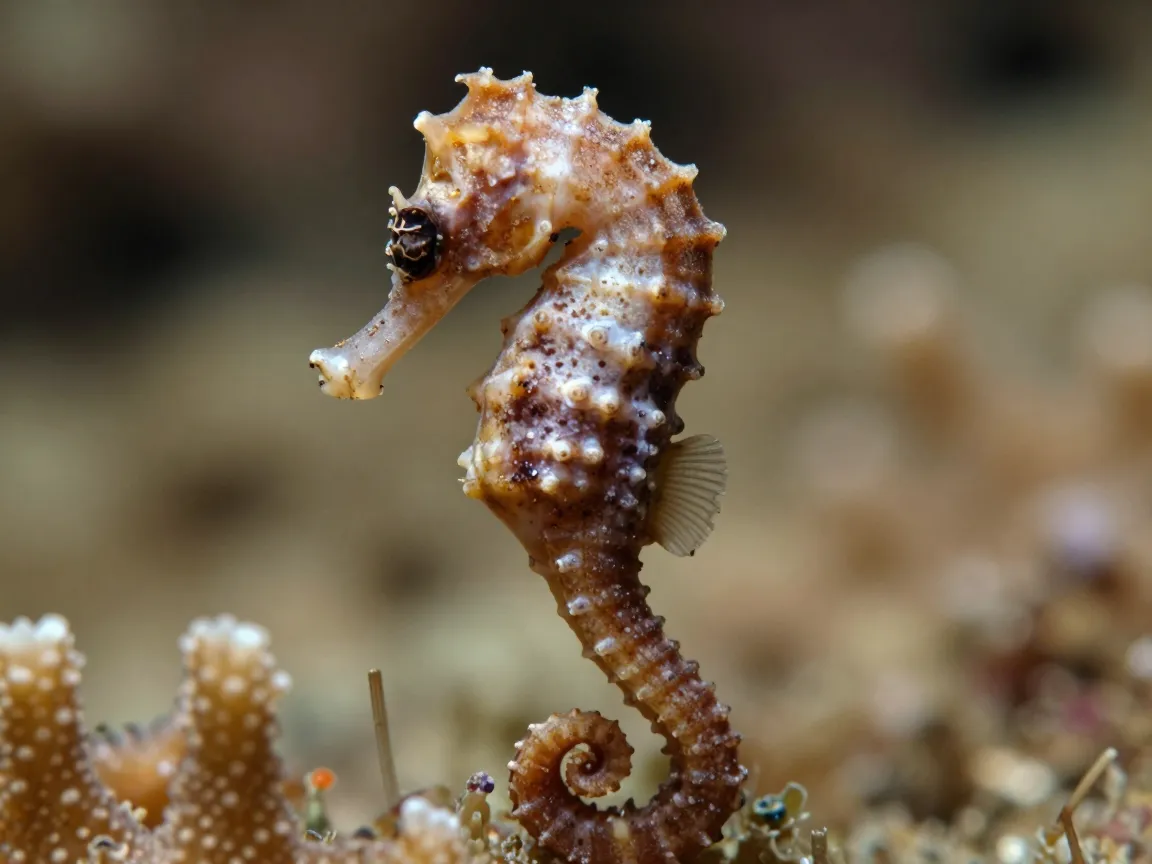
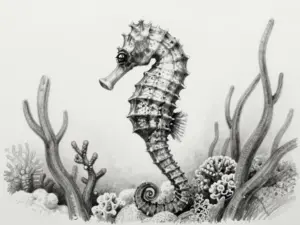
The seahorse closes out this list because it combines nearly every skill practiced in the previous five animals into one compact, detail-heavy subject. Start with a gentle S-curve for the spine, then build a rounded shape for the head and a long, tightly curled tail at the opposite end. Unlike every other creature on this list, the seahorse’s tail curls into a near-complete spiral rather than tapering straight, which takes a few practice attempts to get looking natural rather than stiff.
Along the back, small bony ridge bumps can be added as a repeating pattern of short, slightly curved lines rather than hard geometric shapes. The fins are small and nearly translucent, so a light touch with shading works better than heavy outlining. Because seahorses are naturally small and slow-moving, they work beautifully tucked into the foreground of a scene near coral or seaweed, adding a sense of scale that makes the larger creatures around them, like a whale or sea turtle, feel genuinely massive by comparison.
How to Combine Your 6 Sea Animal Drawings Into One Cohesive Underwater Scene
Drawing six individual animals well is only half the task. The real test of 6 Sea Animal Drawings To Bring Your Underwater Scenes To Life is whether they read as one believable environment once placed together. Several practical rules consistently separate a cluttered drawing from a convincing underwater world.
Scale consistency matters more than most beginners expect. A seahorse drawn at the same size as a whale breaks the illusion instantly, even if both individual drawings are technically well executed. Deciding on a rough size hierarchy before placing any animal on the page, for example whale largest, sea turtle and octopus mid-sized, clownfish and jellyfish smaller, and seahorse smallest, keeps the scene readable at a glance.
Overlapping placement creates depth far more effectively than simply spacing animals evenly across the page. Letting a jellyfish drift partially in front of the whale’s tail, or positioning the octopus so one tentacle crosses in front of a piece of coral, immediately suggests foreground, midground, and background layers without needing any additional background detail.
A single, consistent light source direction ties the whole composition together. If the whale’s shading suggests light coming from the upper left, every other creature in the scene needs matching shadow placement, or the final image will feel visually disjointed even if each individual drawing is accurate.
The table below summarizes the role each animal can play when planning a full scene:
| Animal | Suggested Scene Role | Primary Skill Practiced |
|---|---|---|
| Clownfish | Foreground focal point, fast motion | Basic shape-to-silhouette fish anatomy |
| Sea Turtle | Midground anchor, slow steady motion | Rigid shell plus flexible limb balance |
| Octopus | Midground or foreground, visual interest | Flowing tentacle construction |
| Jellyfish | Background or upper space filler | Transparency and soft shading |
| Whale | Background scale reference, largest form | Large-scale proportion and gradient shading |
| Seahorse | Foreground detail near coral or plants | Fine curve control and small-scale detail |
Color balance deserves equal attention. Sticking to a limited palette of two or three dominant water tones, with one or two accent colors reserved for a single standout creature like an orange clownfish, keeps the eye moving naturally through the scene rather than competing for attention everywhere at once.
Common Mistakes to Avoid When Drawing Multiple Sea Animals
Even artists who understand the four-stage construction method run into a handful of recurring problems once several creatures share the same page.
Overcrowding the composition is the single most common issue. Six animals do not need to be fully visible at full size simultaneously; allowing some creatures to be partially obscured by coral, bubbles, or other animals actually strengthens the sense of a real, populated environment rather than a lineup of specimens.
Inconsistent line weight between animals is another frequent problem, particularly when artists draw each creature during separate sessions. Using the same pencil grade or digital brush setting for base outlines across every animal, then varying only the detail and shading stages, keeps the final scene visually unified.
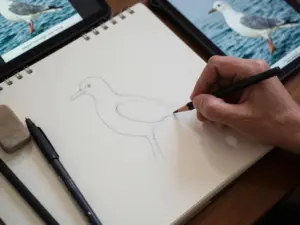
Skipping reference photos remains the most avoidable mistake. Every major current tutorial, regardless of whether it targets beginners or advanced digital artists, stresses working from real photographs for body shape and movement rather than drawing purely from memory. This is especially important for animals with unusual anatomy, such as the octopus and seahorse, where imagined proportions tend to drift noticeably from reality.
Finally, rushing straight to shading before the silhouette is fully correct causes problems that are difficult to fix later. Taking the extra few minutes to confirm that a construction-stage outline reads correctly as a recognizable silhouette, before adding a single detail or shadow, saves far more time than correcting a finished but anatomically incorrect drawing.
Frequently Asked Questions
What pencil grades work best for sea animal drawings?
A common and reliable approach uses HB for light construction shapes, 2B for refining outlines and early detail work, and 6B or 8B for deep shadow areas, particularly on creatures with heavy shading needs like the octopus and jellyfish.
Do these six animals work for digital art as well as traditional drawing?
Yes. The same construction logic applies digitally, typically using a rough draft layer, a flat base-color layer, a clean vector line-art layer, and a clipped multiply layer for shading, mirroring the traditional pencil-stage approach almost exactly.
Is it necessary to use real photo references?
Strongly recommended. Nearly every current authoritative tutorial emphasizes that realistic sea animal drawings depend on referencing real body shape, proportion, and movement rather than relying on memory or imagination alone.
Which animal on this list is hardest for beginners?
The octopus and jellyfish typically present the steepest learning curve because they lack rigid skeletal structure, requiring artists to rely entirely on confident, flowing curved lines rather than more intuitive geometric shapes.
How many animals should realistically appear in one underwater scene?
There is no strict rule, but current multi-creature tutorials commonly feature anywhere from five to twenty animals. Six strikes a practical balance, offering enough variety for a rich scene without overwhelming a beginner’s composition skills.
Conclusion
Building 6 Sea Animal Drawings To Bring Your Underwater Scenes To Life is less about memorizing six separate sets of instructions and more about internalizing one repeatable method: simple shapes first, a refined silhouette second, defining details third, and shading or color last. The clownfish, sea turtle, octopus, jellyfish, whale, and seahorse were chosen specifically because each one stretches that method in a slightly different direction, from rigid shells to flowing tentacles to massive scale.
The next step is straightforward. Pick one animal from this list, gather two or three real reference photos, and work through the four-stage process slowly before moving to the next creature. Once all six feel comfortable individually, practice placing them together on a single page, paying close attention to scale, overlapping placement, and a consistent light source. That combination of individual skill and deliberate composition is what ultimately separates a page of disconnected sketches from a genuinely believable underwater world.