Calico Cat Drawing Methods To Perfect Their Unique Patchwork Fur
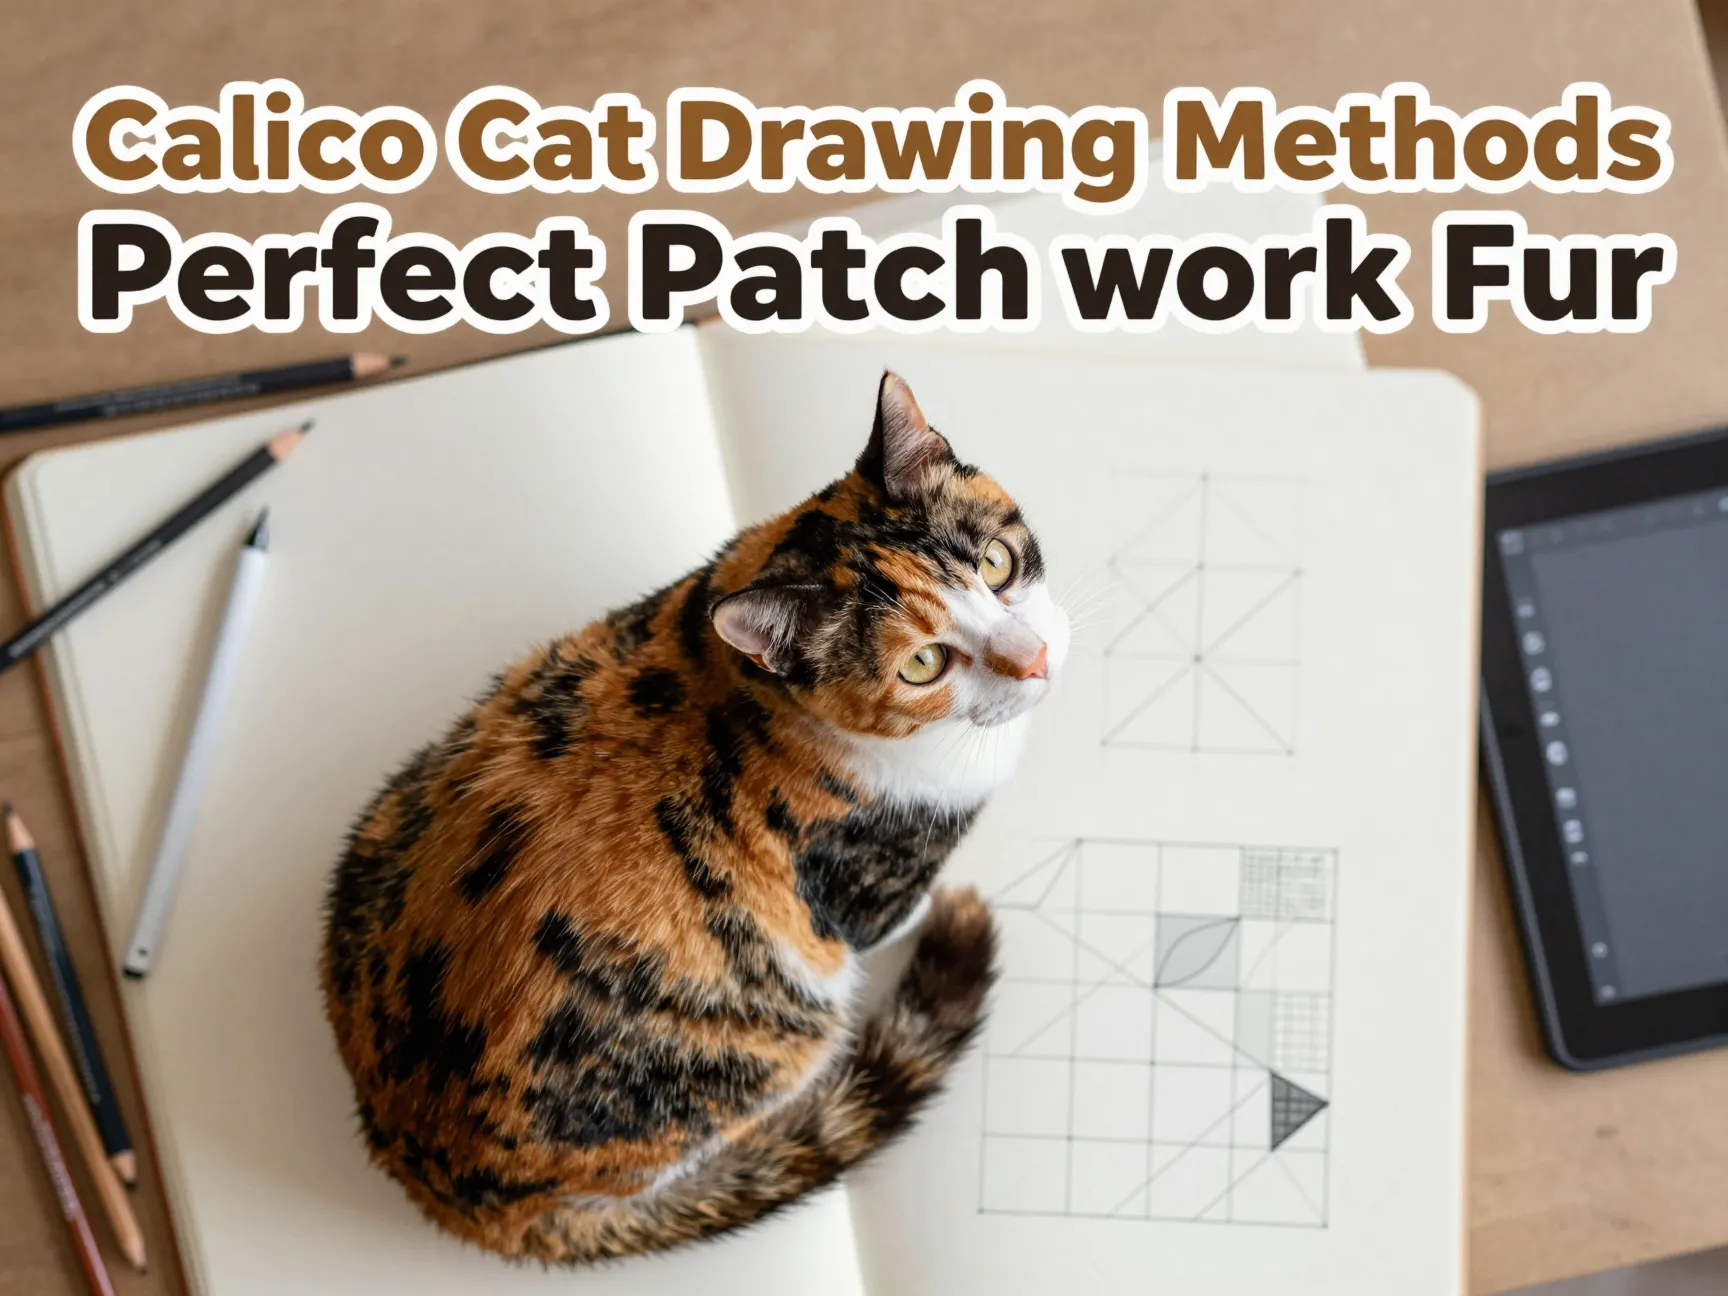
No two calico cats share the same coat, and that single fact has frustrated more artists than any other feature in feline illustration. Unlike tabbies with their repeating stripes or solid-colored cats with one flat hue, calico fur is genetically random, orange and black patches scatter across a white base in a pattern that never mirrors itself from left to right. That randomness is exactly why so many sketches of calico cats end up looking flat, symmetrical, or unconvincing. Mastering 6 Calico Cat Drawing Methods To Perfect Their Unique Patchwork Fur gives artists a structured way to capture that chaos convincingly, whether the goal is a quick cartoon sketch or a photorealistic colored-pencil portrait.
Disclosure: This post contains affiliate links. As an Amazon Associate, we earn from qualifying purchases, and at no extra cost to you.
This guide breaks down six proven approaches used by working illustrators, children’s art educators, and digital painting instructors alike. Each method solves a different part of the puzzle, proportion, patch placement, color depth, texture, digital workflow, and simplified beginner technique, so artists at any skill level can find a starting point and grow from there.
Key Takeaways
- Calico coats are tri-color (white, orange, black) with irregular, non-symmetrical patch placement, so avoiding mirrored patterns is essential to realism.
- Starting with basic construction shapes, circles, ovals, and triangles, keeps proportions accurate before any fur detail is added.
- Layering color from light to dark, combined with directional fur strokes, creates the depth and texture that flat coloring cannot achieve.
- Digital tools like Procreate and ibisPaint allow non-destructive patch editing through separate layers for sketch, base coat, color, and shading.
- Beginners and children benefit from simplified, high-contrast patch shapes rather than detailed fur rendering.
What Makes Calico Fur So Hard to Draw
Calico patterning is not decorative, it is biological. The random distribution of orange and black patches over a white coat comes from a genetic quirk tied to the X chromosome, which is why the vast majority of calico cats are female. For artists, this genetic randomness translates into a practical challenge: there is no template to copy. Every calico cat has a completely unique patch map, so relying on symmetry or repeated shapes instantly breaks the illusion.
Most tutorials, from beginner-focused videos to advanced pen-and-ink guides, agree on one foundational rule: white should be treated as its own deliberate color, not simply “the paper showing through.” Reserving white space intentionally, rather than filling in orange and black first and leaving gaps, produces a far more believable coat. This principle underlies every method that follows, and it is why the 6 Calico Cat Drawing Methods To Perfect Their Unique Patchwork Fur covered in this article all treat patch planning as a distinct step, separate from shading or texture work.
Understanding this biological randomness also explains why so many amateur drawings fail. When patches are placed symmetrically, or when orange and black are given roughly equal, evenly spaced coverage, the drawing reads as “designed” rather than “grown.” Real calico coats favor uneven, blotchy distribution, with some cats showing large solid zones and others showing tiny scattered flecks. Keeping this variability in mind before picking up a pencil, brush, or stylus sets the stage for every technique discussed below.
6 Calico Cat Drawing Methods To Perfect Their Unique Patchwork Fur
The following six approaches represent the most widely taught and practically effective ways artists tackle calico fur today. Each one can be used independently, but combining several, starting with construction shapes, then patch mapping, then layered shading, produces the strongest results.
1. Construction-Shape Method for Accurate Proportions
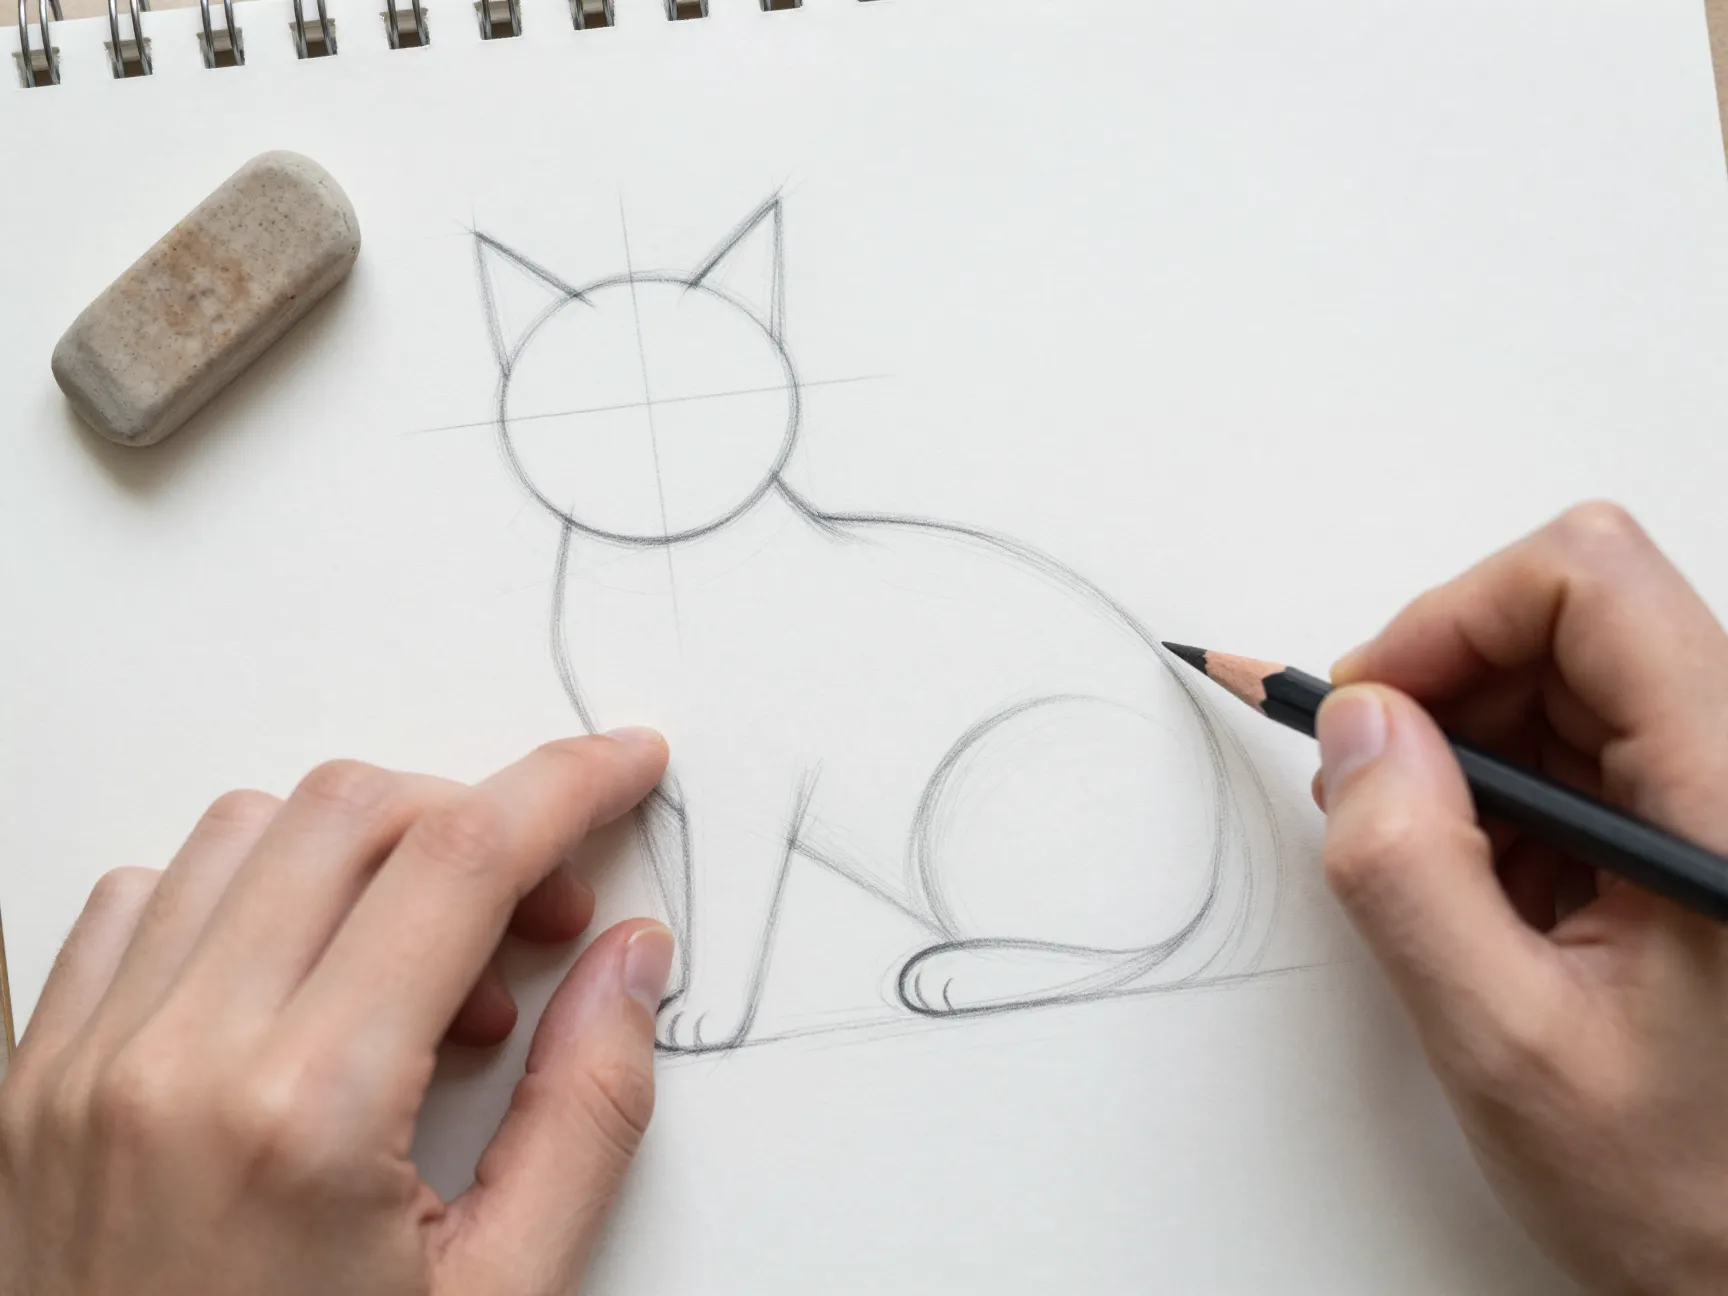
Nearly every professional tutorial on drawing cats, calico or otherwise, begins the same way: with simple geometric shapes rather than fur or color. This construction-shape method uses a circle or oval for the head, a longer oval for the body, triangles for the ears, and soft curved guide lines for the tail and legs. The goal is to nail down proportion and pose before any patchwork detail enters the picture.
Artists working this way typically sketch with light, smooth strokes that can be erased or adjusted easily. This matters more for calico cats than for solid-colored ones because once patch shapes are added, correcting a proportion error means redrawing color boundaries too, a far more tedious fix. Getting the skeleton right first saves significant rework later.
A few practical pointers make this stage more effective:
- Draw the head and body as separate overlapping ovals rather than one continuous outline, which helps maintain believable anatomy.
- Use a simple cross-guide on the face (a vertical and horizontal line) to place the eyes, nose, and whisker points symmetrically, since facial symmetry is expected even though fur patches are not.
- Keep the tail as a single flowing curve rather than a rigid line, since calico tails often carry some of the most visually interesting patch transitions.
This method matters specifically for calico work because the next step, patch mapping, depends entirely on having a clean, well-proportioned base to build on.
2. Patch Mapping Method for Realistic Randomness
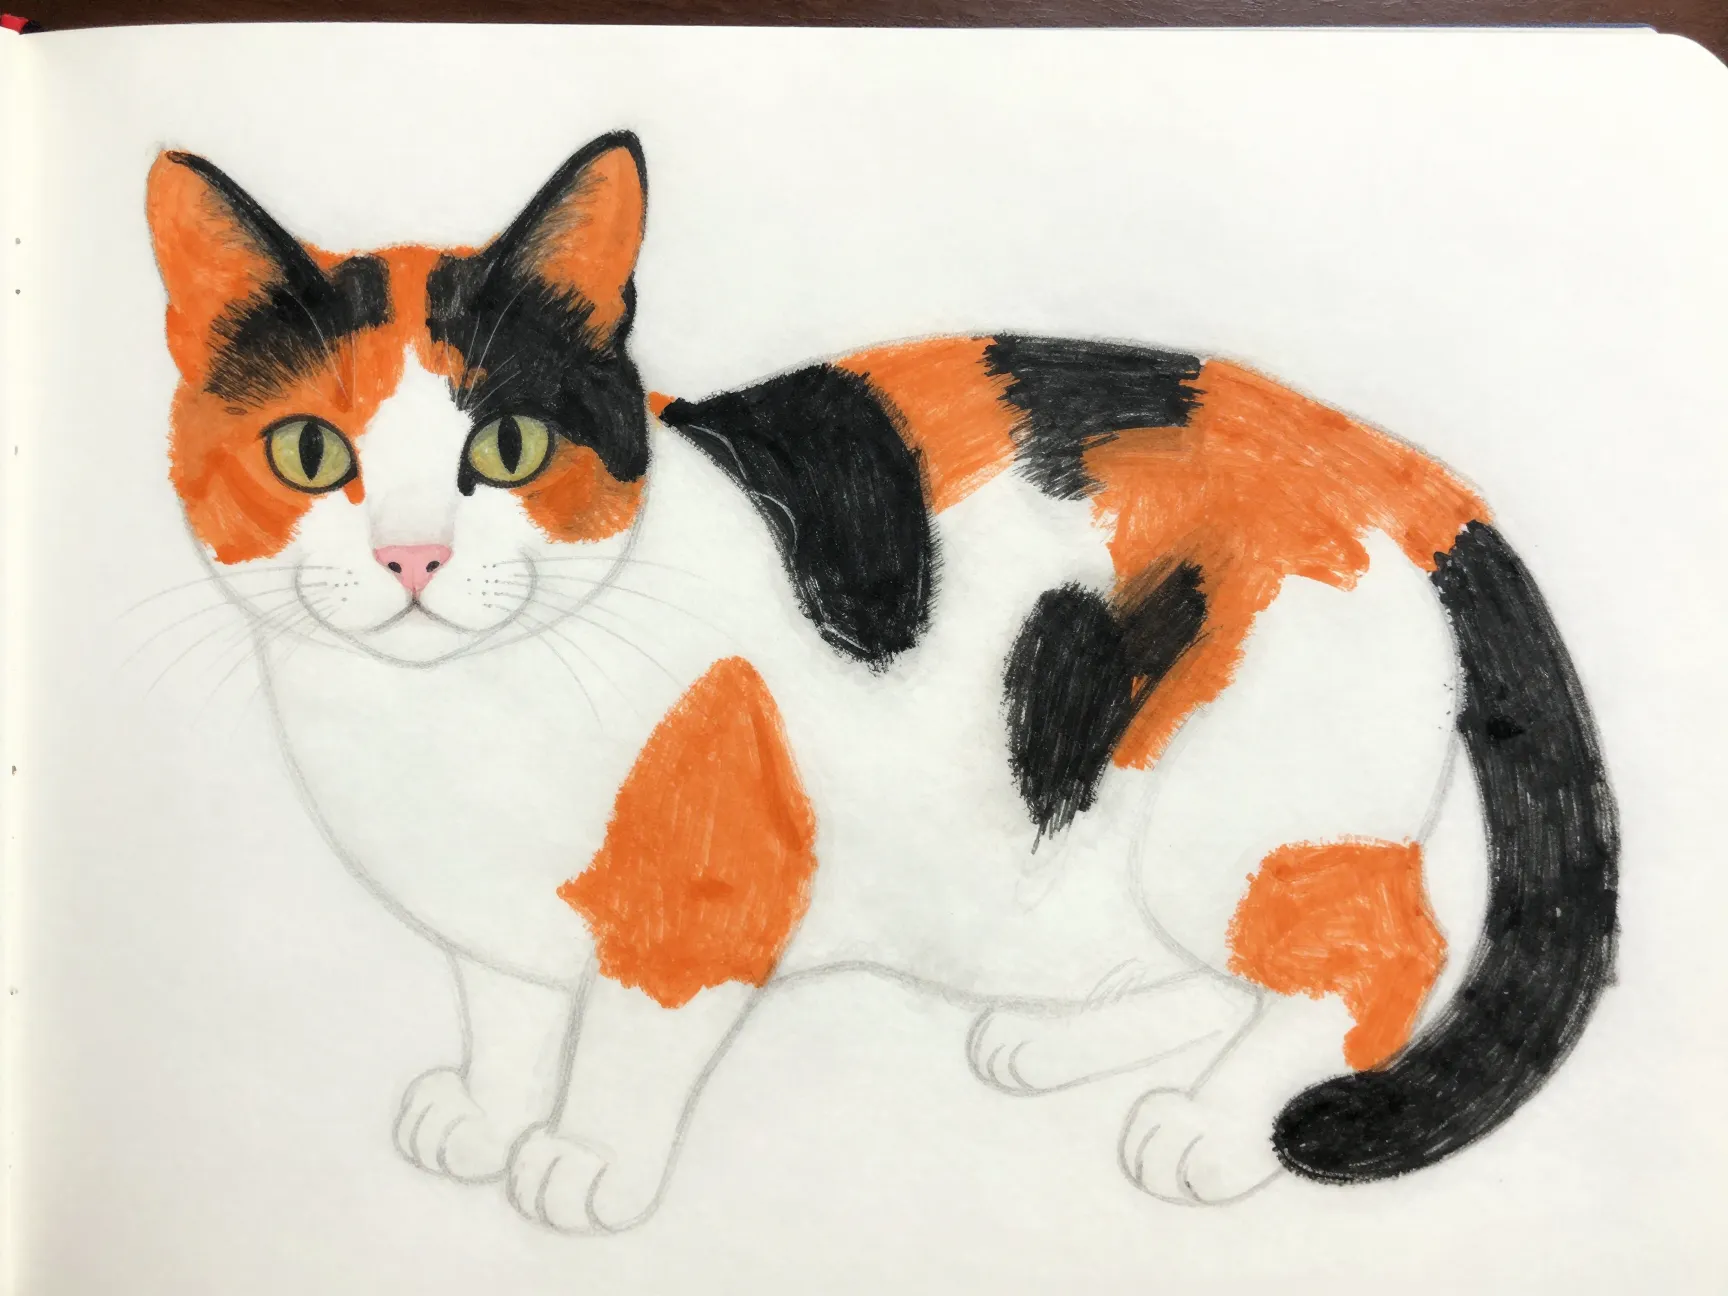
Once the basic form is in place, the second method addresses the heart of calico drawing: placing the actual color patches. The patch mapping method starts by blocking in the large white areas first, since white typically dominates a calico coat and serves as the “canvas” that orange and black patches interrupt.
After the white zones are loosely marked, artists sketch irregular orange and black shapes directly onto the form, deliberately avoiding any repeating pattern or left-right mirroring. This is the step where the biological randomness discussed earlier becomes a practical drawing decision. A useful habit is to prioritize the face first, since viewers instinctively focus there before scanning the rest of the body. A calico cat with a compelling, asymmetrical facial patch, say, one black ear and an orange patch over one eye, reads as far more convincing than a cat with evenly split coloring.
Key techniques for effective patch mapping include:
- Lightly outlining patch boundaries with a soft pencil or low-opacity digital brush before committing to solid color, allowing for easy adjustment.
- Varying patch size dramatically, some large, some tiny, rather than distributing similarly sized shapes evenly across the body.
- Letting white “bridges” cut through darker areas so no single patch of orange or black dominates more than roughly a third of the visible coat.
- Extending a few patches across body contours (like from the back onto a leg) to suggest that the pattern follows the cat’s three-dimensional form rather than sitting flat on top of it.
This method is arguably the single most important of the 6 Calico Cat Drawing Methods To Perfect Their Unique Patchwork Fur, since getting the patch distribution right does more to sell the calico identity than any amount of fine detail added afterward.
3. Layered Color and Shading Method for Coat Depth
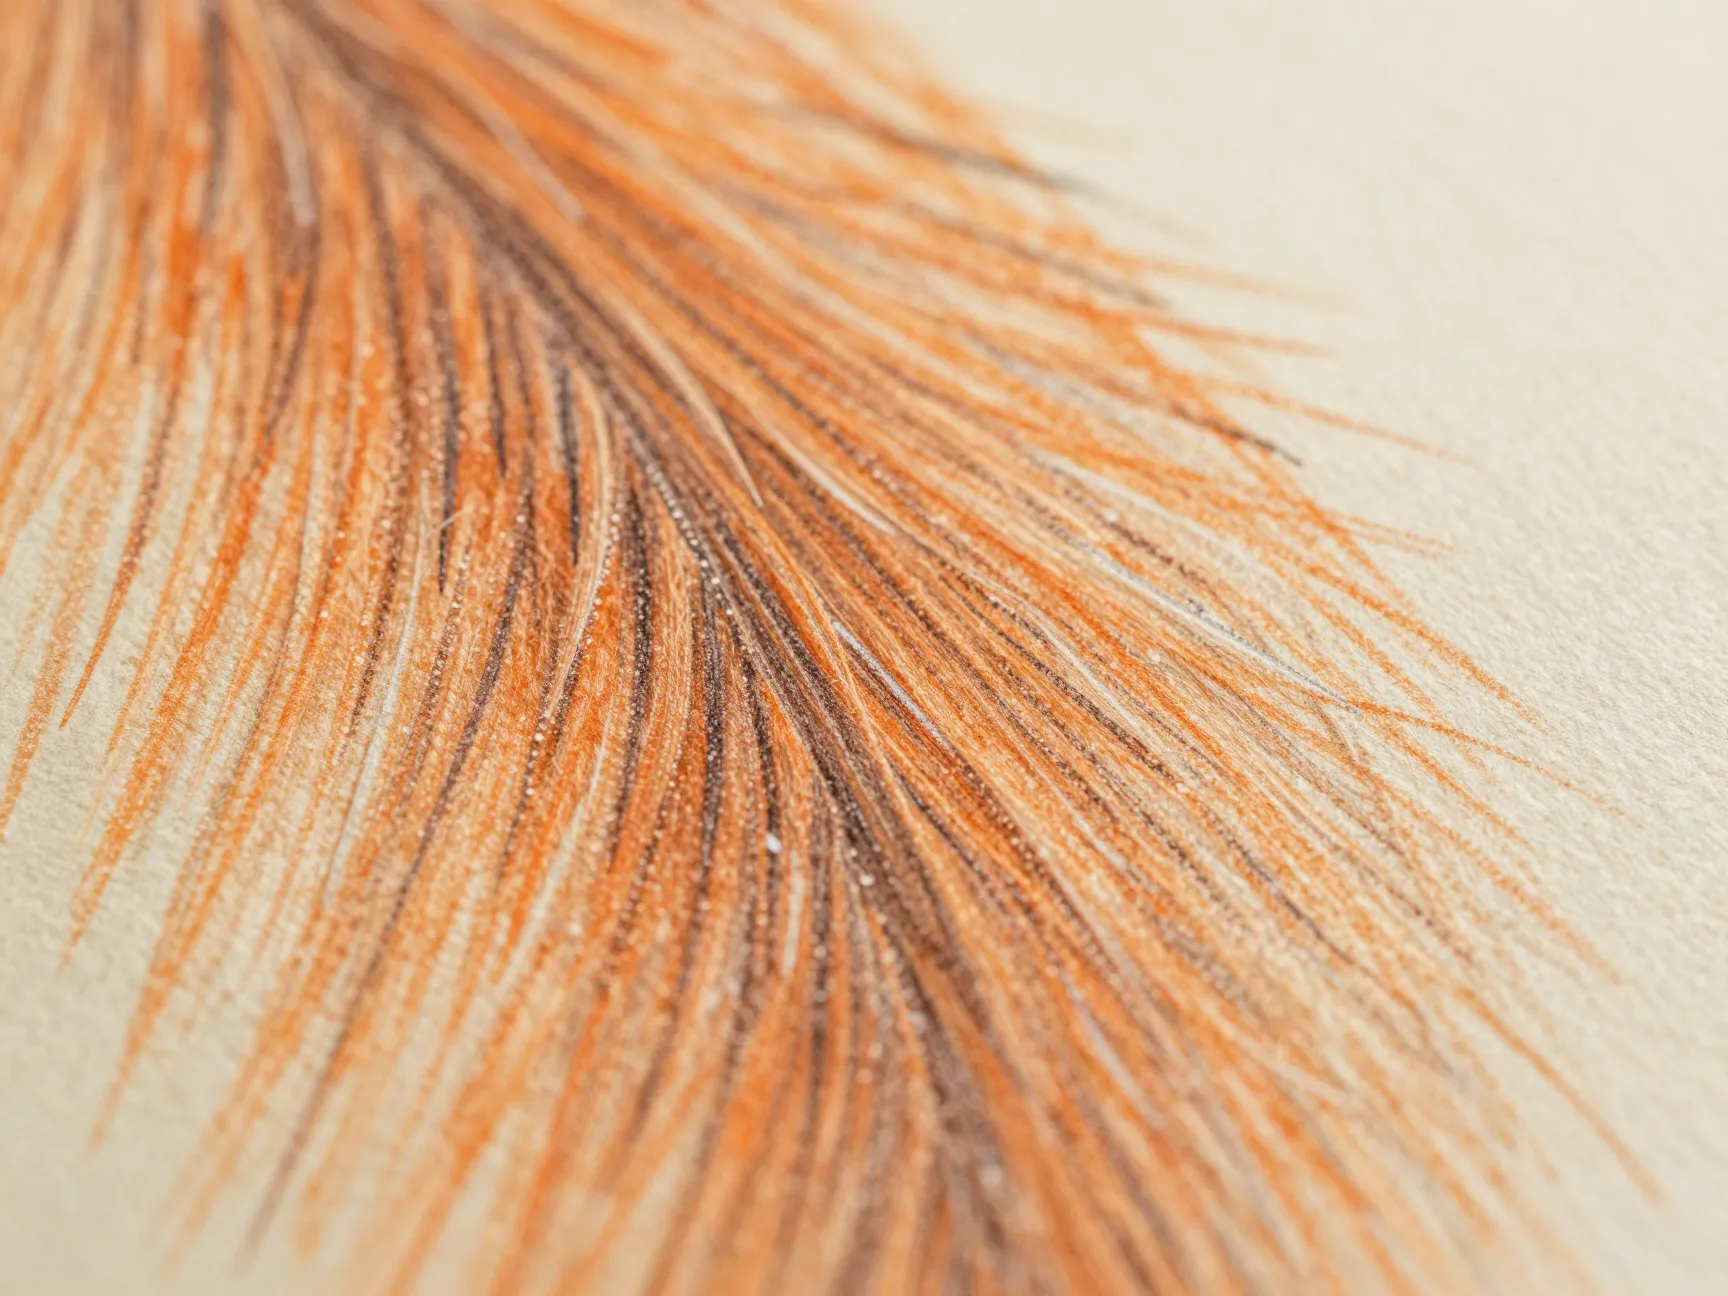
Flat color patches look fine from a distance but fall apart under close inspection. The layered color and shading method solves this by building the coat in multiple passes rather than one flat application. This technique, popularized in detailed colored-pencil tutorials, starts with the lightest base tones, often cream or pale yellow for what will become orange areas, before gradually introducing warmer orange and then darker brown or black accents on top.
The logic mirrors how real fur reflects light: individual hairs vary slightly in tone, and a single flat color can never capture that variation. By stacking values from light to dark across several passes, each patch gains believable depth rather than looking like a sticker placed on the cat’s body.
A simple three-pass structure works well for most patches:
| Pass | Purpose | Typical Tone |
|---|---|---|
| Base layer | Establish overall patch shape and light values | Cream, pale gray, or light orange |
| Mid layer | Add the dominant patch color | Warm orange or deep charcoal |
| Accent layer | Add shadow depth and edge definition | Burnt orange, dark brown, or black |
Throughout this process, it helps to use a light flicking stroke rather than a smooth, even fill. Flicking strokes mimic the direction fur naturally grows, which keeps the coat looking soft instead of painted-on. It’s also worth reserving small unshaded white highlights within each patch, especially where the body catches light, since real fur almost never appears as one uniform color across an entire patch.
4. Fur-Texture Rendering Method With Directional Strokes
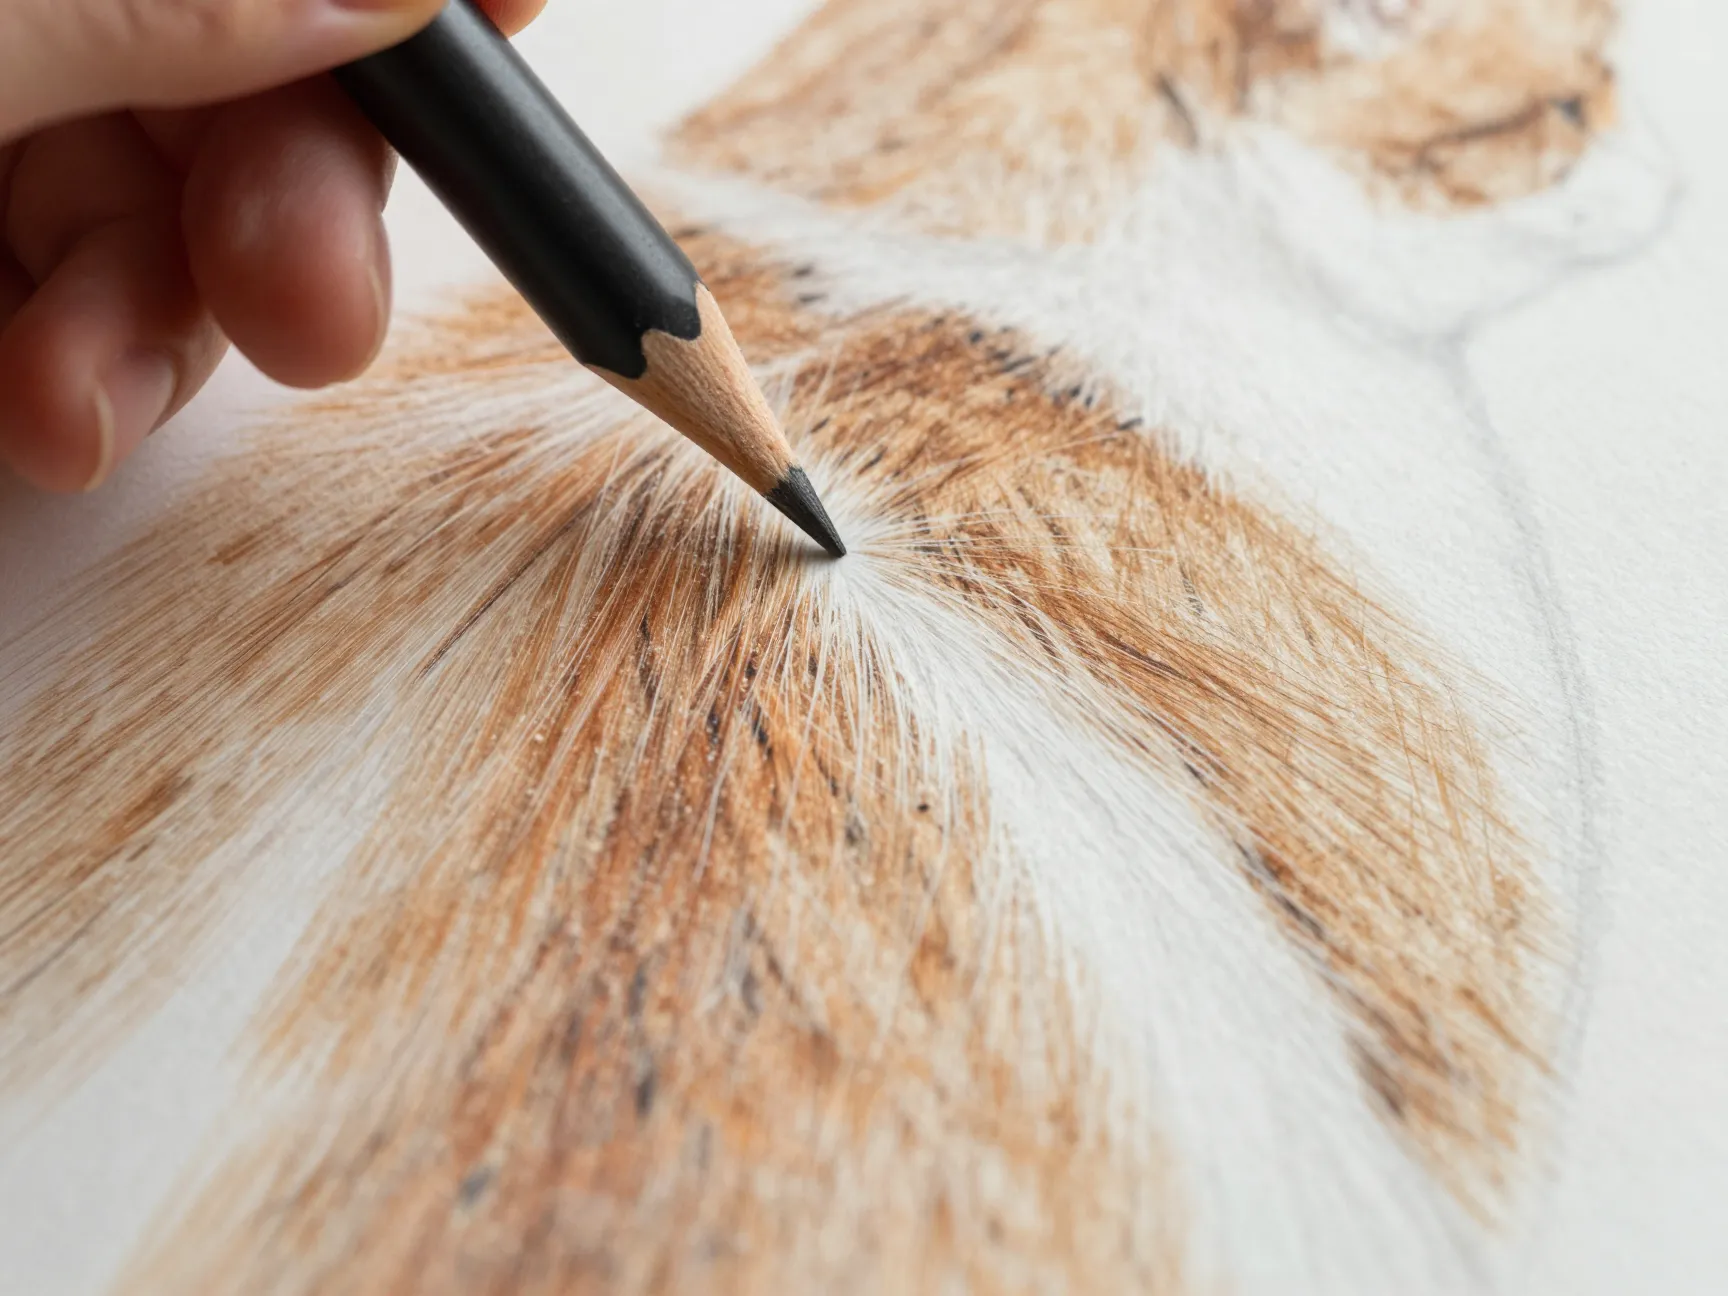
Where the layered color method focuses on value and depth, this fourth method focuses specifically on texture, the sense that a viewer is looking at individual hairs rather than a smooth colored surface. The fur-texture rendering method relies on following the natural direction of hair growth with short, overlapping strokes rather than long, continuous lines.
On a cat, fur generally flows from the head backward along the spine, down and outward on the sides, and radially outward from the center of the chest. Ignoring this flow and stroking in random directions is one of the most common reasons calico drawings look artificial. Artists working in traditional media sometimes use specialized tools, such as a fine-pointed nail-dotting tool, to scratch thin white lines back into a colored patch, preserving delicate light-colored fur strands even after darker color has been applied.
Pen-and-ink approaches to calico fur follow a similar principle but push it further, developing white and black areas simultaneously rather than finishing one color completely before starting the next. This keeps the overall value balance consistent across the drawing and prevents any single patch from looking flatter or more finished than its neighbors.
Practical guidelines for this method include:
- Working in short strokes no longer than roughly a quarter-inch on a standard drawing, repeated in overlapping layers to build density gradually.
- Changing stroke direction slightly at patch boundaries, since real fur often shifts direction where two coat colors meet.
- Leaving small gaps of untouched white or base color between strokes near the edges of patches, softening the transition rather than creating a hard, cut-out edge.
“Fur is never flat. Follow the direction the hair actually grows, and the coat starts to feel alive rather than painted on.”
5. Layer-Based Digital Patchwork Method for Procreate and ibisPaint
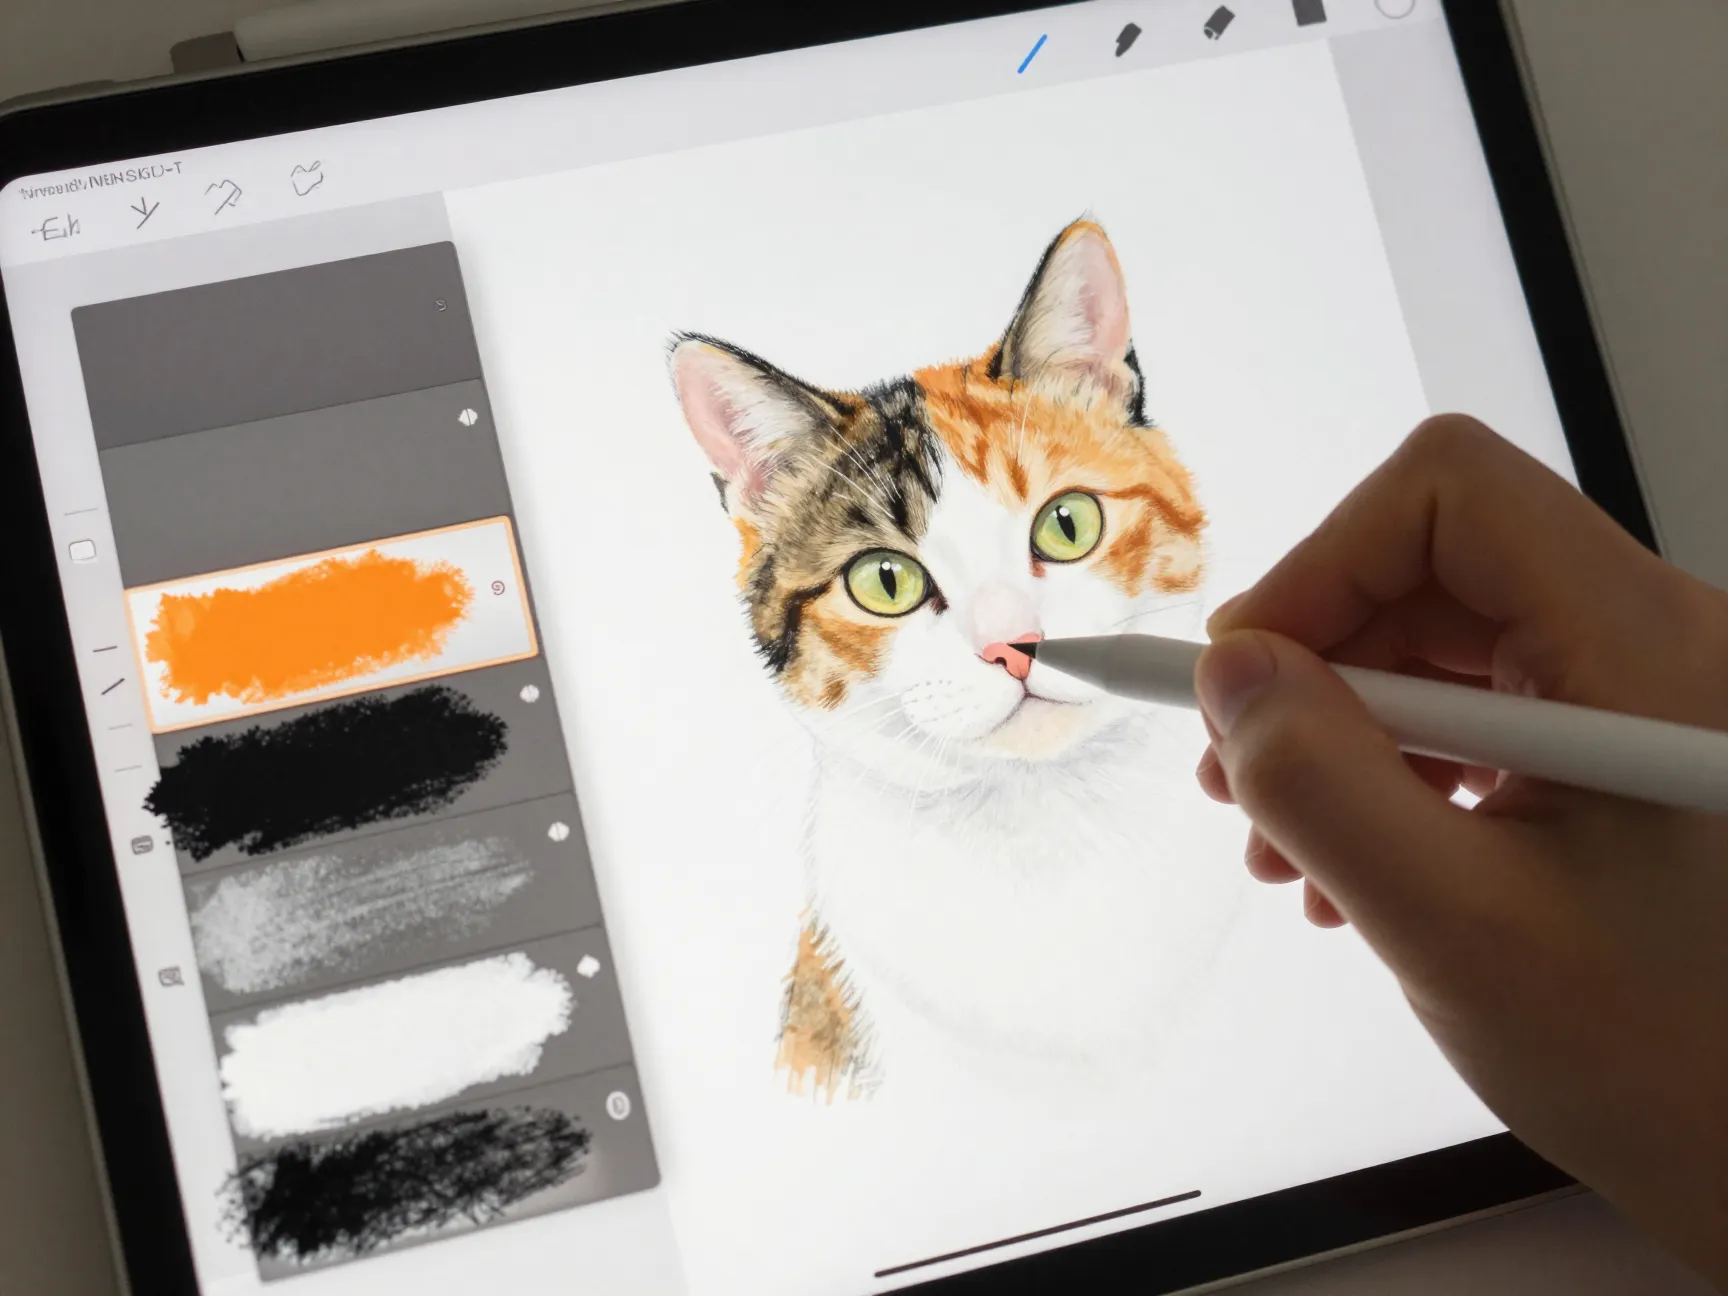
Digital painting has changed how many artists approach calico fur, largely because layer-based software allows color patches to be edited without disturbing the underlying sketch or shading. In apps such as Procreate and ibisPaint, the standard workflow separates the drawing into at least four distinct layers: the initial sketch, a flat base coat, the orange and black color patches, and a final shading pass.
This separation matters enormously for calico work specifically. Because patch placement is the trickiest and most experimental part of drawing a calico cat, keeping patches on their own layer means an artist can erase, resize, or completely reposition a patch without redrawing the sketch or losing shading work already completed. Soft-edged brushes are commonly used at this stage to control how sharply or gently each patch blends into the surrounding white, since real calico patches range from crisp-edged to softly blended depending on the individual cat.
A typical digital layer stack looks like this:
- Sketch layer, kept at low opacity as a guide throughout the entire process.
- Base coat layer, filled with flat white or cream to establish the overall silhouette.
- Patch layer, where orange and black shapes are painted using a textured or soft round brush, easily toggled on and off to check the design against the base.
- Shading and highlight layer, added last using multiply or overlay blending modes to introduce depth without altering the patch colors underneath.
Beginners working in ibisPaint are often encouraged to start with simple default brushes and basic layer controls, gradually experimenting with edge softness and opacity as confidence builds. This mirrors a broader shift in art education toward short-form, platform-based tutorials, with several major guides for drawing cats and calico fur having been refreshed within recent months to reflect updated app interfaces and brush libraries. Looking ahead, it is reasonable to expect app-integrated brushes and pattern-assist features, potentially even AI-suggested patch layouts, to become more common, though traditional construction and observation-based techniques are likely to remain the foundation artists rely on for genuinely convincing results.
6. Beginner-Friendly Bold Shape Method for Simplified Patterns
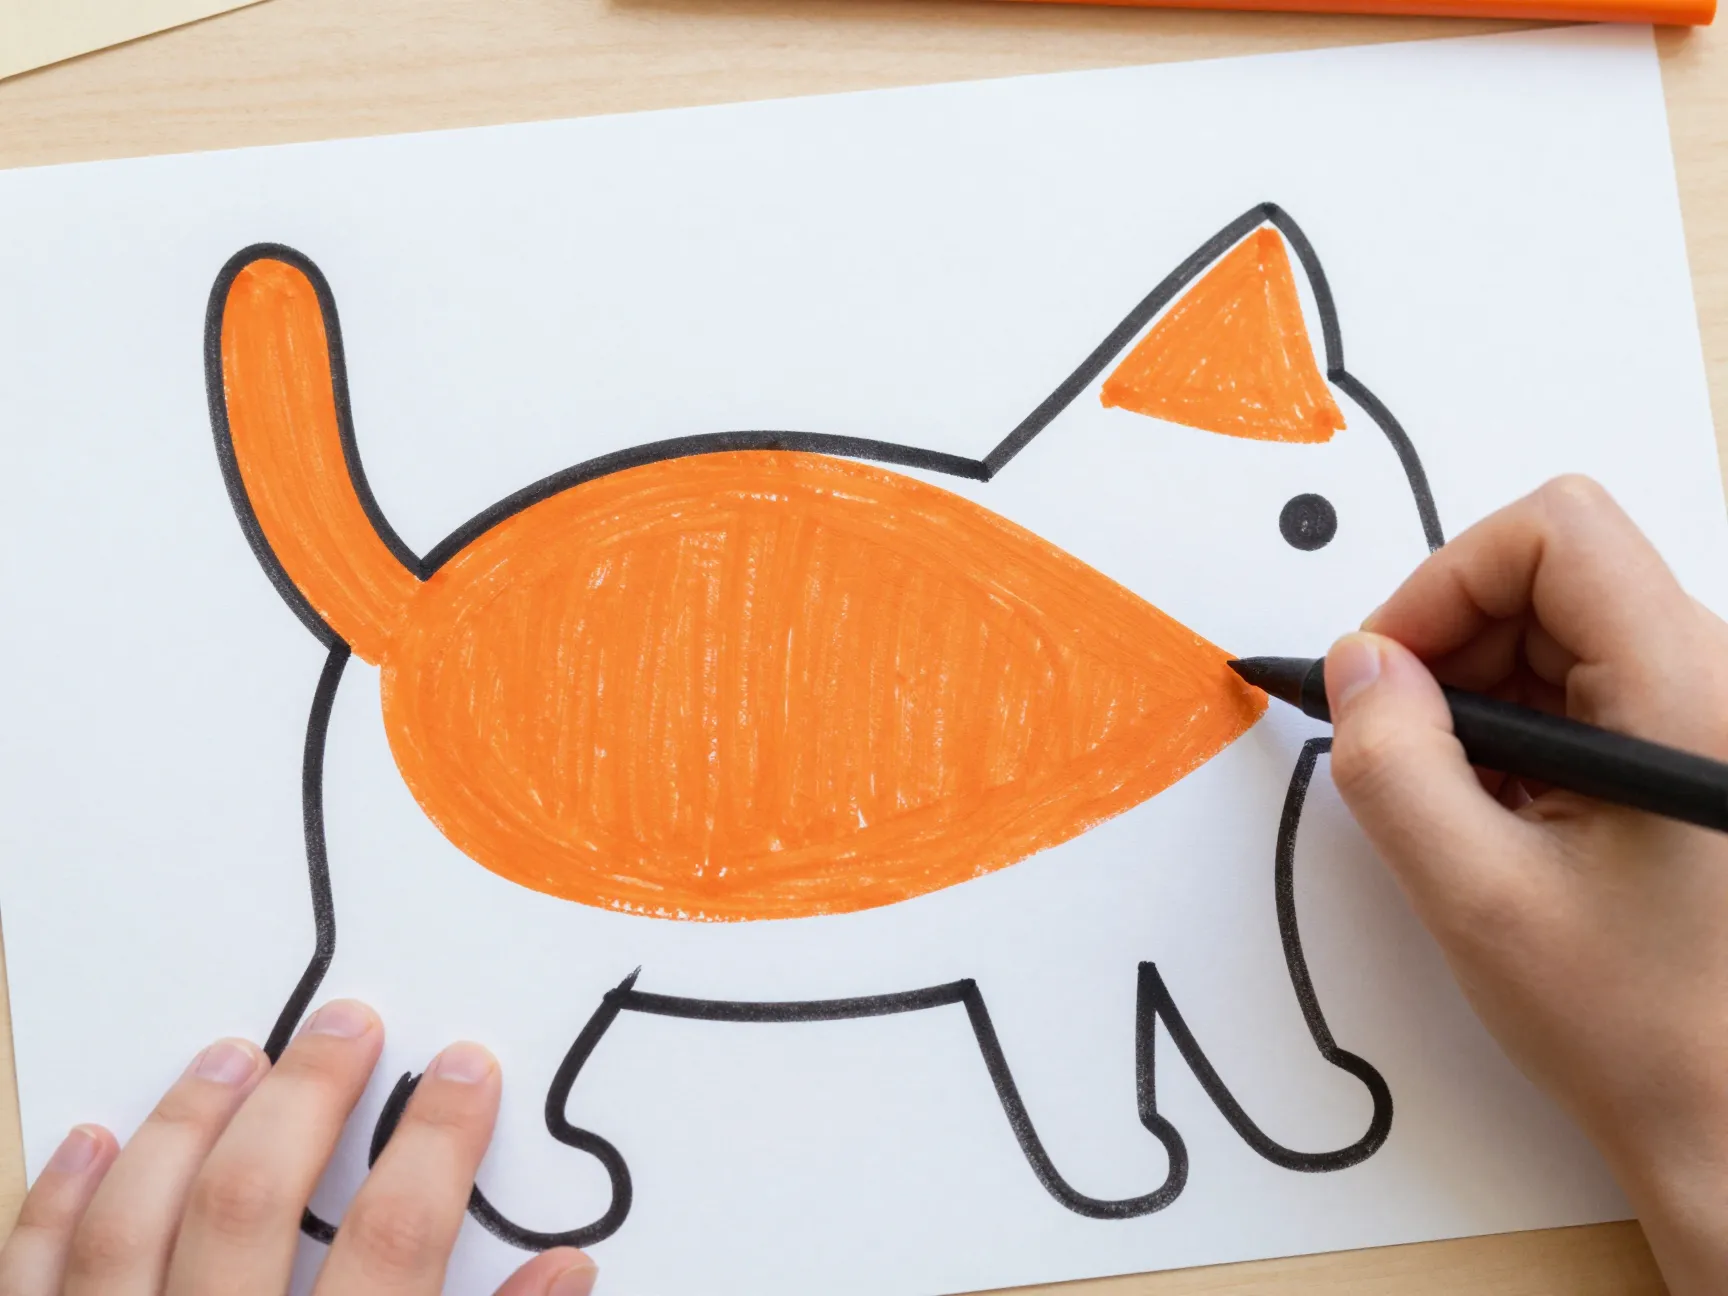
Not every calico drawing needs to be a detailed study in fur texture. For young artists, hobbyists, or anyone drawing calico cats as part of a simpler illustration project, the sixth method strips the process down to bold, high-contrast shapes. This beginner-friendly approach minimizes fine fur rendering entirely, focusing instead on clear silhouettes and large, graphic patches of color.
Children’s art lessons frequently use heavy paper combined with crayons or oil pastels to achieve this effect, since these materials naturally produce bold, blocky color areas rather than fine detail. The emphasis shifts from “realistic randomness” to “clear, appealing design,” which makes the technique especially useful for craft projects, greeting cards, or introductory drawing classes where the goal is confidence-building rather than photorealism.
This method still respects the core calico rule of asymmetry, patches should still avoid mirroring, but the shapes themselves can be simplified into large curved triangles, ovals, or teardrop forms rather than the jagged, irregular edges used in more advanced patch mapping. A few adaptations make this approach work well for beginners:
- Limit the palette to three flat colors (white, orange, black) with no blending or shading between them.
- Use thick outlines around each patch to reinforce the graphic, stylized look rather than attempting soft, realistic edges.
- Keep the pose simple, usually a seated or lying cat viewed from the side, so patch placement stays easy to plan without complex foreshortening.
Because this method requires no advanced shading skills, it remains one of the most accessible entry points into the full set of 6 Calico Cat Drawing Methods To Perfect Their Unique Patchwork Fur, and it often serves as a stepping stone toward the more advanced layered and textured techniques described above.
Choosing the Right Calico Cat Drawing Method for Your Skill Level
Not every method suits every project. A quick reference can help match technique to goal, especially for artists deciding where to start or how to combine approaches.
| Skill Level or Goal | Best-Suited Method | Typical Tools |
|---|---|---|
| Absolute beginner or children’s craft | Beginner-friendly bold shape method | Crayons, oil pastels, heavy paper |
| Learning proportion and pose | Construction-shape method | Pencil, light eraser |
| Realistic patch distribution | Patch mapping method | Pencil, fine-tip pen |
| Depth and dimensional coat color | Layered color and shading method | Colored pencils, markers |
| Photorealistic fur detail | Fur-texture rendering method | Colored pencils, ink, nail-dotting tool |
| Digital illustration or editing flexibility | Layer-based digital patchwork method | Procreate, ibisPaint |
Many working illustrators blend two or three of these methods within a single drawing, starting with construction shapes, moving into patch mapping, and finishing with layered shading or digital texture work. There is no requirement to master every method before producing a satisfying result; even the simplified bold-shape approach, executed carefully, can produce a charming and recognizable calico cat.
Common Mistakes to Avoid When Drawing Calico Patchwork Fur
Even with a solid method in hand, a few recurring errors tend to undermine calico drawings. Watching for these can save significant revision time.
- Mirroring patches on both sides of the body, which instantly signals an artificial, “designed” pattern rather than a naturally occurring one.
- Treating white as empty space rather than an intentional color, resulting in coats that look unfinished or patchy in the wrong sense.
- Rushing straight into color before finalizing the construction sketch, which often leads to distorted proportions once patches are added.
- Applying flat, single-tone color fills instead of layering light, mid, and dark values, which flattens the sense of fur depth.
- Ignoring fur growth direction when adding texture strokes, producing a coat that looks scratched rather than furred.
- Overcrowding the coat with too many small, evenly sized patches, rather than allowing size variation that mimics real calico randomness.
Working through a drawing in clear stages, refining the sketch, finalizing outlines, erasing guidelines, and only then committing to patches and shading, remains one of the most reliable ways to avoid these pitfalls. Patience at each stage pays off directly in the believability of the finished coat.
Frequently Asked Questions
What is the easiest of the 6 Calico Cat Drawing Methods To Perfect Their Unique Patchwork Fur for beginners?
The beginner-friendly bold shape method is generally the easiest starting point, since it relies on flat color and simplified patch shapes rather than fine texture or shading skills.
Why should calico patches never be symmetrical?
Calico coloring results from a random genetic process, so real calico cats never display mirrored patches on both sides of their bodies. Symmetrical patches immediately look artificial to viewers, even those unfamiliar with the underlying biology.
Do I need special tools to draw realistic calico fur?
Not necessarily. While tools like nail-dotting implements or textured digital brushes can help preserve fine white fur lines, careful layering and directional strokes with ordinary pencils or standard digital brushes can also produce convincing texture.
Is digital or traditional media better for calico cats?
Both work well. Traditional media, particularly colored pencils, excel at soft blending and fine texture. Digital tools like Procreate and ibisPaint offer the advantage of separating patches onto editable layers, which is especially useful for experimenting with patch placement before committing to a final design.
Conclusion
Calico fur rewards patience and structure far more than raw talent alone. By working through the 6 Calico Cat Drawing Methods To Perfect Their Unique Patchwork Fur,construction shapes, patch mapping, layered color and shading, directional fur texture, digital layer workflows, and simplified bold shapes, artists at any level can build a repeatable process rather than relying on guesswork. The single most important habit to carry forward is respecting the natural randomness of calico coloring: uneven patch sizes, asymmetrical placement, and intentional white space consistently separate convincing calico drawings from flat, artificial-looking ones.
The most effective next step is simple: pick one method that matches current skill level, complete a full drawing using only that technique, and then layer in a second method on the next attempt. Progression through these six approaches, rather than attempting mastery all at once, produces steadier improvement and far more satisfying results over time.