Jelly Cat Drawing Techniques For Creating Wobbly, Adorable Felines
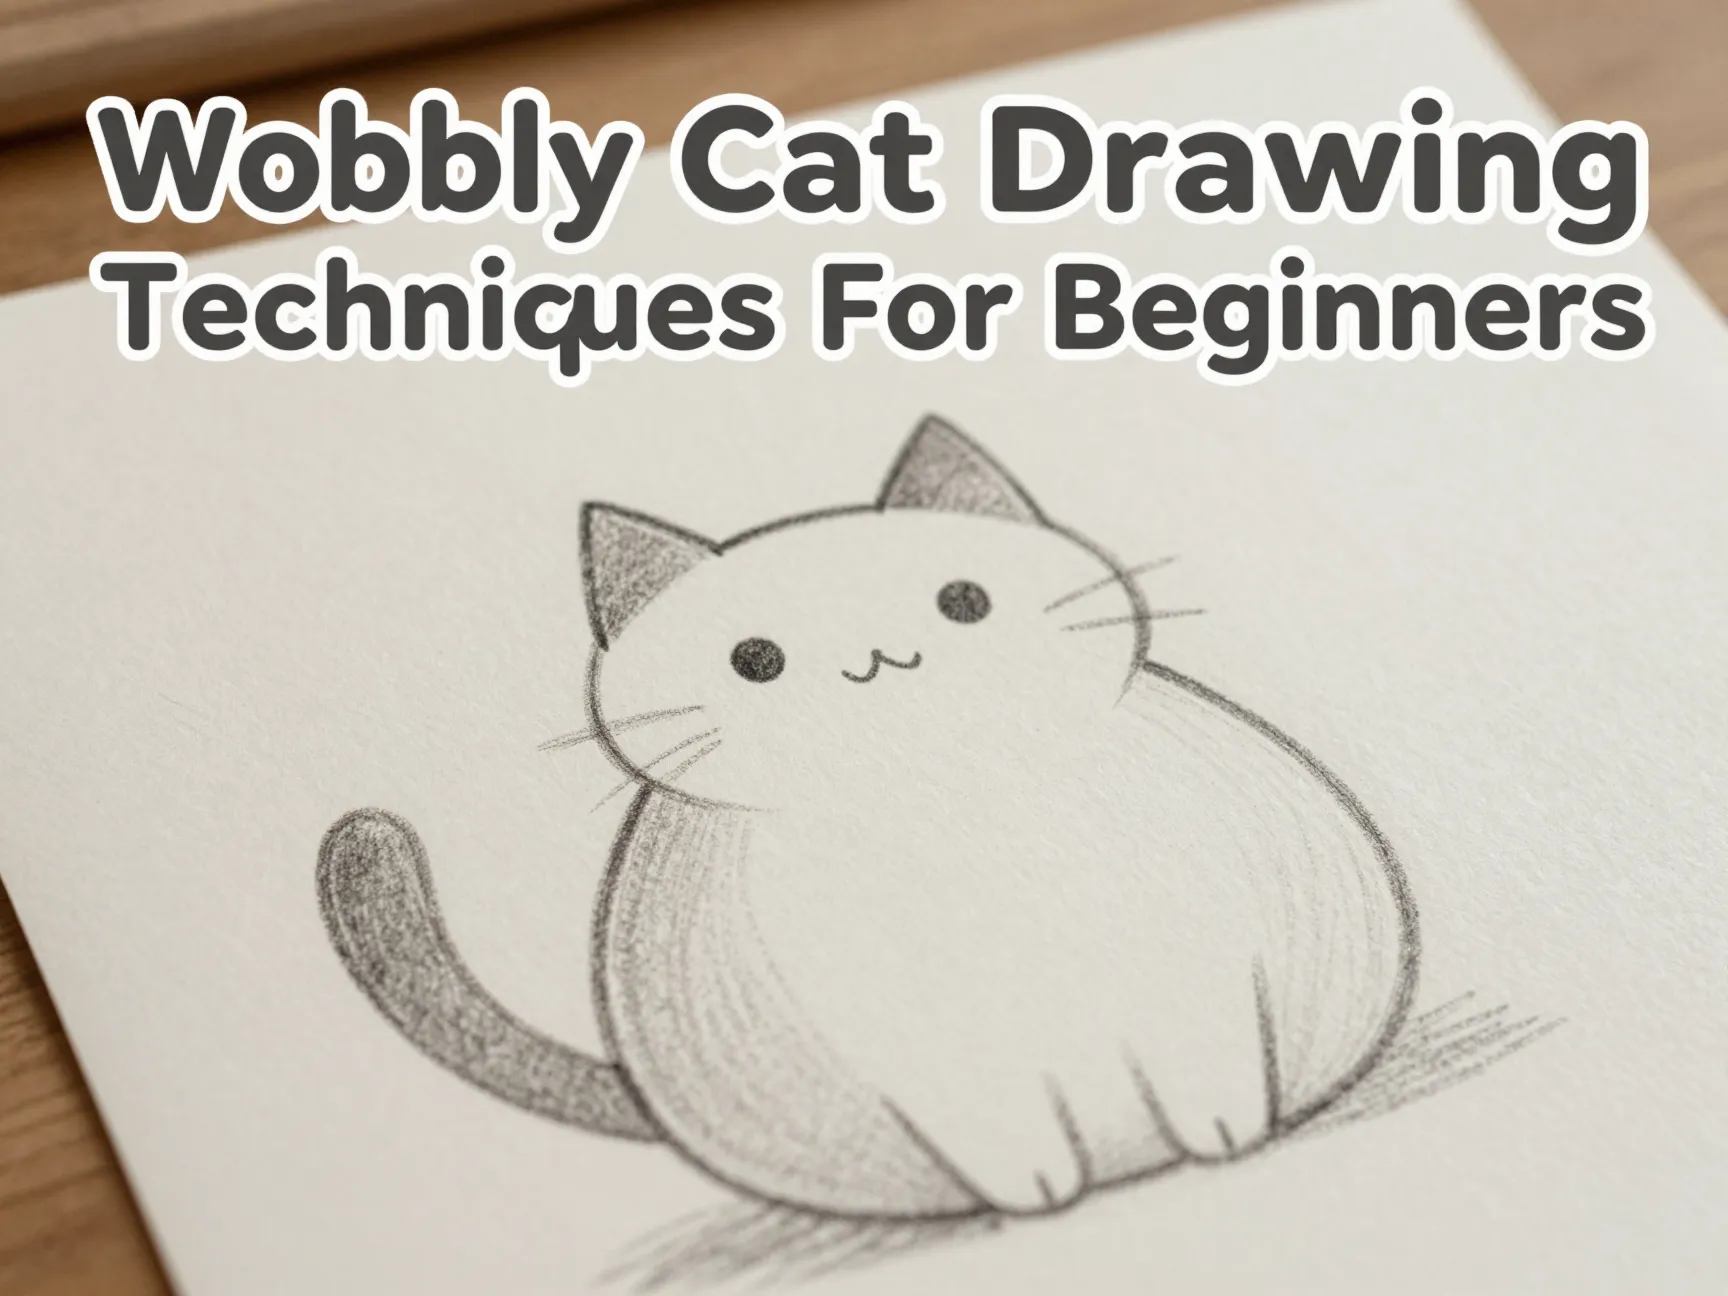
A single rounded shape can make or break a plush-style cat sketch. Artists who study the Jellycat aesthetic closely notice something surprising: the most beloved wobbly, huggable characters are almost never drawn with a ruler-straight line. Every curve leans, every paw tilts slightly off-center, and every outline looks like it was drawn by a hand that refused to rush. That deliberate imperfection is the entire secret. This guide breaks down 6 Jelly Cat Drawing Techniques For Creating Wobbly, Adorable Felines so beginners and hobbyists alike can capture that soft, toy-like charm without needing advanced art training.
Disclosure: This post contains affiliate links. As an Amazon Associate, we earn from qualifying purchases, and at no extra cost to you.
Whether working in graphite on sketch paper, layering oil pastels for texture, or building digital line art in Procreate, the underlying principles stay the same. This article walks through each technique in order, explains why it works, and shows how to combine them into a finished character that looks squishable rather than stiff.
Key Takeaways
- Rounded “blob” body shapes, not rigid torsos, are the foundation of every wobbly Jellycat-style drawing.
- Loose, swooping line work beats precise mechanical tracing when the goal is a playful, toy-like feel.
- Slight asymmetry in ears, paws, and contours is intentional and makes characters look more alive.
- Simple starting shapes, circles, ovals, and pear forms, keep the process accessible for beginners of any age.
- Theme variations like tacos, donuts, and gift boxes let artists practice the same six core techniques in fresh, fun contexts.
What Makes the Jellycat Style So Charming
The Jellycat plush aesthetic has become one of the most recognizable design languages in the toy and illustration world, and its appeal comes from a handful of consistent visual cues rather than complex anatomy. There is no official branded curriculum that lists official drawing rules. Instead, the style has emerged organically from artists, hobby educators, and short-form video creators who have converged on similar shortcuts. That grassroots development is actually good news for beginners: nothing about this style requires formal training.
At its core, the look relies on soft silhouettes, minimal facial detail, and a sense of gentle motion. A well-drawn Jellycat-style cat should look like it could tip over at any second and still feel cozy doing it. That wobble is not a flaw in the drawing. It is the entire point.
Several recurring elements show up across nearly every tutorial on this subject, regardless of whether the artist is working traditionally or digitally:
| Visual Element | Traditional Cat Sketch | Wobbly Jellycat Style |
|---|---|---|
| Head shape | Oval with defined jaw | Simple circle or slightly squashed oval |
| Body | Structured torso with joints | Single pear-shaped “blob” |
| Line quality | Clean, exact contour | Loose, swooping, slightly wobbly line |
| Limbs | Proportional, articulated | Short, rounded, stub-like |
| Face | Detailed features | Two dots or curves, minimal detail |
| Ears | Symmetrical, pointed | Slightly asymmetrical, soft triangles |
Understanding this table matters because it explains why the six techniques below focus so heavily on shape simplification and intentional looseness. Once the underlying logic is clear, applying it to any character, a cat, a bunny, or a food-themed hybrid, becomes far easier.
6 Jelly Cat Drawing Techniques For Creating Wobbly, Adorable Felines
The following six techniques form a practical bundle of skills rather than a single rigid formula. Applied together, they consistently produce the squishy, huggable look associated with plush-style feline characters. Each one builds on the last, so working through them in order tends to give the cleanest results, especially for anyone drawing this style for the first time.
1. Blob-Body Construction
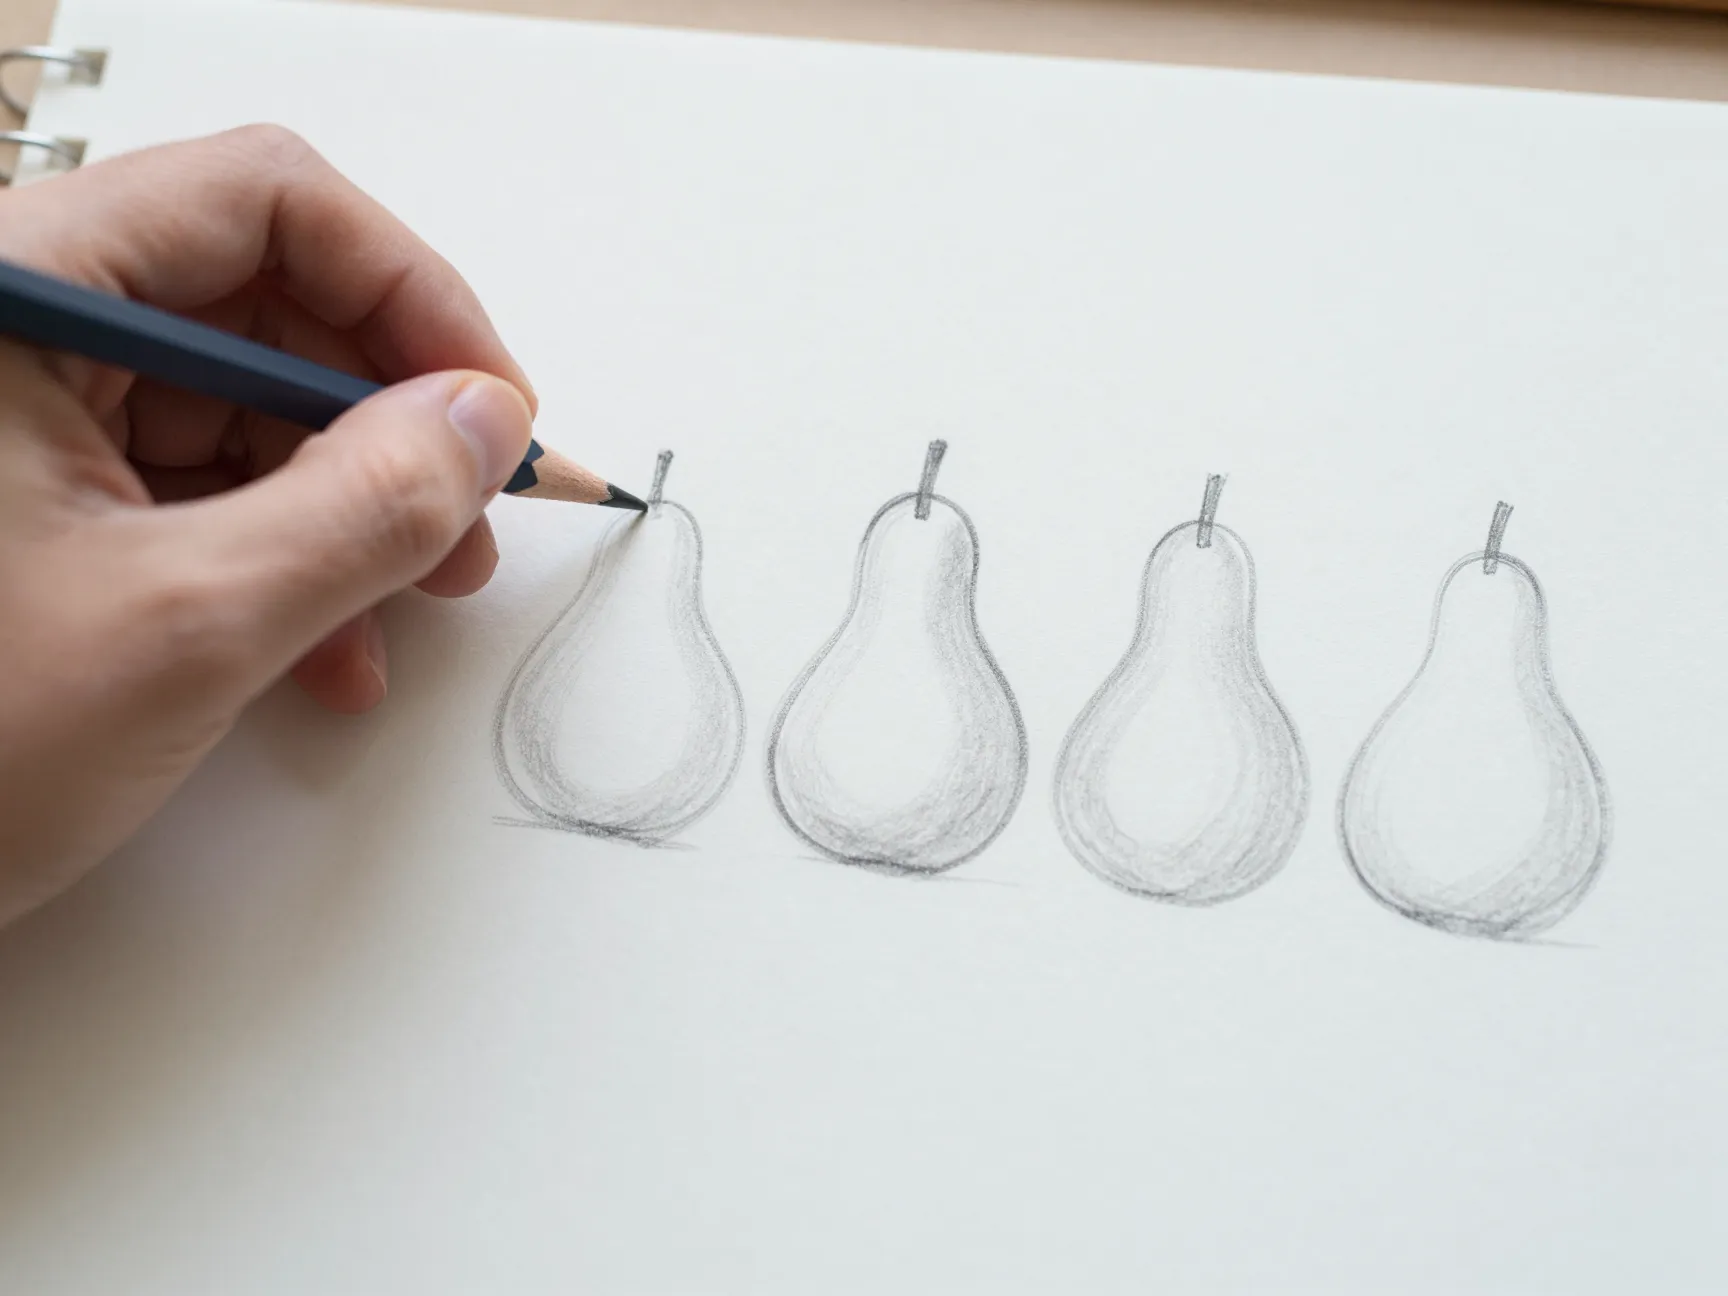
The single most important habit in this entire list is replacing a structured torso with a rounded, pear-shaped blob. Instead of sketching shoulders, a spine, and hips, draw one continuous curved shape that bulges slightly wider at the bottom and narrows near the top where it meets the head. Many bunny-focused Jellycat tutorials describe this shape simply as “kind of like a little blob,” built from curved lines that sweep up, down, and around the form without lifting the pencil too many times.
This approach works because rigid anatomy signals a toy with joints and hard edges, while a single soft blob signals stuffing and fabric. To practice, try drawing the same blob shape five times in a row, varying the width and tilt slightly each time. None of them need to match. That variation is training the hand to avoid stiffness before a single cat feature is even added.
2. Continuous Contour Linking
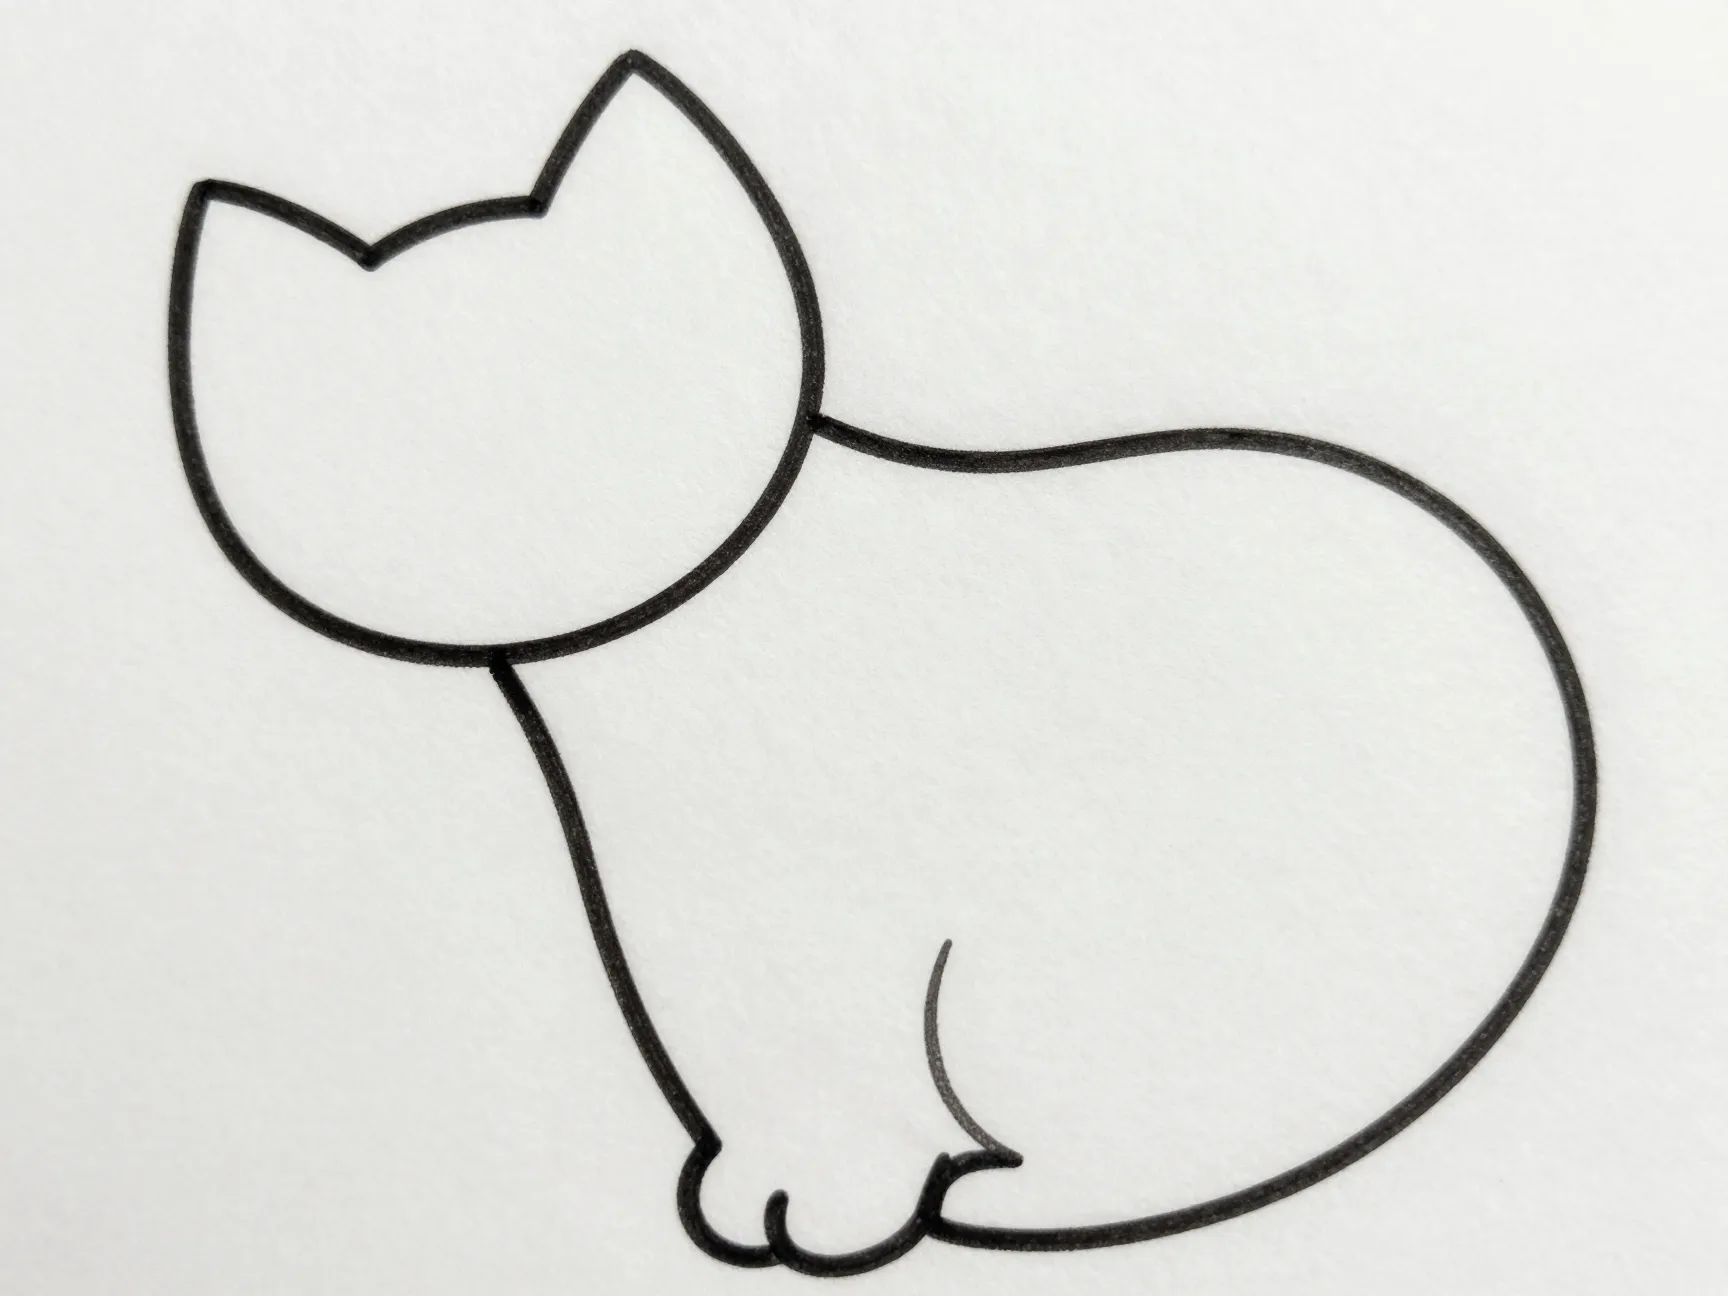
Rather than drawing the head and body as two separate shapes joined by a neck line, the most convincing plush-style cats use one unified, unbroken contour. The head circle flows directly into the body blob with barely a visible seam. This technique mirrors how a stuffed toy is actually constructed, where fabric panels are sewn to look like one continuous form rather than distinct segments.
To apply this, sketch the head circle first, then immediately extend the pencil line downward into the body shape without stopping to reposition. A small overlap where the two shapes meet is fine and even helpful, since it hides the transition point and keeps the silhouette reading as one soft unit rather than two stacked pieces.
3. Loose, Swooping Line Confidence
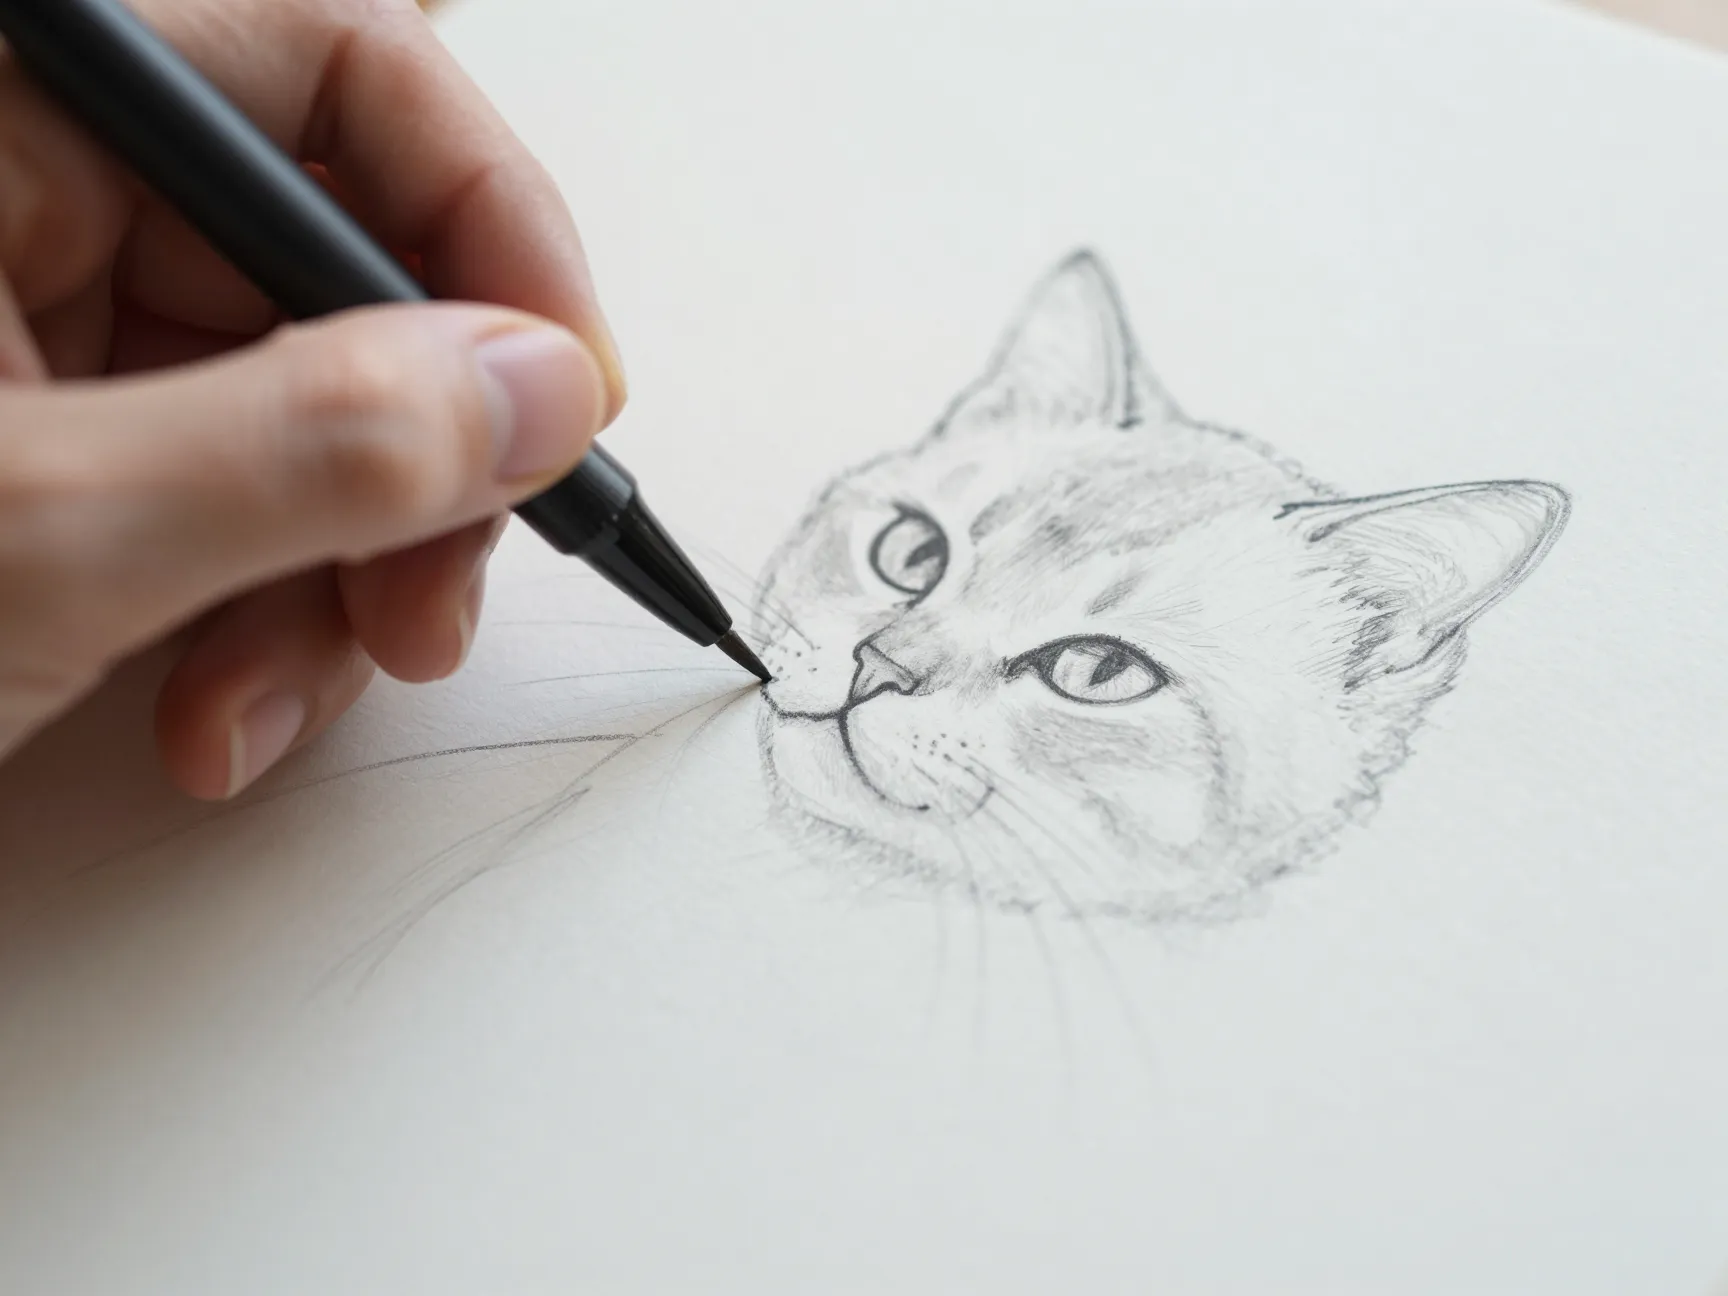
Precision is the enemy of wobble. Several wobbly kitten tutorials specifically recommend following an initial pencil sketch with “loose swooping” strokes instead of tight, mechanical tracing. This means the final ink or marker line does not need to sit exactly on top of the sketch. A small deviation of a few millimeters actually improves the finished look.
The easiest way to build this skill is to draw the final outline slightly faster than feels comfortable. Slowing down to trace perfectly tends to produce stiff, robotic edges. Speeding up slightly, while still staying generally on track, produces the gentle unevenness that makes a character look hand-drawn and alive rather than computer-generated.
Pull quote: “A wobble in the line is not a mistake to fix. It is the detail that makes the character feel real.”
4. Simplified Facial Shorthand
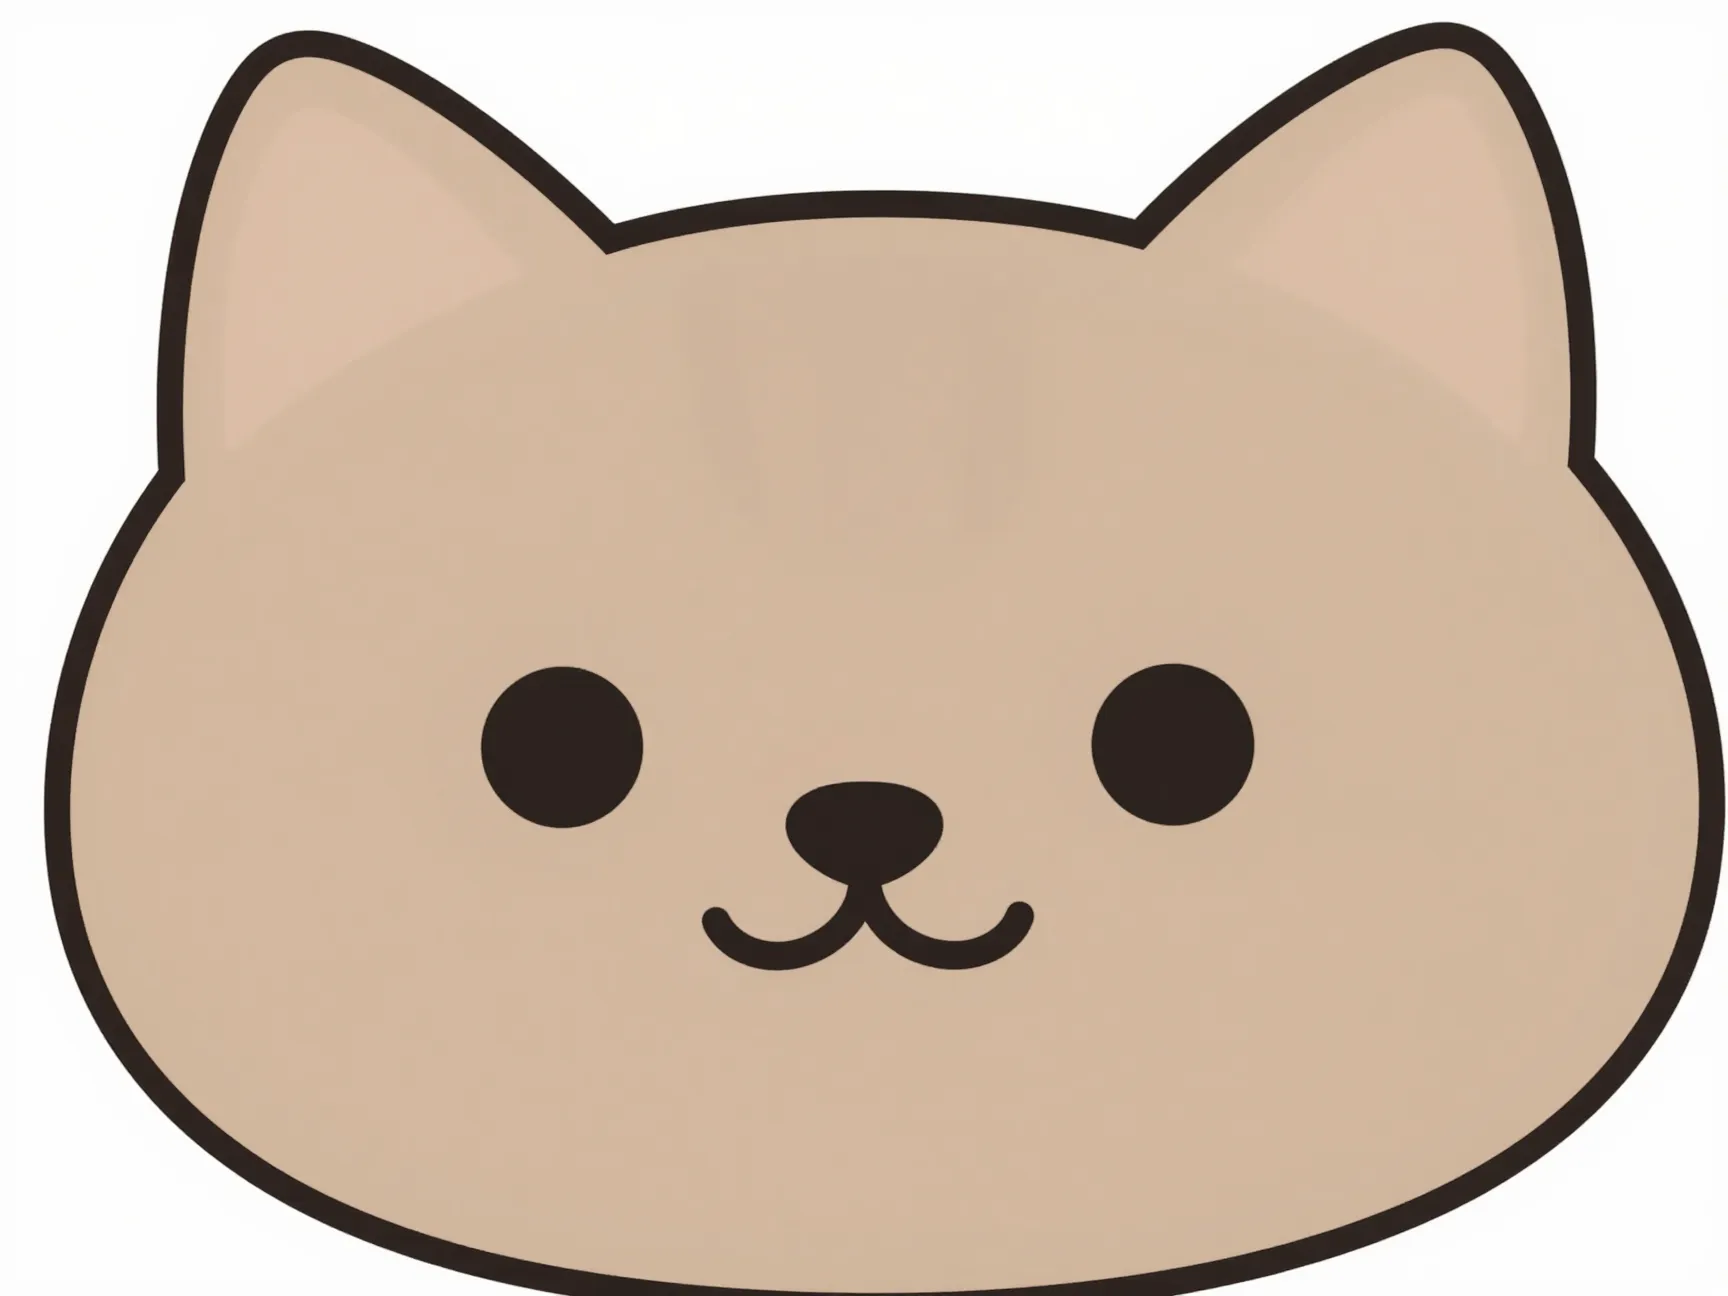
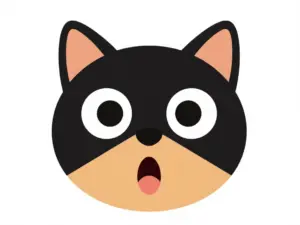
Jellycat-style faces almost never include detailed whiskers, shading, or complex expressions. Most rely on a small set of repeatable shapes: two dot or curve eyes, a simple nose mark, and occasionally a soft curved mouth. Logo-style tutorials aimed at beginners strip this down even further, using horizontal curves for the top of the head, gentle curved lines for cheeks, and basic triangle shapes for ears.
This minimal facial shorthand serves two purposes. First, it keeps the drawing process accessible for artists of any age or skill level, since there are no proportions to get precisely right. Second, it reinforces the plush-toy illusion, since real stuffed animals also tend to have simplified embroidered features rather than lifelike detail.
5. Asymmetrical Ears, Paws, and Limbs
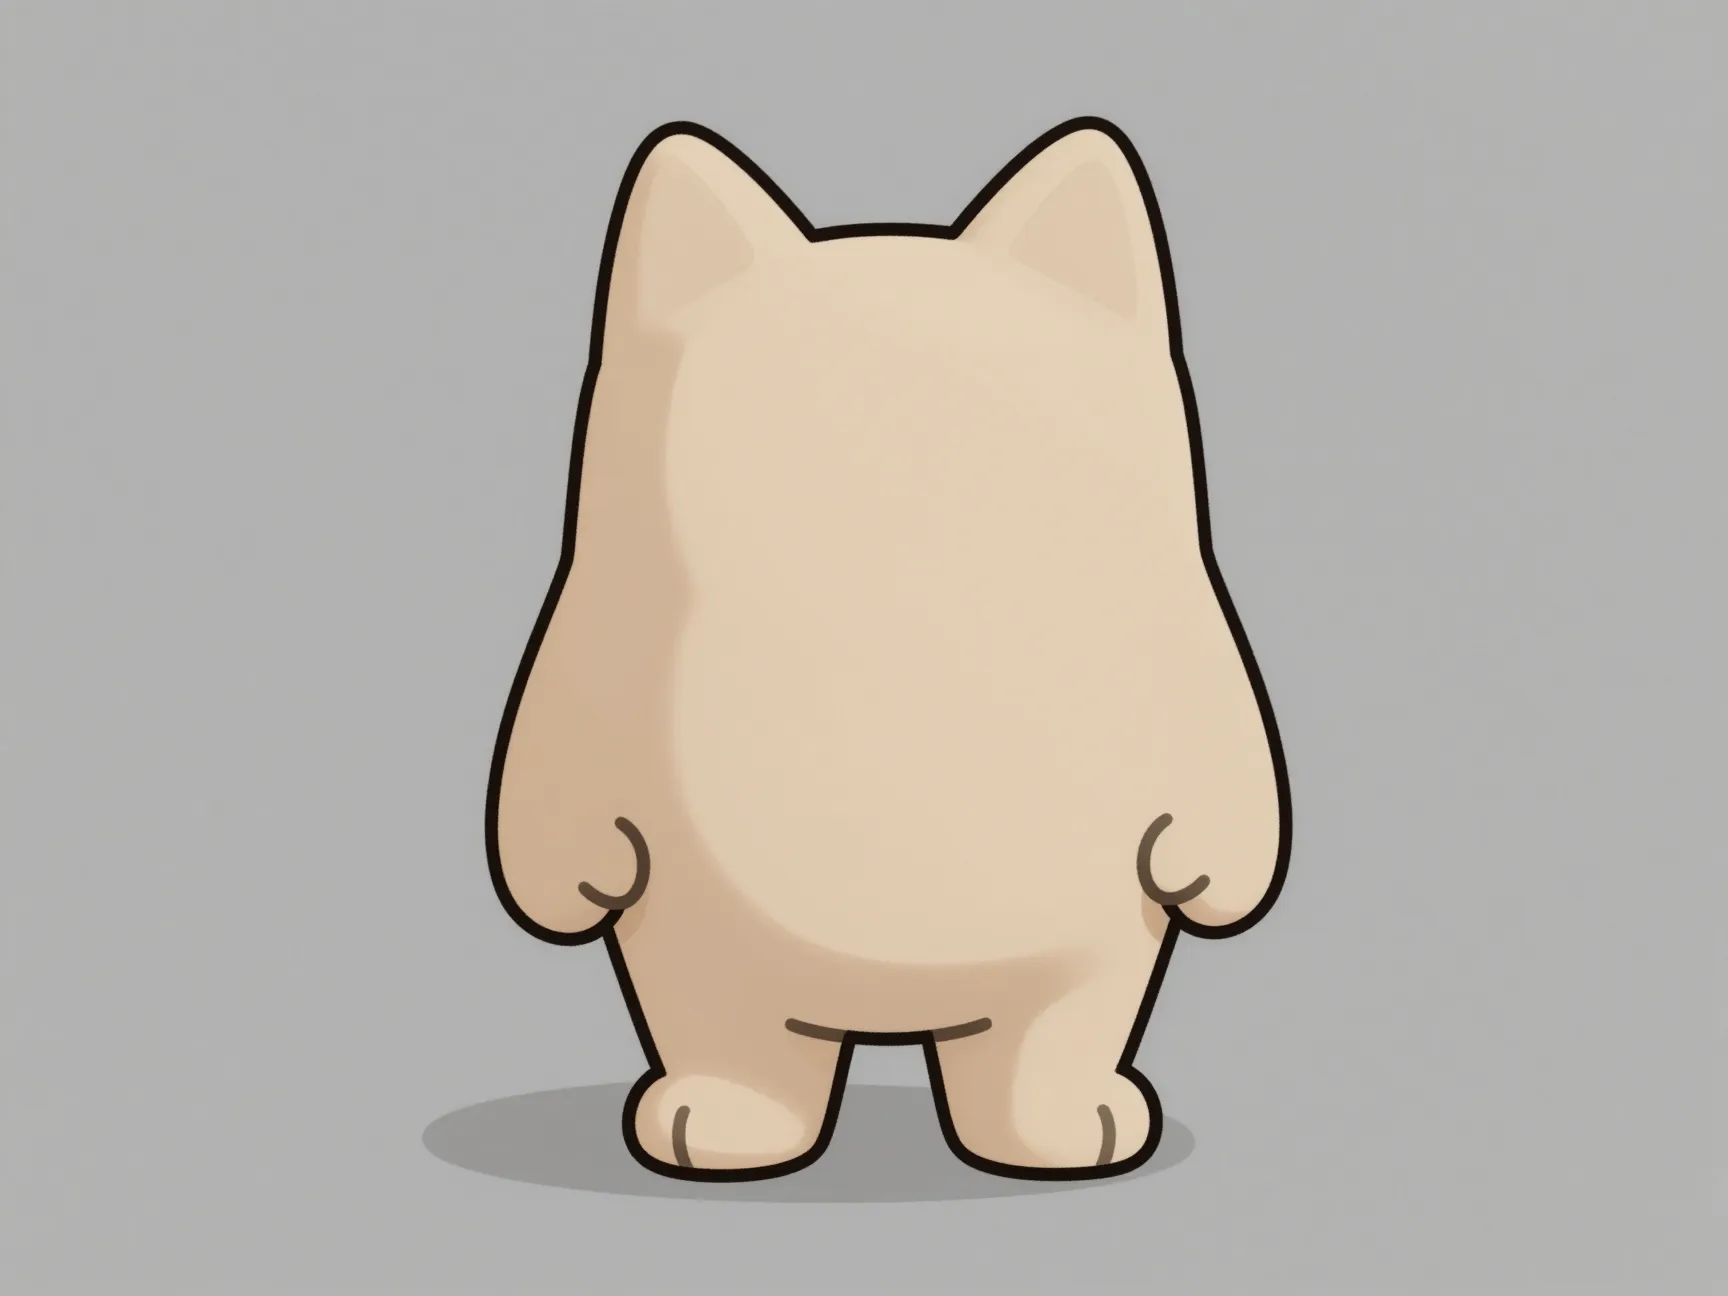
Perfect symmetry reads as manufactured and flat. The most convincing wobbly cats use slightly uneven ear placement, one paw angled a bit differently than the other, and limbs that are not identical mirror images. This deliberate asymmetry is one of the clearest signals separating a stiff cartoon cat from a soft, adorable Jellycat-style character.
A simple way to practice this is to draw one ear first, then draw the second ear without directly copying the first one’s angle or size. The same logic applies to paws and short rounded limbs: keep them stubby, keep them rounded, and let them each look just slightly different from their counterpart.
6. Theme-Driven Detailing
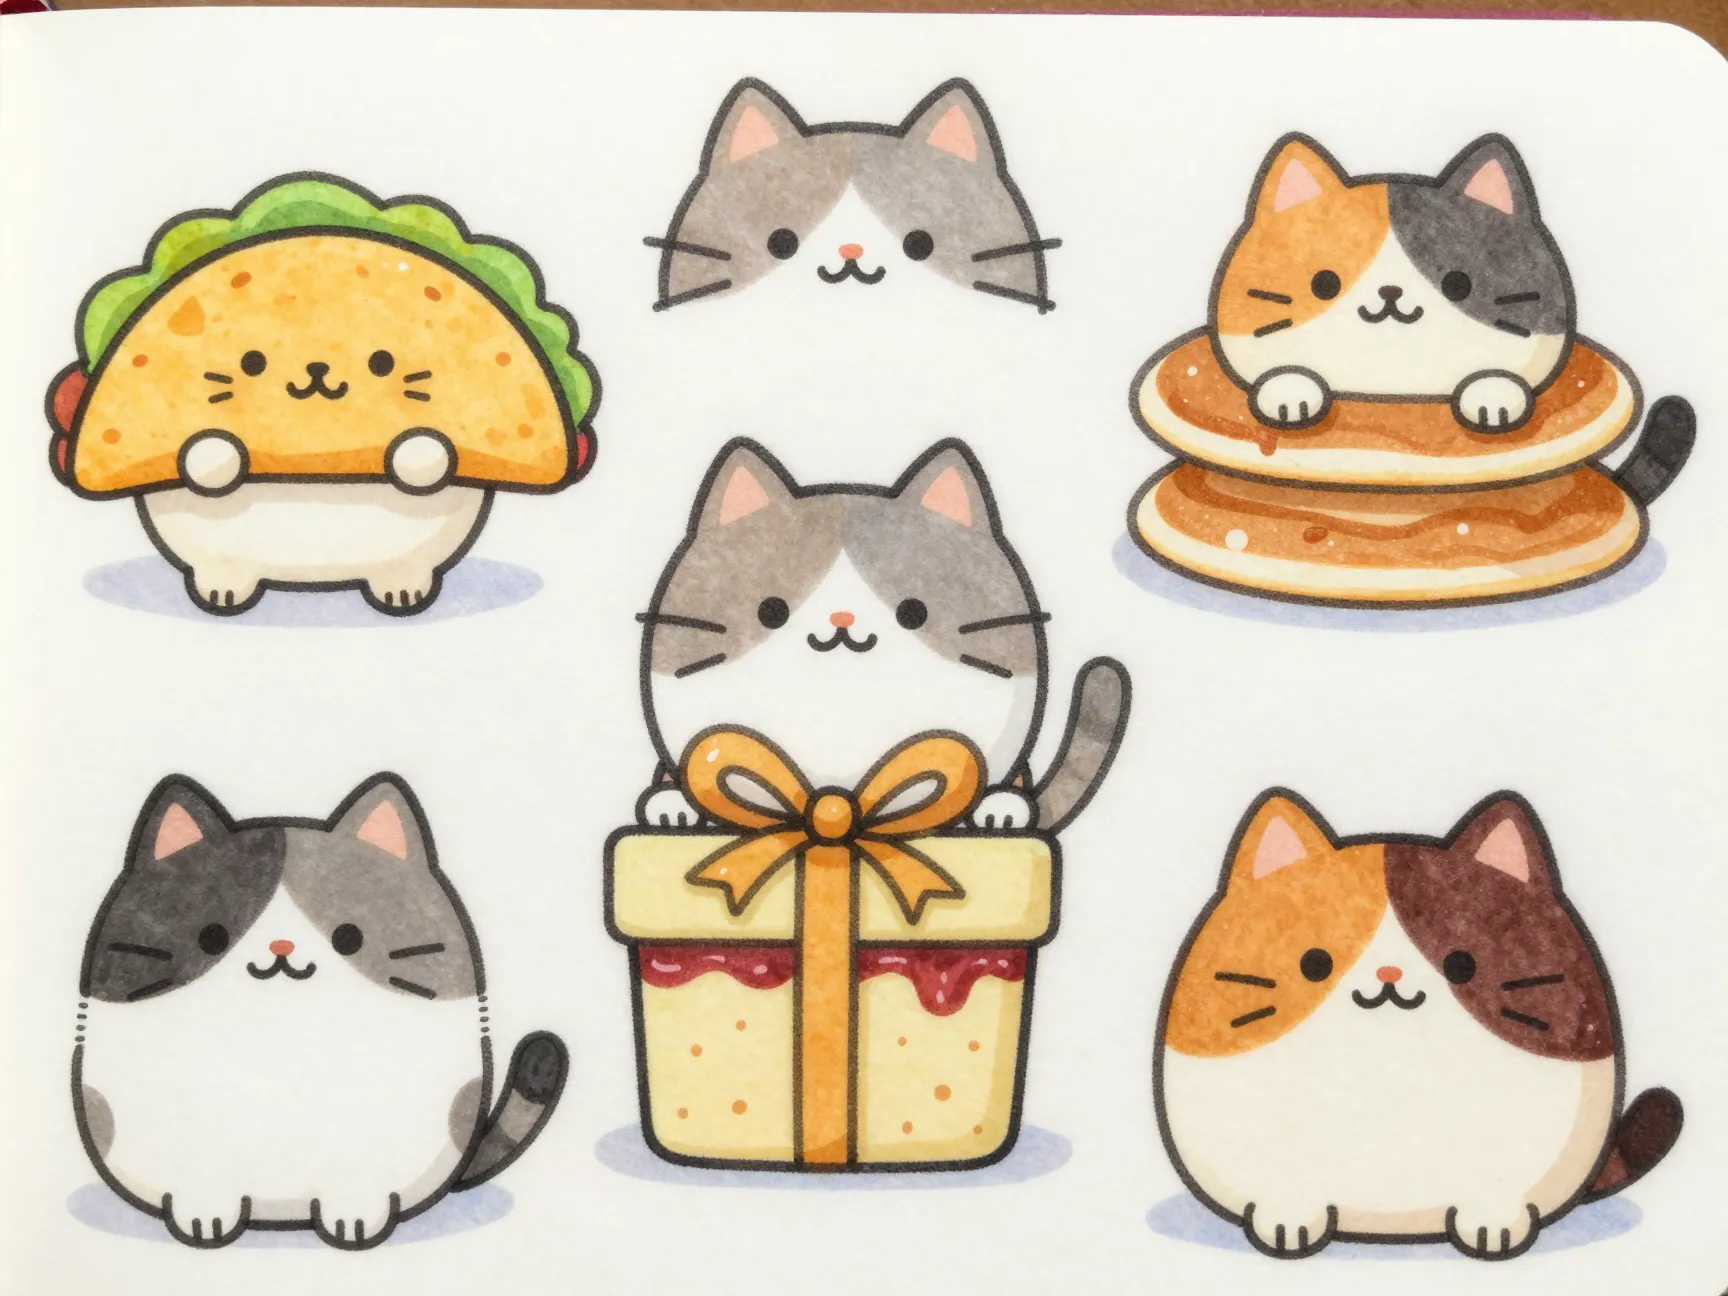
Once the base wobbly cat shape feels comfortable, the sixth technique is layering in playful themed details that keep the character feeling fresh. Recent tutorials cover an unusually wide range of variations, including pancake-style cats with syrup drips, taco-shaped cats with folded shells, coconut cats with textured shading, gift-box cats wrapped in ribbon, and even peanut-butter-and-jelly hybrid cats. Oil pastel tutorials push this further by combining rounded cat heads with jellyfish-like frills and wavy, overlapping tentacle shapes for a “cat jelly” hybrid look.
These themed add-ons work because they sit on top of the same six core techniques rather than replacing them. The blob body, continuous contour, loose lines, simple face, and asymmetry stay constant, while the theme changes the accessories, textures, and color palette. This is also why the style scales so well for social content, where quick step-by-step video clips can showcase gathering simple tools, sketching the base shape, and finishing with a themed detail in under a minute.
Matching Tools to Your Jelly Cat Drawing Technique
Tool choice affects how easily each of the six techniques comes together, and tutorials in this space split fairly evenly between traditional and digital workflows. Neither approach is more “correct.” The right choice depends on comfort level and the finished texture an artist wants.
For traditional sketching, most beginner-friendly guides call for nothing more than paper, a regular pencil, and a soft eraser. This minimal toolkit is ideal for practicing blob-body construction and loose line confidence, since mistakes are cheap to fix and there is no learning curve for new software.
For richer texture and color, oil pastels are a popular choice, especially for the jellyfish-hybrid and food-themed variations that rely on blended shading and overlapping wavy shapes. The soft, slightly messy blending quality of pastels naturally supports the wobbly aesthetic, since hard edges are difficult to achieve with the medium even when trying.
For digital artists, tablet-based apps such as Procreate allow for adjustable brush wobble, easy undo history while practicing asymmetry, and layering that makes theme-driven detailing faster to experiment with. Marker-style digital brushes, similar to Ohuhu marker techniques used in traditional media, can also replicate the flat, saturated color blocks common in Jellycat-style illustrations.
| Workflow | Best For | Recommended Tools |
|---|---|---|
| Traditional pencil sketching | Beginners, blob-body practice | Paper, pencil, soft eraser |
| Oil pastel illustration | Textured, colorful hybrid designs | Oil pastels, blending stump |
| Digital tablet drawing | Fast iteration, theme variations | Procreate, marker-style digital brushes |
Common Mistakes That Ruin the Wobbly Effect
Even artists who understand all six techniques in theory can accidentally undo the wobbly effect through a few predictable habits. Watching for these issues tends to improve results faster than adding more detail.
- Over-correcting the sketch line during inking, which erases the natural wobble built into the pencil stage.
- Drawing perfectly symmetrical ears or paws, which makes the character look stamped rather than hand-drawn.
- Adding too much facial detail, such as full whisker sets or shaded eyes, which fights against the minimal shorthand style.
- Using straight, ruler-like limbs instead of short, rounded stubs, which reintroduces rigid anatomy.
- Rushing the blob body into a rectangle-adjacent shape instead of a true rounded pear form.
Avoiding these five habits is often more useful than memorizing additional rules, since the six core techniques already cover everything needed for a convincing result.
Theme Variations to Practice Your 6 Jelly Cat Drawing Techniques
Practicing the same six techniques across different themes is one of the fastest ways to build confidence, since it forces repetition of the fundamentals while keeping the process visually interesting. Some popular themes currently circulating across drawing tutorials and short-form video content include the following.
- Pancake cats featuring stacked, rounded pancake bodies with drizzle lines standing in for syrup.
- Taco cats using a folded blob shape to mimic a taco shell, with small rounded shapes for filling.
- Coconut cats combining a round textured body with simple dot-and-dash shading for a husk pattern.
- Gift-box cats wrapped in a ribbon shape across the blob body, often topped with a bow near the head.
- Peanut-butter-and-jelly cats split into two soft color zones on a single blob silhouette.
- Jellyfish-hybrid cats layering wavy, overlapping tentacle shapes beneath a rounded cat head for a floating, dreamy effect.
Each of these themes uses the exact same construction logic covered earlier. Only the surface details change, which makes this an efficient way to practice without needing to learn a new drawing system for every idea.
Frequently Asked Questions
Are these six techniques an official Jellycat-branded method?
No. There is no confirmed official Jellycat drawing curriculum or standardized framework. These six techniques represent a conceptual bundle drawn from consistent patterns across independent artist tutorials, beginner guides, and social video content.
What skill level is required to try this style?
Very little. Most sourced guides are explicitly designed for beginners, kids, and hobbyists, relying on simple shapes like circles, ovals, and triangles rather than advanced anatomy or shading skills.
Is digital drawing better than traditional pencil for this style?
Neither is objectively better. Traditional pencil and paper work well for learning blob-body construction and loose line confidence, while digital tools like Procreate offer faster experimentation for theme variations and color work.
Why do the ears and paws look uneven in tutorials?
That unevenness is intentional. Slight asymmetry is one of the six core techniques, and it is what separates a wobbly, adorable character from a stiff, mechanically symmetrical one.
Can these techniques be used for animals other than cats?
Yes. The same construction logic appears in bunny, donut, croissant, and marshmallow-style tutorials, since the underlying principles of blob bodies, simple faces, and soft asymmetry apply broadly across plush-style character design.
Conclusion
Mastering 6 Jelly Cat Drawing Techniques For Creating Wobbly, Adorable Felines comes down to a simple mindset shift: precision is not the goal, softness is. Building a rounded blob body, linking it to the head in one continuous contour, drawing with loose swooping confidence, keeping facial details minimal, embracing slight asymmetry, and layering on playful themed details together produce the plush, huggable look that makes this style so widely shared and copied.
The best next step is hands-on repetition rather than more research. Grab plain paper and a pencil, sketch five quick blob bodies without worrying about matching them, then add a simple face and a pair of uneven ears to just one. That single sketch, imperfect as it will likely be, already demonstrates more of the technique than a dozen tutorials read without picking up a pencil. From there, experimenting with themed variations or switching to digital tools becomes a natural extension rather than a daunting leap.