Techniques For Realistic Pencil Drawings Of Animals: A Professional Guide to Lifelike Fur, Form, and Detail
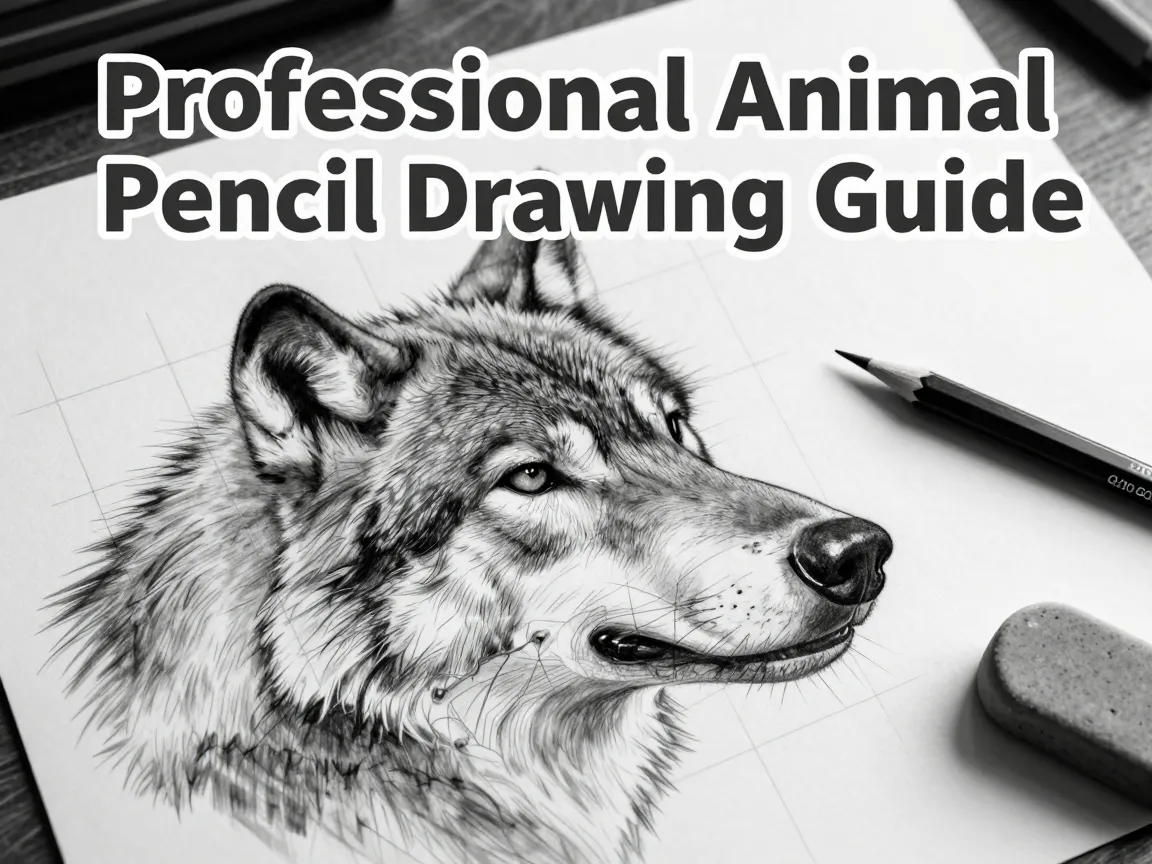
Most unfinished animal portraits in a sketchbook die in the same place: somewhere between a rough outline and a muddy mess of smudged graphite. The artist did not lack talent. They skipped the groundwork. Realistic animal drawing is not about pressing harder with a pencil or buying a more expensive set, it is a sequence of deliberate decisions, and learning the right order of operations changes everything. This guide breaks down 6 Techniques For Realistic Pencil Drawings Of Animals that professional illustrators and wildlife artists rely on, from the first construction line to the final eraser highlight.
Disclosure: This post contains affiliate links. As an Amazon Associate, we earn from qualifying purchases, and at no extra cost to you.
Each technique below builds on the last, so working through them in order produces noticeably better results than jumping straight to fur texture or shading. Whether the goal is a detailed graphite wolf, a colored pencil parrot, or a quick pen sketch of a cat, these principles apply across media.
Key Takeaways
- Realistic animal drawings start with basic shapes and skeletal structure, not with outlines or fur detail.
- Proportion grids and reference photos prevent the two most common mistakes: distorted heads and inaccurate feature placement.
- Fur and feather direction must be mapped before shading begins, since strokes that ignore growth patterns look flat no matter how much detail is added.
- Gradual tonal layering, combined with controlled light and shadow, is what creates believable volume and three-dimensional form.
- Erasers are active drawing tools, not just correction devices, and they play a major role in finishing realistic fur, highlights, and whiskers.
1. Build Accurate Structure with Simple Shapes and Skeleton Lines
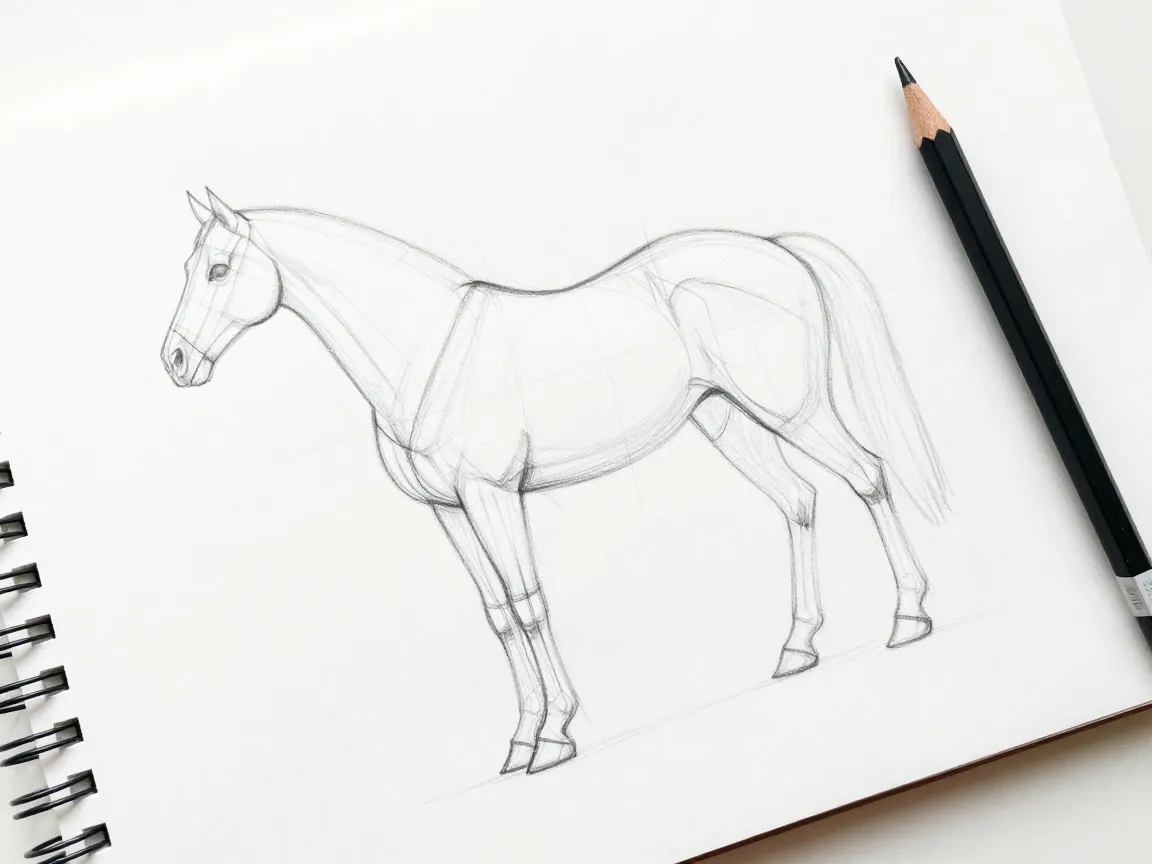
Every convincing animal drawing begins as a collection of basic shapes long before it resembles anything living. Professional illustrators block in the skull as a circle or rounded box, the ribcage as an oval, the pelvis as a smaller oval, and connect them with a single flowing line that represents the spine. This skeletal framework establishes posture, weight distribution, and proportion before a single detail is added.
Skipping this stage is the single most common reason amateur animal drawings look stiff or anatomically wrong. A horse’s legs, a bird’s wingspan, or a big cat’s crouch all depend on getting the underlying mass correct first.
This approach pairs naturally with working from large masses down to small details. Instead of rendering an eye to perfection while the overall head shape is still wrong, experienced artists rough in the entire animal’s silhouette and major muscle groups first, then progressively narrow focus toward smaller features like claws, individual whiskers, or feather tips. This order of operations saves time because corrections happen while the drawing is still loose graphite, not after hours of detailed shading.
A simple way to practice this is the “shape inventory” method: before drawing any animal, mentally break it into no more than six shapes. A rabbit might be a circle for the head, an oval for the body, and four thin ovals for the legs. This discipline transfers to nearly every species.
“Structure is invisible in the finished piece, but its absence is the first thing a trained eye notices.”
2. Use Grids and Proportion Guides for Realistic Heads and Facial Features
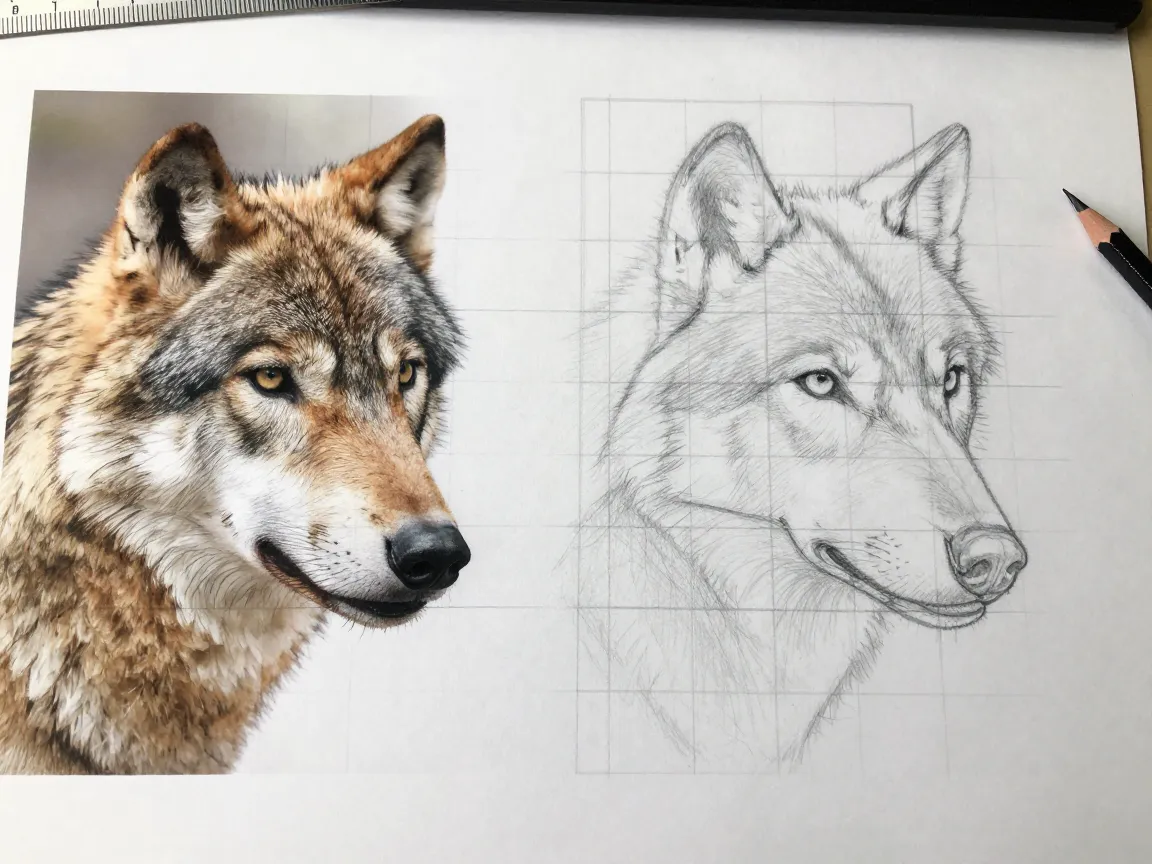
Animal faces are where realism either succeeds or collapses. Eyes set slightly too wide, a muzzle drawn a fraction too long, or ears placed too high can make an otherwise well-shaded drawing look subtly wrong, even to viewers who cannot explain why.
Grid methods solve this problem. By overlaying a reference photo with an evenly spaced grid and replicating that same grid, lightly, on the drawing surface, artists can transfer proportions square by square rather than guessing freehand. This technique is especially useful for:
- Matching exact eye spacing and size relative to the skull.
- Placing the nose, nostrils, and mouth line in correct vertical alignment.
- Keeping ear size and angle consistent with the rest of the head.
- Checking symmetry on front-facing animal portraits.
A simpler alternative is the proportion guide method, which uses basic fractions instead of a full grid. For example, many mammals have eyes positioned roughly at the horizontal midline of the skull when viewed from the side, with the muzzle occupying the lower half. These rules of thumb are not universal across all species, but they offer a fast sanity check during the sketching stage.
Table: Common Proportion Checkpoints by Animal Type
| Animal Type | Eye Placement Reference | Muzzle Length Reference |
|---|---|---|
| Dogs and wolves | Mid-skull horizontal line | Roughly half the skull length |
| Cats | Slightly below mid-skull | Shorter, about one-third of skull length |
| Horses | Upper-mid skull, set wide | Elongated, nearly two-thirds of head length |
| Birds | Just forward of mid-skull | Beak length varies significantly by species |
These checkpoints are starting points, not strict rules, and should always be verified against an actual reference image for the specific species being drawn.
3. Observe Real Animals and Photo References Before Sketching
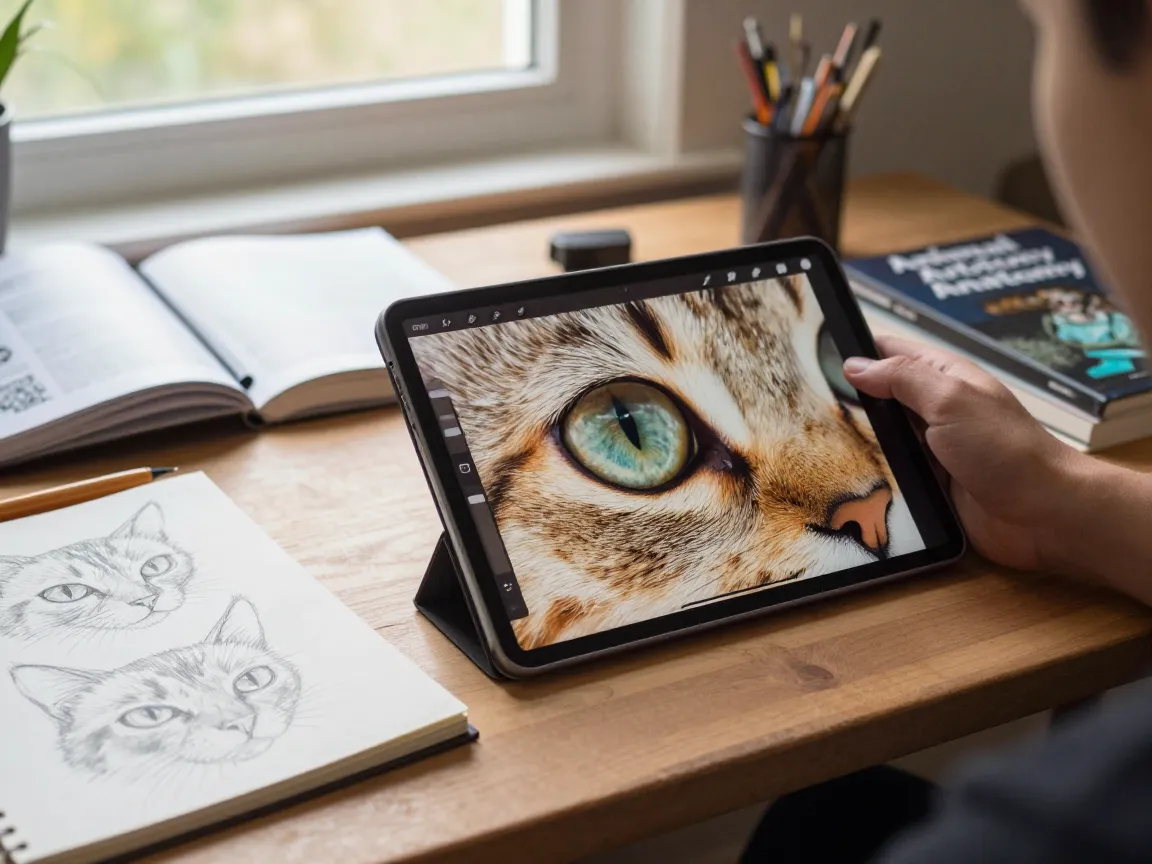
No amount of technical skill compensates for drawing from memory or imagination when realism is the goal. Professional wildlife artists spend as much time observing as they do drawing. This means studying how a cat’s shoulder blades shift under its fur while walking, how a bird’s feathers compress during flight, or how light falls across a horse’s muscled haunch at different times of day.
Direct observation, whether at a zoo, a farm, or simply watching a household pet, reveals small truths that photographs sometimes flatten, such as subtle movement, weight shifts, and the way an animal’s expression changes with ear position. When live observation is not possible, high-resolution photo references are the next best option, and using multiple photos of the same species from different angles helps avoid the distortion that comes from relying on a single image.
Curated and up-to-date resources matter here too. Many experienced instructors recommend building a personal reference library organized by species and by body part, such as a folder specifically for eye close-ups, another for paw and claw structure, and another for fur texture under different lighting. Several widely used books on animal anatomy and colored pencil realism continue to be updated with new editions that reflect current best practices in layering and material use, and reviewing a current edition rather than an outdated one can meaningfully improve technique.
A disciplined reference habit also prevents a common trap: drawing a generic, stylized version of an animal instead of the specific individual in front of the artist. Realism depends on specificity, not generality.
4. Map and Render Fur and Feather Direction with Controlled Strokes
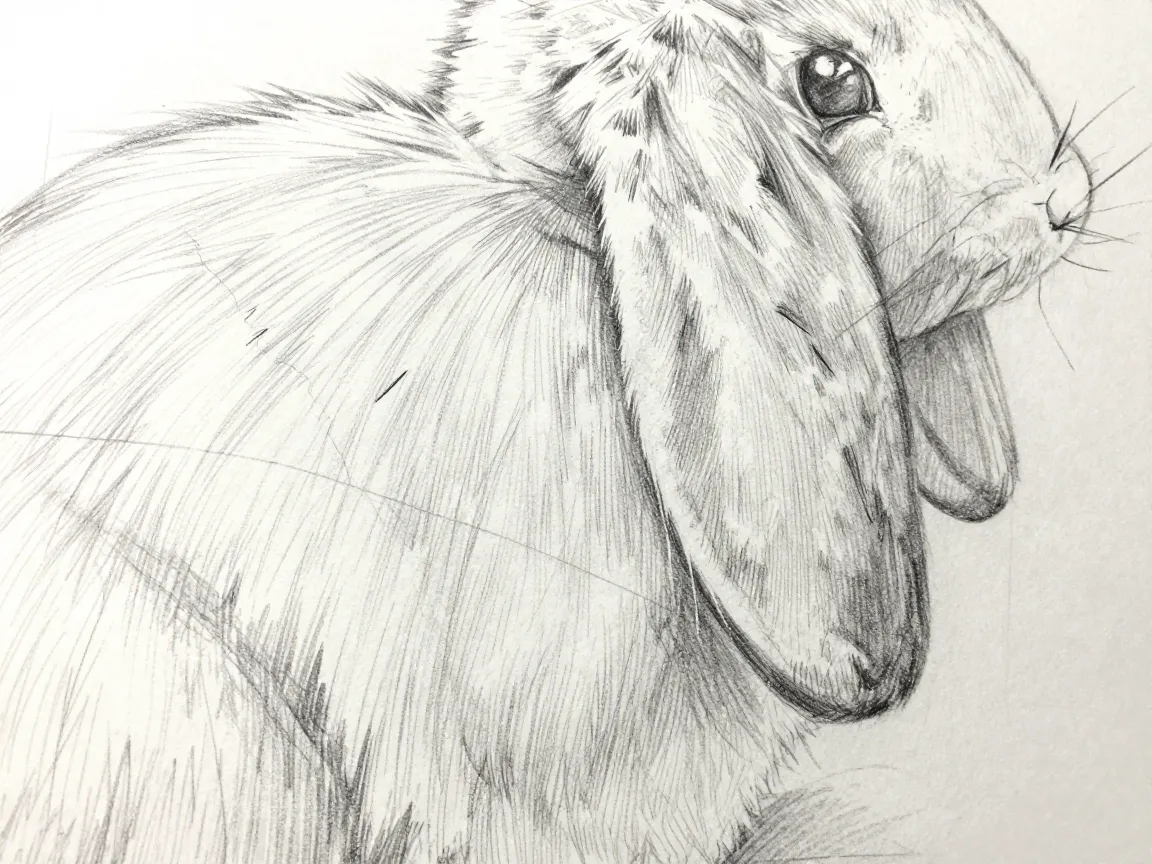
Fur and feathers are not texture added on top of a drawing. They are a direction-based structure that follows the underlying muscle and skeletal form established in the first technique. Before any shading begins, it helps to lightly sketch flow lines across the animal’s body indicating which way fur or feathers grow and lie, similar to how a hairstylist would map hair growth patterns.
Short, controlled pencil strokes that follow this mapped direction create convincing texture. Long, uniform strokes in a single direction, by contrast, tend to look like a texture overlay rather than organic fur. Effective fur rendering typically involves:
- Laying a light base direction map across the whole animal before adding any pressure.
- Grouping strokes into small clusters that follow muscle contours, such as around the shoulder, haunch, or neck.
- Varying stroke length and spacing to avoid a repetitive, mechanical pattern.
- Adding a few longer, darker strokes on top to represent individual guard hairs or stray feathers, which break up uniformity and add believability.
Feathers require a related but distinct approach, since they overlap in defined rows rather than growing continuously like fur. Mapping the rows first, then shading each feather’s individual curve and highlight, produces far more convincing results than rendering feathers as a solid textured mass.
This technique benefits enormously from the observational habits described earlier. Studying close-up reference photos of fur whorls, feather overlap, and growth direction before picking up a pencil prevents guesswork once shading begins.
5. Layer Tones Gradually for Realistic Volume and Soft Transitions
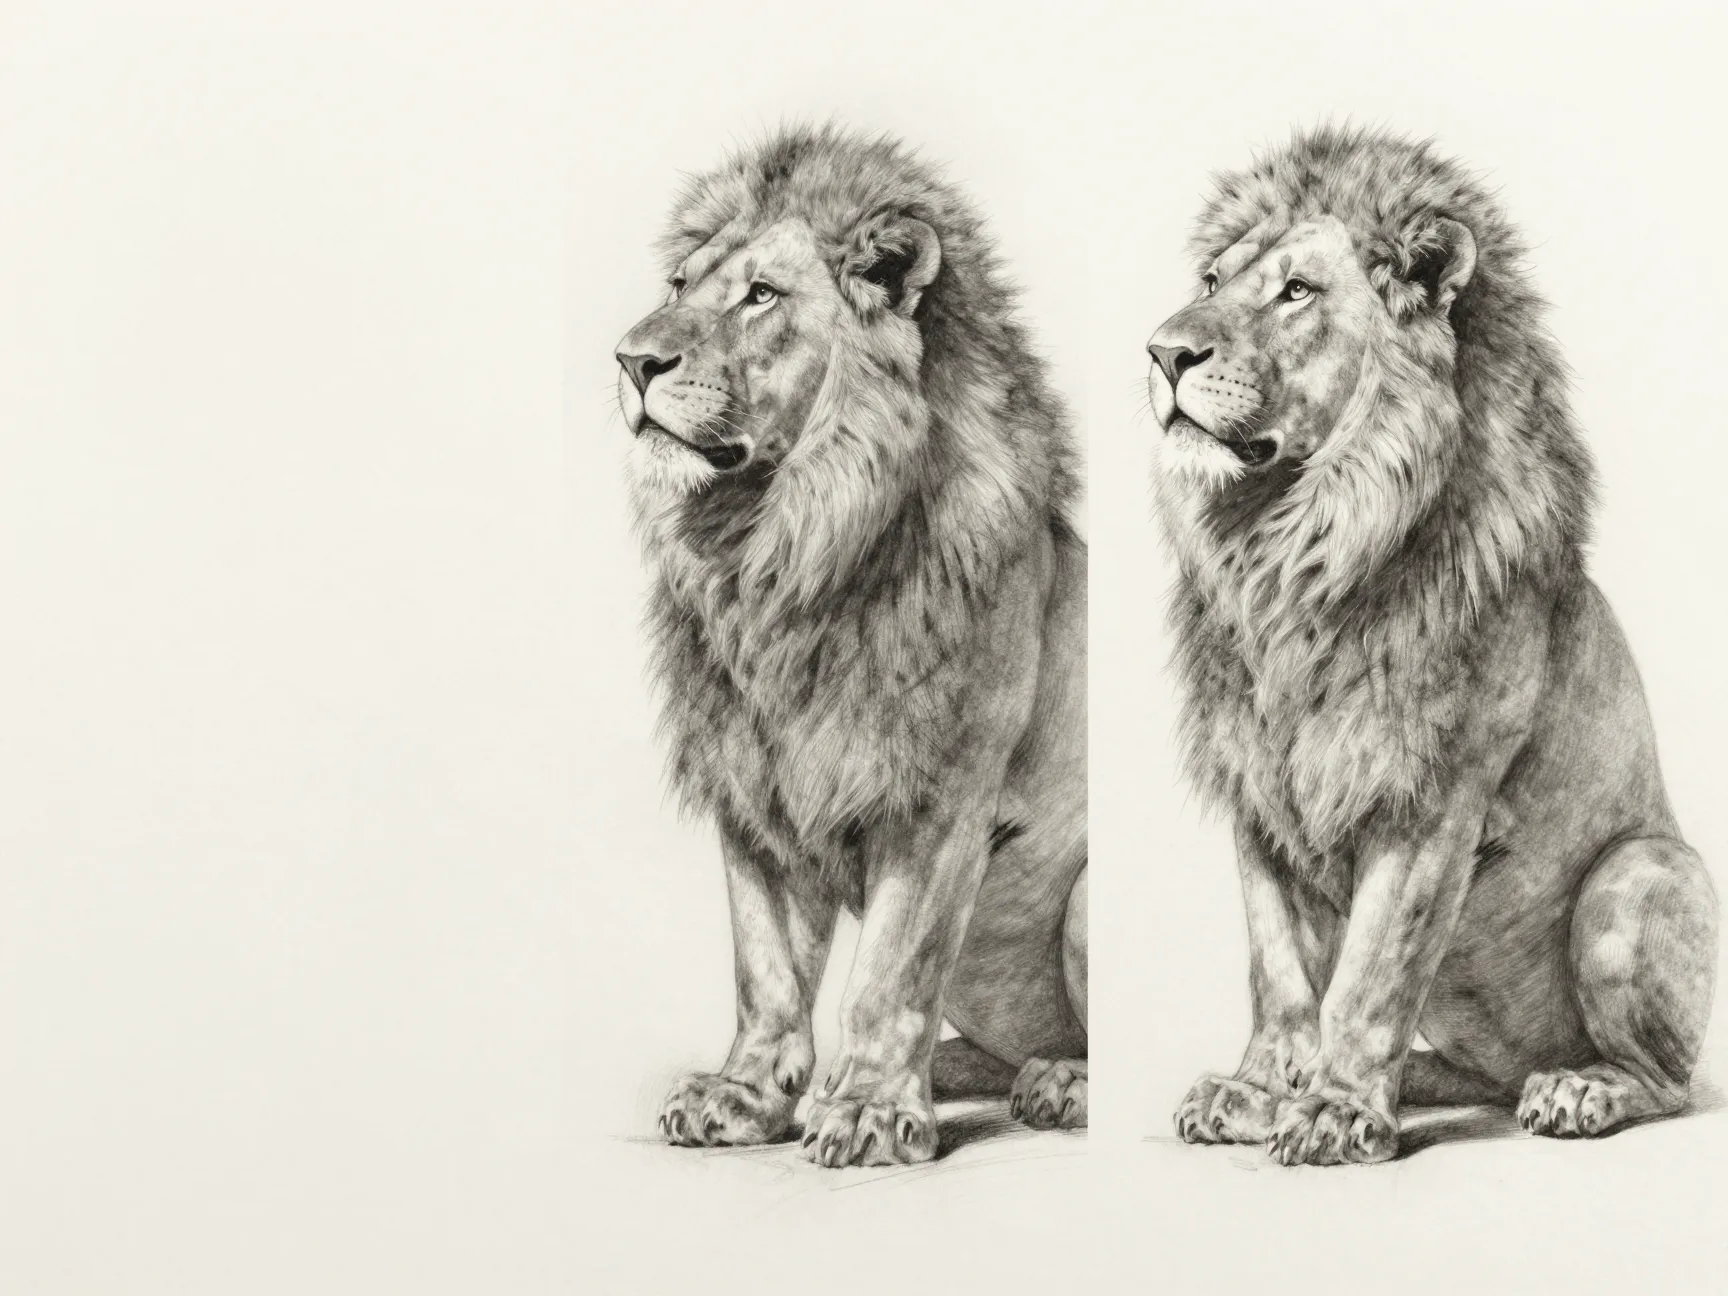
Flat, single-pass shading is the most common reason a technically well-structured animal drawing still looks unfinished or cartoonish. Realism depends on building value gradually across multiple light layers rather than pressing hard and committing to a tone too early.
The standard professional workflow applies light, even layers of graphite or colored pencil, checking the overall balance of the drawing after each pass before adding more pressure or additional layers. This gradual build-up allows soft, believable transitions between light and shadow areas, which is especially important on rounded forms like an animal’s cheek, shoulder, or haunch where the surface curves continuously rather than changing abruptly.
Controlling light and shadow correctly is what makes this layering read as three-dimensional form rather than flat gray patches. Every realistic animal drawing benefits from establishing a single, consistent light source early in the process and tracking exactly where the core shadow, cast shadow, and reflected light fall as a result. A commonly used structure includes:
- Highlight, the brightest point where light hits the form directly, often left as untouched paper.
- Light midtone, a soft transition zone that still reads as illuminated.
- Core shadow, the darkest band on the form itself, where the surface turns away from the light source.
- Reflected light, a subtle lightening within the shadow, caused by light bouncing off nearby surfaces.
- Cast shadow, the shadow the animal projects onto the ground or surrounding surface.
This layered light-and-shadow framework works the same way across graphite, colored pencil, and even pen or marker-based animal illustrations, which makes it one of the more transferable skills in realistic drawing. Artists who switch media often find that the multi-layer workflow concept, building value slowly and respecting a consistent light source, carries over almost unchanged, even though the specific tools differ.
6. Use Erasers and Value Range for Finishing Realism and Corrections
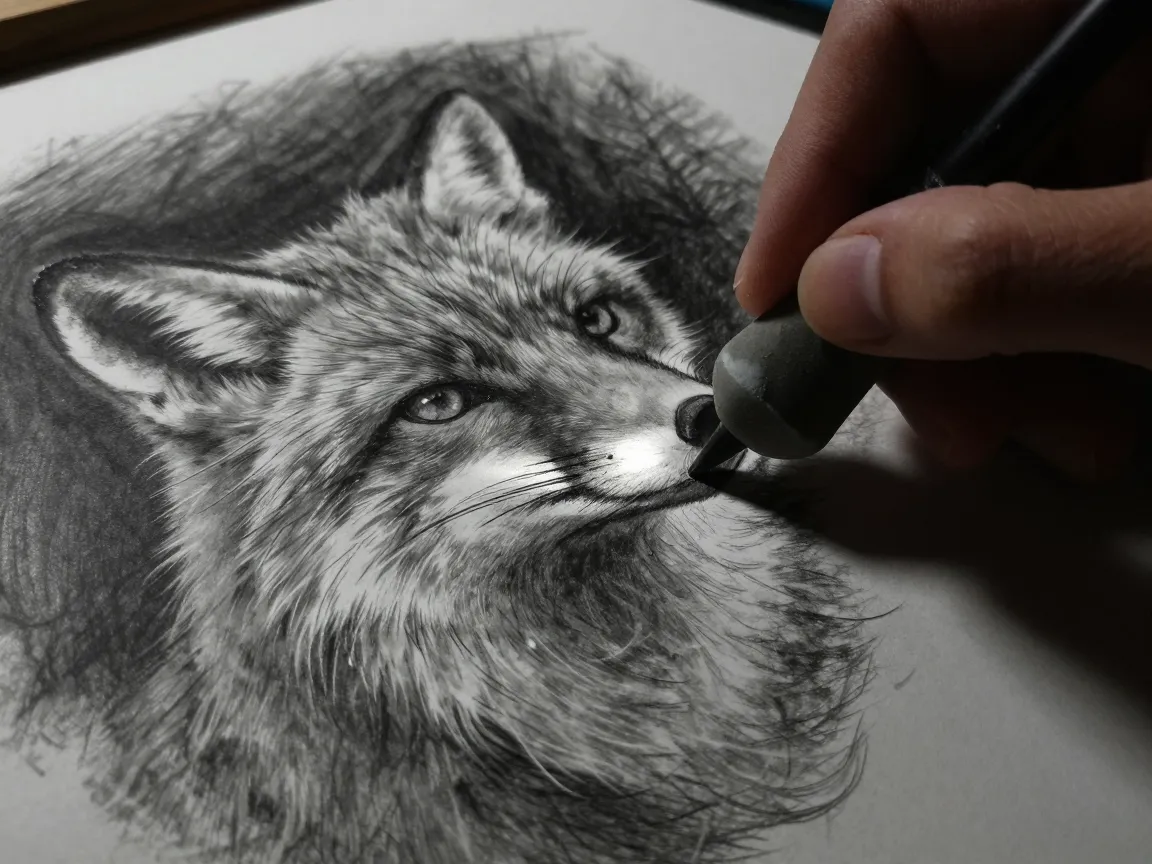
Erasers are frequently treated as an afterthought, reserved only for mistakes. In realistic animal drawing, they function as an active rendering tool with their own techniques. A kneaded eraser can be shaped into a fine point and dragged along a stroke to lift individual highlights into fur, simulate a whisker, or soften a transition that was built up too harshly. A vinyl or precision eraser, used with a sharp edge, can carve out crisp highlights such as the wet shine on an eye or the gleam along a wet nose.
Value range, meaning the full spread from the darkest shadow to the brightest highlight in a drawing, is what separates a flat sketch from one with real depth. A drawing that never reaches a true dark in the shadows, or never preserves a true light in the highlights, will look washed out even if the proportions and fur texture are excellent. Checking value range is best done by periodically squinting at the drawing or viewing it in grayscale on a phone camera, which flattens color and texture distractions and reveals whether the tonal structure is actually working.
A practical finishing checklist used by many professional animal artists includes the following steps.
| Finishing Step | Purpose |
|---|---|
| Squint test | Confirms the full value range reads clearly from a distance |
| Eraser highlights | Lifts fine details like whiskers, eye shine, and fur flyaways |
| Edge control | Softens or sharpens edges to guide the viewer’s eye to the focal point |
| Final dark accents | Adds the deepest shadow areas last to anchor overall contrast |
Treating the eraser as a drawing tool rather than a cleanup device, and treating value range as something to actively monitor throughout the process rather than only at the end, consistently separates finished, gallery-ready animal portraits from technically correct but lifeless ones.
Putting the 6 Techniques For Realistic Pencil Drawings Of Animals into Practice
These six methods are most powerful when used together rather than in isolation. A drawing that starts with accurate skeletal structure, follows proportion guides for the face, draws on strong reference observation, maps fur direction before shading, layers tone gradually with controlled light and shadow, and finishes with intentional eraser work will consistently outperform a drawing that excels at only one or two of these stages.
For artists working across different media, such as graphite pencil, colored pencil, or pen and marker illustration, the underlying logic of these 6 Techniques For Realistic Pencil Drawings Of Animals does not change. Colored pencil realism, for example, still depends on structural accuracy and gradual layering, just with color temperature added to the light-and-shadow framework. Staying current with updated instructional books and resources on animal anatomy and colored-pencil realism helps artists refine these fundamentals as new teaching methods and materials become available.
Frequently Asked Questions
What pencil grades work best for realistic animal fur?
A range from a hard 2H or H for light base layers to a soft 4B or 6B for deep shadows gives enough contrast to build believable fur texture and strong value range.
How long does it typically take to finish a realistic animal portrait?
Timing varies widely by detail level and size, but a detailed graphite animal portrait commonly takes several hours to a full day of layered work, split across multiple sessions to avoid overworking the paper.
Is grid drawing considered cheating for realistic art?
No. Grid and proportion guide methods are standard practice among professional illustrators and are considered a technical tool, similar to using a ruler, rather than a shortcut that bypasses skill.
Which technique should a beginner focus on first?
Structural construction with basic shapes and skeleton lines has the biggest impact on overall accuracy and should be mastered before moving on to fur texture or detailed shading.
Conclusion: Putting the 6 Techniques For Realistic Pencil Drawings Of Animals to Work
Realistic animal drawing is a learnable sequence, not an innate gift. Structure comes before detail, proportion guides prevent costly mistakes before they happen, and reference-based observation keeps every drawing grounded in the real animal rather than a generic version of it. Fur and feather mapping, gradual tonal layering, and controlled light and shadow are what give a drawing genuine volume, while active eraser use and attention to value range carry a piece across the finish line.
The next step is practical: pick one animal, work through all 6 Techniques For Realistic Pencil Drawings Of Animals in order on a single drawing, and resist the urge to jump straight to fur detail before the skeleton and proportions are locked in. Building this habit on just three or four drawings will produce a noticeable jump in realism compared to drawing without a structured process.