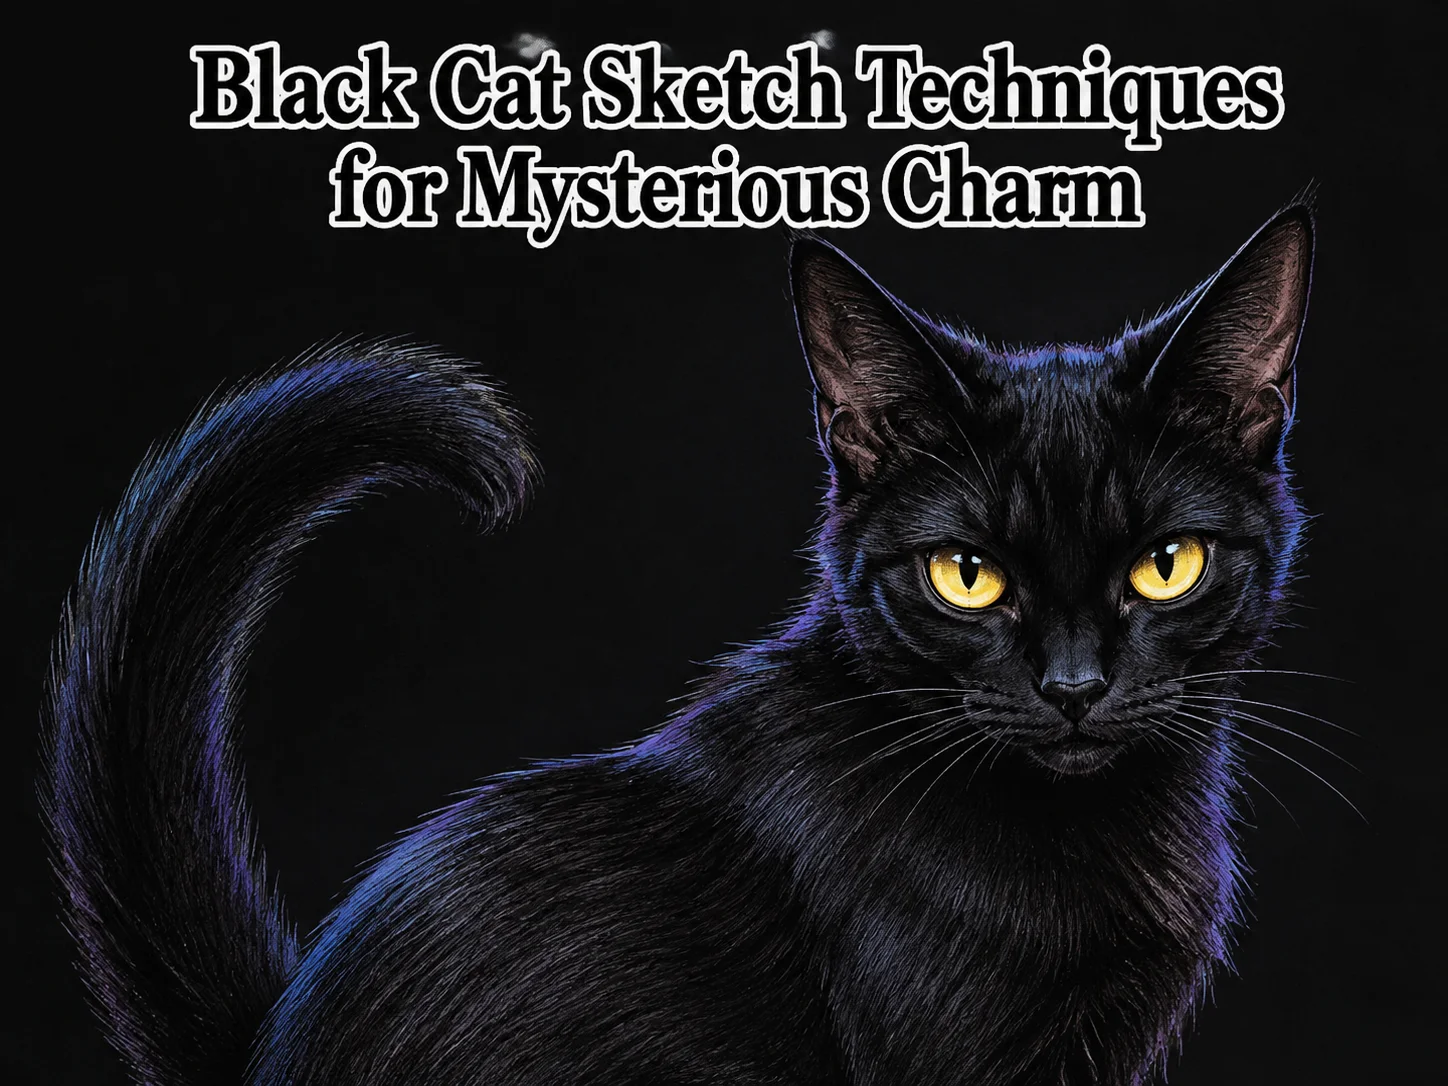
Black Cat Sketch Techniques to Capture Their Mysterious Charm
Nine out of ten beginner cat drawings fail for one reason: the artist reaches for detail before nailing the shape. A black cat suffers from this mistake more than any other subject because there is almost no color information to hide behind. Every line, every value shift, and every curve has to earn its place. That is exactly why mastering 6 Black Cat Sketch Techniques to Capture Their Mysterious Charm matters so much, these are not decorative flourishes, they are the structural decisions that separate a flat black blob from a cat that seems to be watching you back.
Disclosure: This post contains affiliate links. As an Amazon Associate, we earn from qualifying purchases, and at no extra cost to you.
This guide breaks down the six techniques that professional illustrators, animators, and digital tutorial creators consistently return to when drawing black cats. Whether working in graphite, ink, or a pressure-sensitive tablet, the same principles apply: build the pose first, control the values, anchor the expression in the eyes, use fur strokes sparingly, exaggerate a few key shapes for personality, and refine in stages rather than all at once.
Key Takeaways
- Strong silhouette and pose come before any detail; a readable black shape is the foundation of a mysterious cat.
- Value control matters more than line work because pure black fur flattens without deliberate highlights and shadows.
- Expressive eyes and a defined muzzle keep the cat’s gaze readable even against near-black fur.
- Fur should be suggested with short, directional strokes, not individually rendered hairs.
- Staged refinement, moving from loose sketch to finished rendering, protects the cat’s gesture and charm throughout the process.
1. Establish the Silhouette Before Any Feature
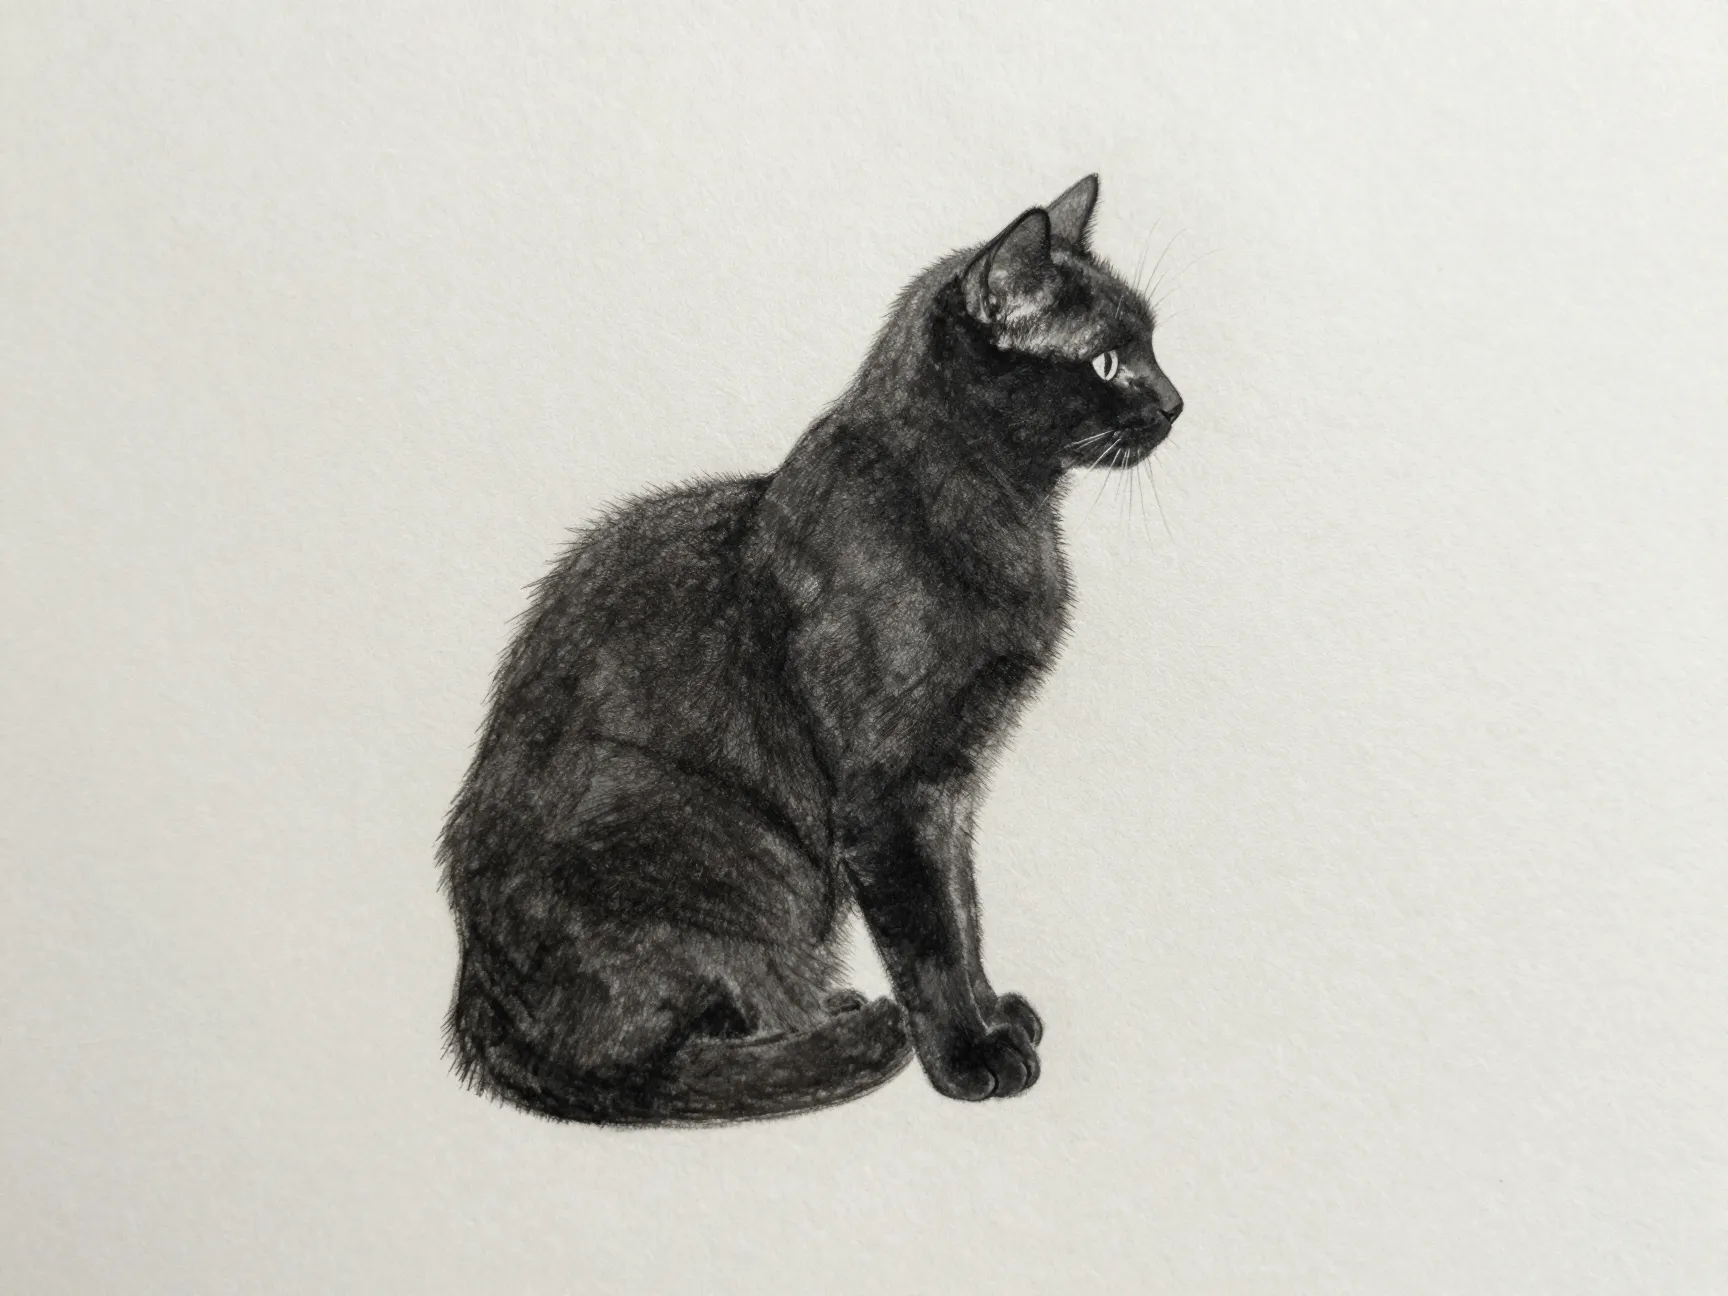
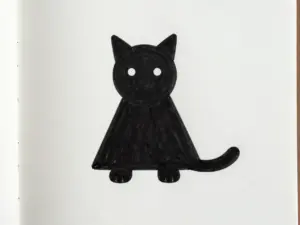
The single most important habit in any black cat sketch is deciding the outline before touching the face. Modern animation guidance treats silhouette design as the true key to making a black cat read clearly in motion or in a still image. The working order should always be silhouette first, features second, surface detail last. This sequence exists because a viewer’s brain recognizes shape before it recognizes anything else, and a black cat is essentially a moving shape against its background.
Start with a soft, loose outline that captures the pose: is the cat crouching, stretching, or sitting upright with its tail curled around its paws? Resist the urge to add ears, whiskers, or eyes at this stage. The goal is a shape that would still be recognizable as “a cat, and probably a spooky one” if filled in solid black and viewed from across a room.
A few practical checks help confirm the silhouette is working:
- Squint01. Squint at the sketch and see if the pose still reads clearly as a cat shape without any interior lines.
- Rotate02. Flip the drawing horizontally to catch awkward proportions the eye missed the first time.
- Compare03. Hold the sketch at arm’s length; if the outline blends into a shapeless smear, the pose needs sharper breaks at the joints.
This is also the stage where deliberate exaggeration adds character. Long ears, a clear break where the chest meets the front legs, and a tail with a strong line of action are common stylistic choices that give a witchy, enigmatic presence without any extra rendering. These exaggerations do more work than fine detail ever could, because they shape how the silhouette itself feels.
Why Silhouette-First Supports the Full 6 Black Cat Sketch Techniques Approach
Every one of the remaining five techniques depends on this first decision. Value control only works if the shapes underneath are already clear. Eye placement only reads as mysterious if the head shape and ear angle are already convincing. In short, silhouette is the technique that makes the other five possible, which is why it consistently ranks first across professional tutorials and animation references.
2. Control Value and Lighting Instead of Relying on Line Detail
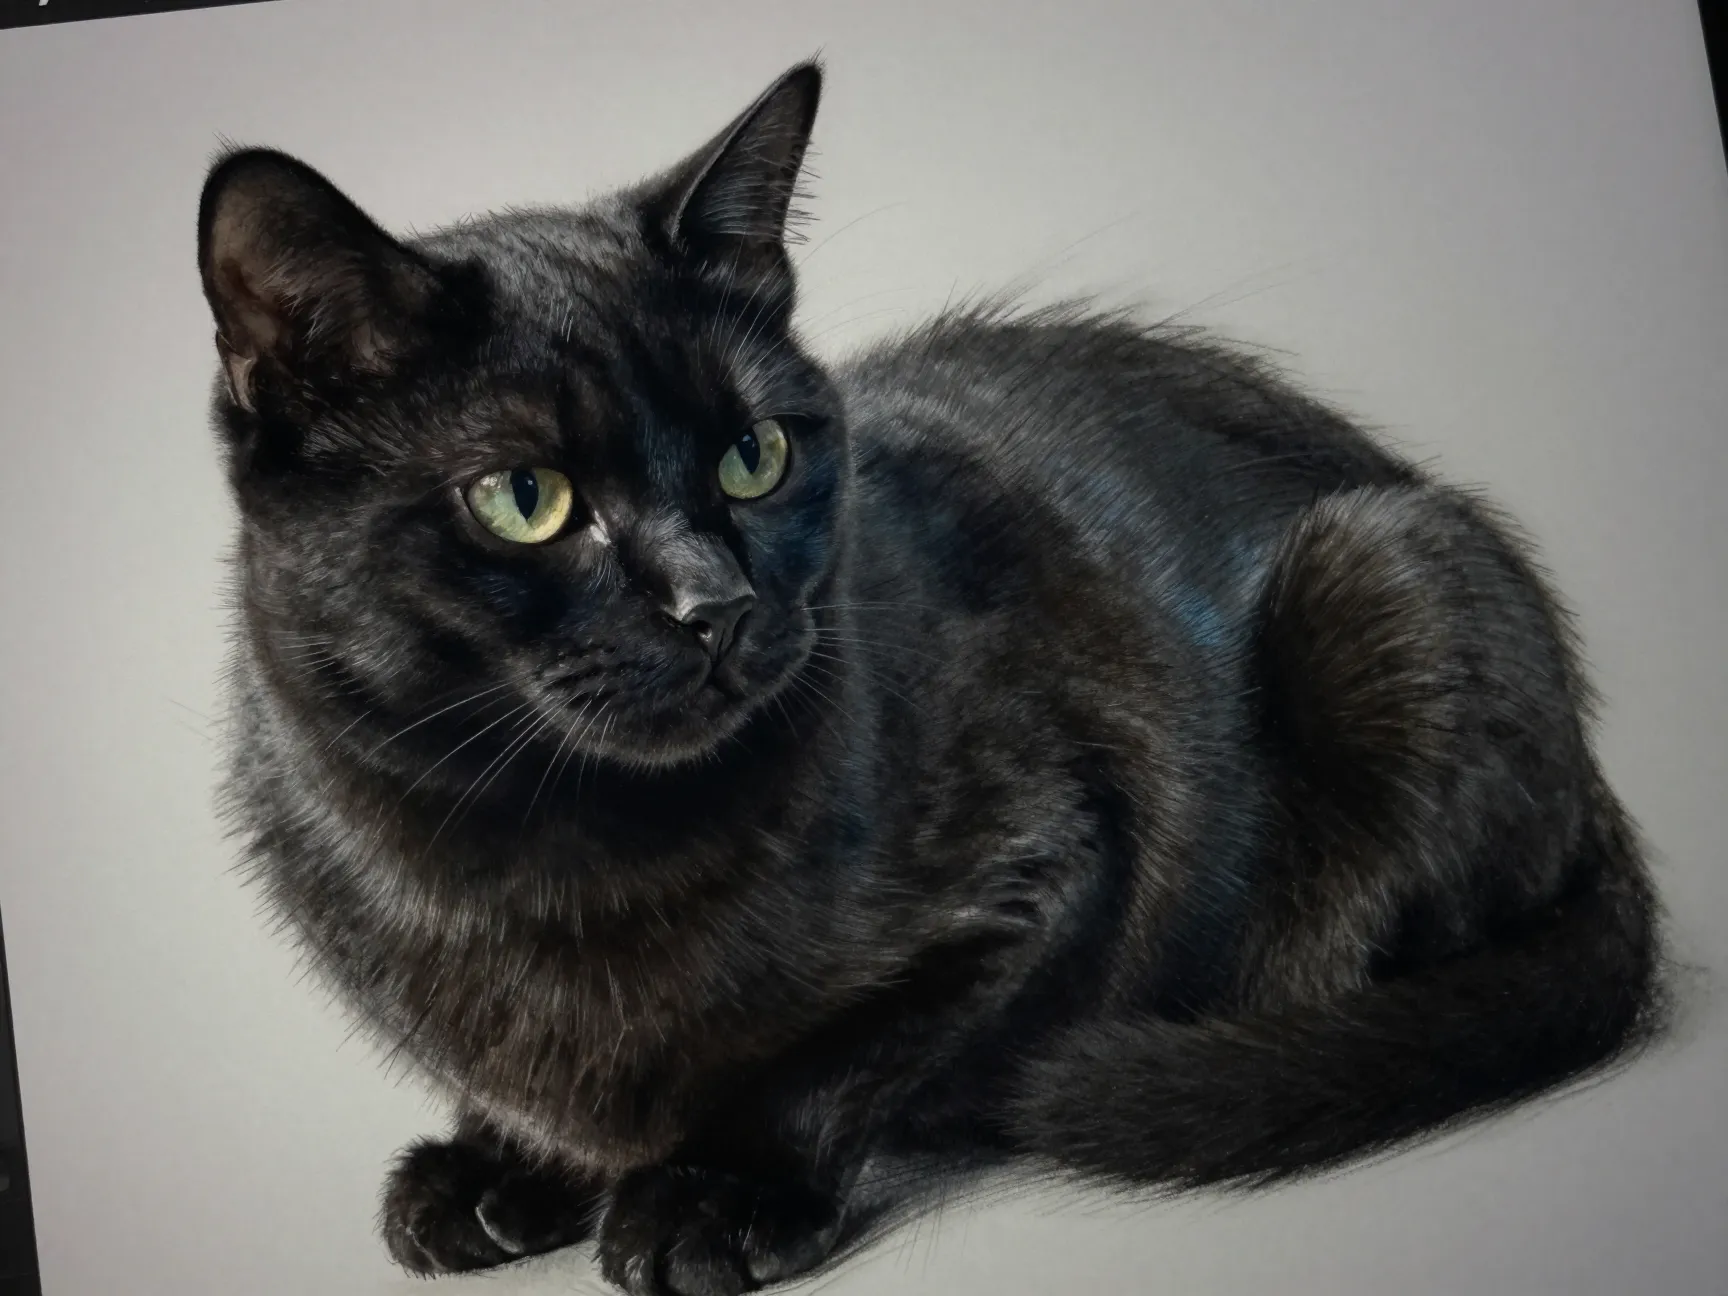
Black fur has a well-known problem: it can quickly become a flat, unreadable mass on paper or screen. Recent tutorials consistently push artists to trust value and lighting choices over adding more outline or texture. A pure black shape with no internal value variation looks like a hole cut out of the page, not a living animal.
The fix involves several small, deliberate contrasts:
- Softshifts01. Soft value shifts. Instead of one flat black, use several closely related dark tones so the eye can still separate planes like the shoulder, ribcage, and haunch.
- Brokenedges02. Broken edges. Letting some contour lines dissolve into the background, especially on the far side of the body, keeps the black from feeling “dead” or cardboard-like on screen.
- Bouncelight03. Colored bounce light. A faint blue, purple, or amber tint reflected onto the fur from a nearby light source adds atmosphere and stops the black from reading as a flat design element.
- Planeseparation04. Subtle highlights. Small, controlled highlights on the cheeks, the bridge of the nose, and the tips of the ears separate the major planes of the head without breaking the overall dark mood.
Careful shadow placement is just as important as highlights. A shadow tucked under the chin or along the belly gives the impression of a rounded, three-dimensional body rather than a paper cutout. The goal throughout is a moody atmosphere, not a brightly lit cartoon; the highlights should be just strong enough to guide the eye, never so strong that they compete with the cat’s expression.
Working digitally makes this easier to control. Layered highlights and shadows, adjusted with opacity and soft brushes, let an artist preview different lighting setups before committing to final marks. This is one reason tablet-based workflows have become the preferred method for tackling black fur: mistakes in value can be corrected in seconds rather than requiring an eraser and a fresh start.
3. Anchor the Expression in the Eyes and Muzzle
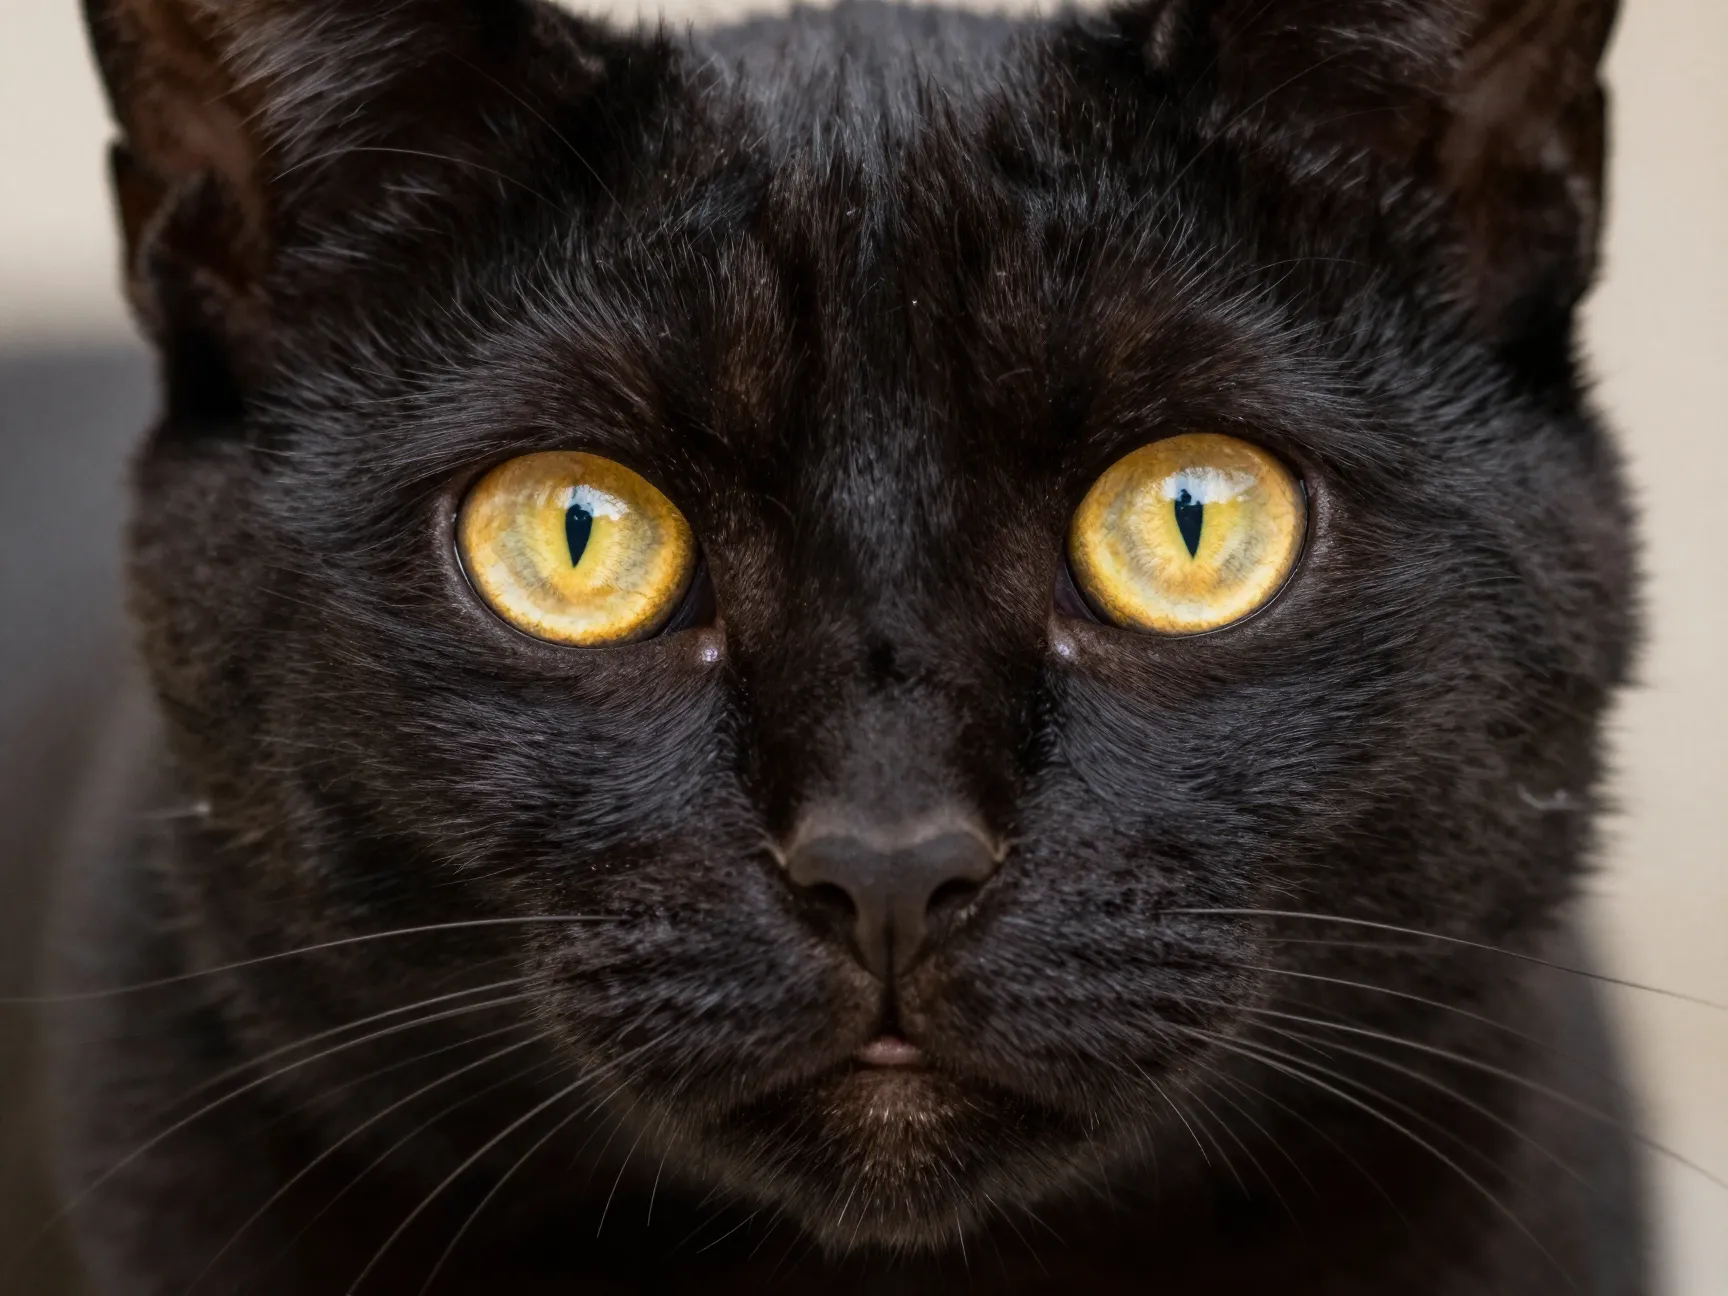
If silhouette gives a black cat its presence, the eyes give it its personality. Across nearly every current tutorial, the eyes and facial structure act as the emotional anchor of the entire drawing. Because the surrounding fur offers almost no visual information, the eyes have to carry the full weight of the cat’s mood, whether that mood is curious, aloof, or faintly threatening.
Three adjustments consistently produce a stronger result:
- Enlarge01. Enlarge the eyes slightly beyond realistic proportions. A touch of exaggeration reads as more expressive without looking cartoonish.
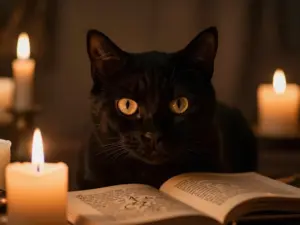
- Contrast02. Use high-contrast eye color. Bright yellow, pale green, or light amber irises against dark fur create an immediate focal point that pulls the viewer’s attention exactly where it belongs.
- Definemuzzle03. Define the muzzle clearly. A crisp jawline and a small, well-placed nose keep the lower half of the face readable even when the fur around it fades into shadow.
“The eyes and muzzle are the anchor of a mysterious black cat; everything else in the drawing exists to support them.”
This principle explains why so many Halloween-themed and stylized black cat illustrations feature eyes that seem almost too large or too bright. The exaggeration is not a mistake; it is a deliberate technique for keeping the gaze legible against fur that otherwise offers no contrast. Skipping this step is the most common reason a black cat sketch looks lifeless rather than mysterious.
4. Suggest Fur With Economy, Not Individual Hairs
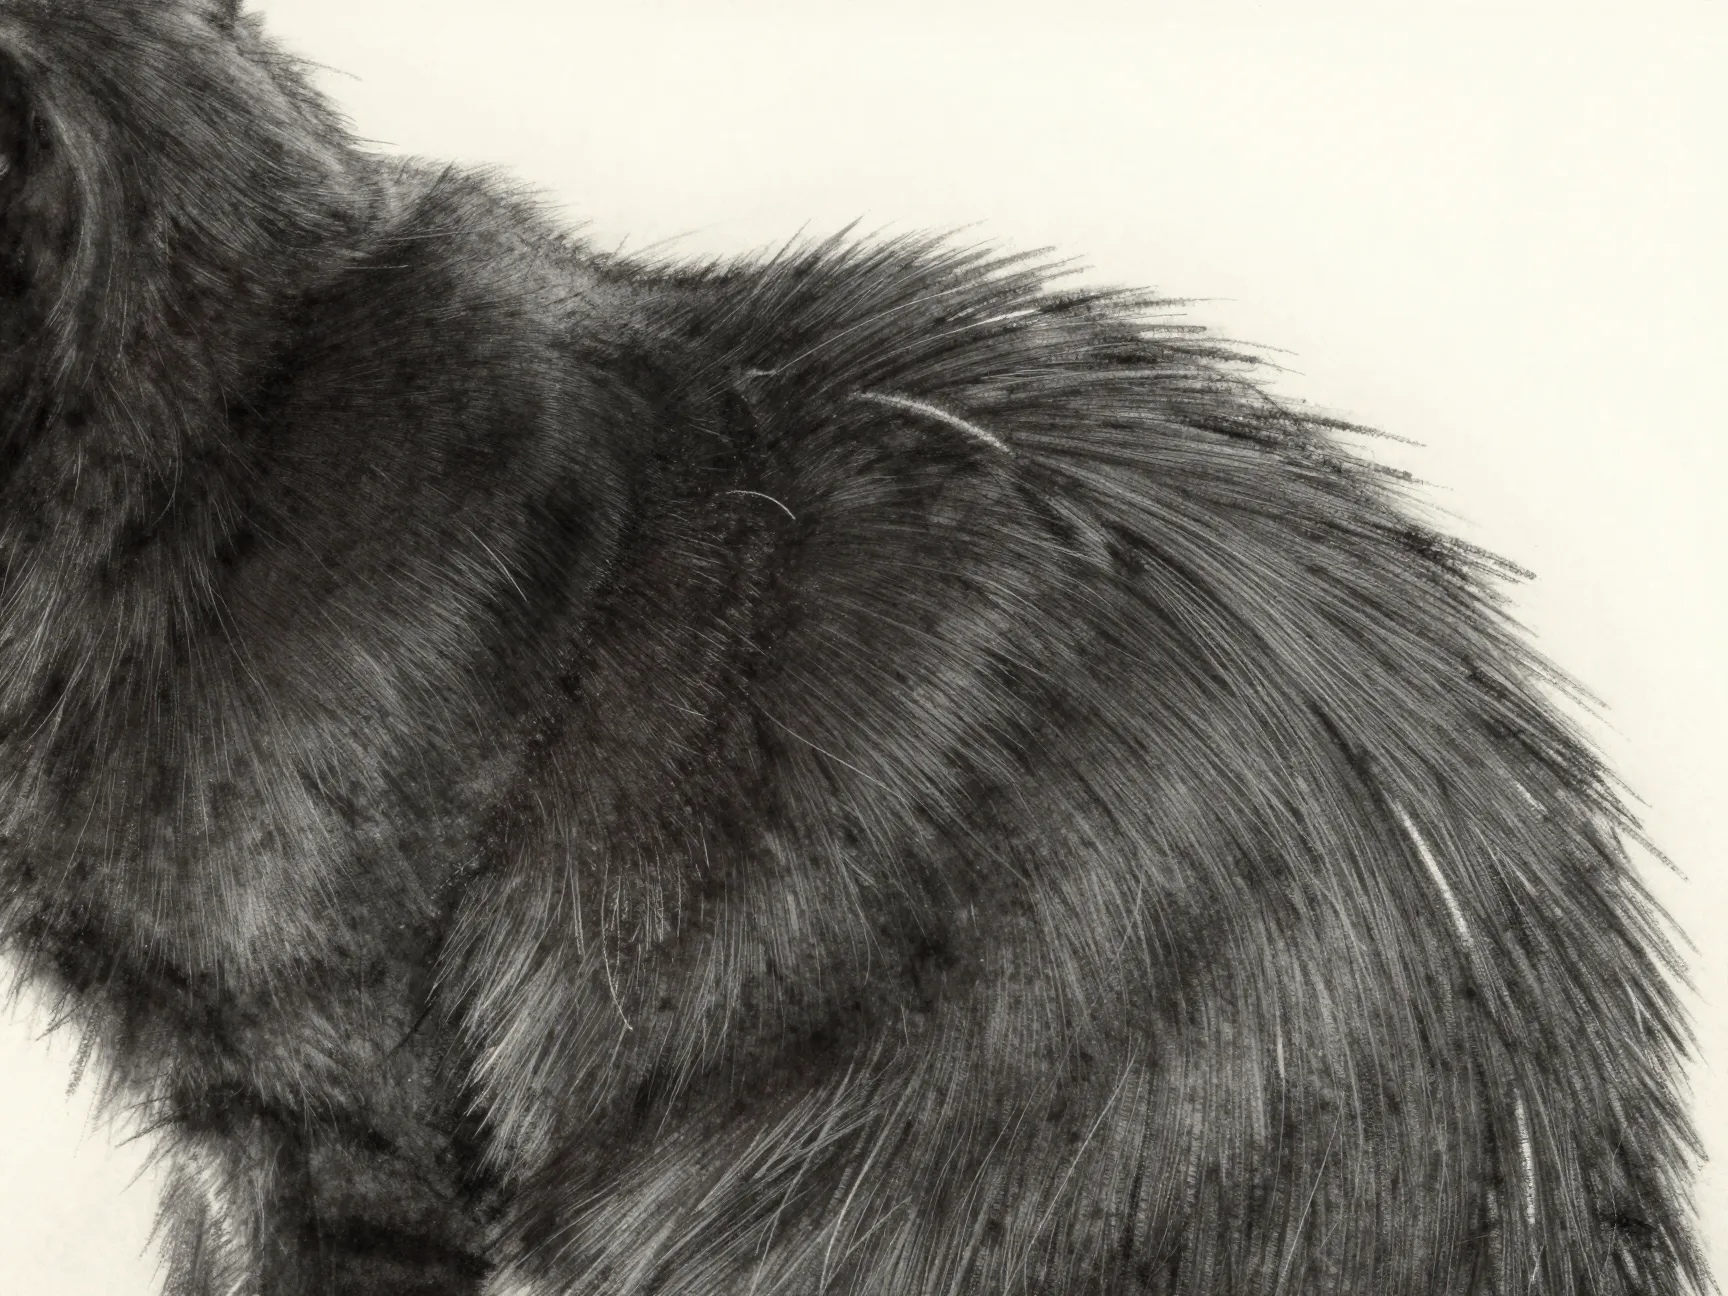
A frequent beginner error is attempting to draw every strand of fur. This not only takes far longer than necessary, it also tends to flatten the drawing by adding uniform texture everywhere instead of guiding the eye toward the important areas. Across dozens of recent tutorials, the advice is remarkably consistent: use short, quick strokes that follow the direction of fur growth, not detailed individual hairs.
A practical stroke pattern looks like this:
- Shortstrokes01. Short strokes on the head. The fur here is finer and lies closer to the skull, so brief, controlled marks along the cheeks and forehead suggest texture without adding bulk.
- Longstrokes02. Longer strokes on the body. The torso and haunches carry longer fur, so slightly extended strokes following the curve of the muscle underneath help imply volume.
- Leavegaps03. Leave thin un-inked sections as highlights. Rather than filling every space with black, leaving narrow gaps mimics the way light catches individual clumps of fur, especially along the spine and the edge of the tail.
- Directionmatters04. Match stroke direction to anatomy. Fur strokes should follow the underlying muscle and bone structure, curving around the shoulder and running down the length of the leg, rather than moving in a single flat direction across the whole body.
Whether working with a soft graphite pencil, a fine-tip pen, or a textured digital brush, the same restraint applies. Textured digital brushes set to follow pen pressure can imitate this quick-stroke approach efficiently, letting an artist build believable fur in a fraction of the time it would take to render individual hairs by hand. The result should feel soft and slightly indistinct at the edges, never sharp or uniformly combed, because sharp transitions along body and fur edges tend to break the sense of softness that makes a black cat feel elusive.
5. Exaggerate Key Features for Character and Mystery
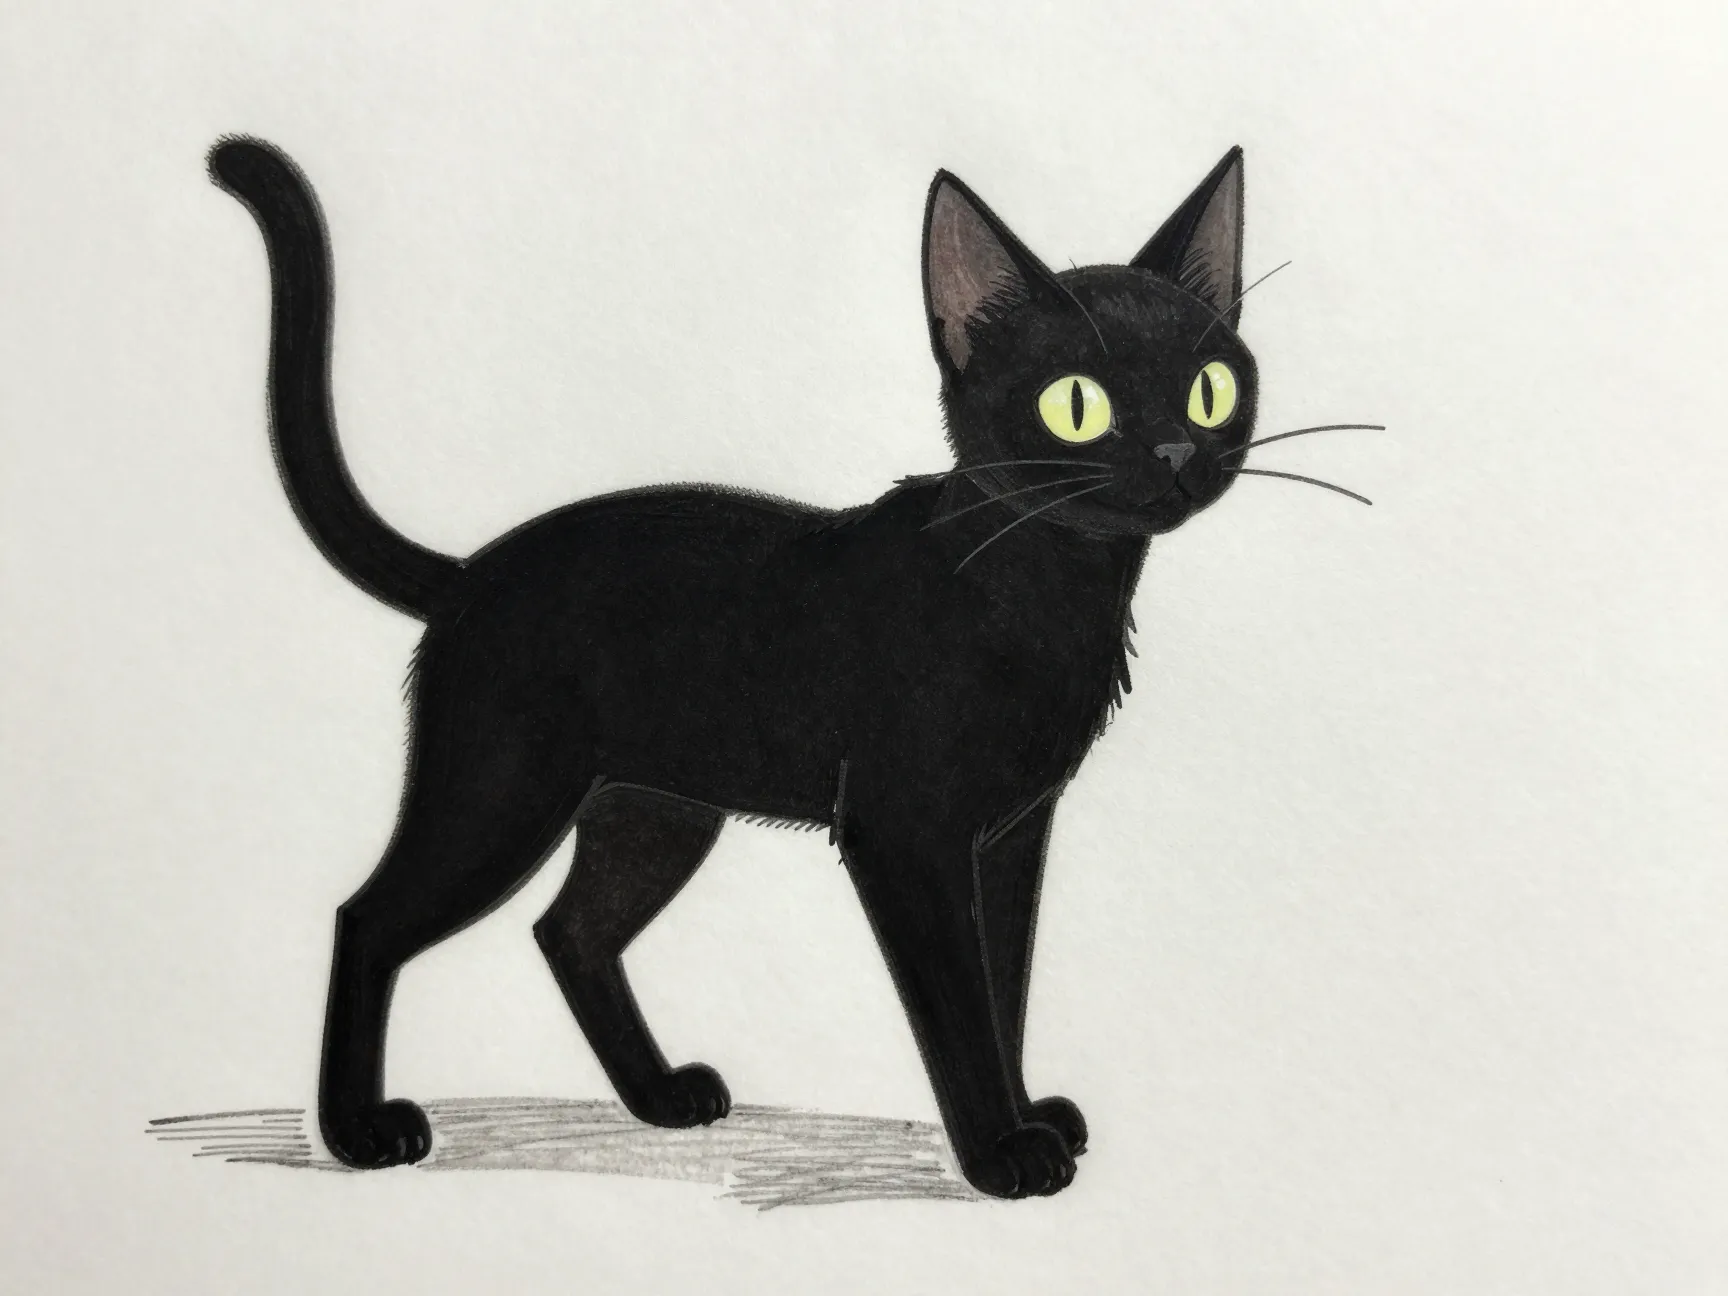
Realistic proportions are not always the most compelling choice. A recurring theme across current guides is deliberate, controlled exaggeration of a small number of features: the ears, the tail, and the chest. These three areas do the heaviest lifting when it comes to conveying personality.
The table below summarizes how each exaggeration affects the finished sketch.
| Feature | Typical Exaggeration | Effect on Mystery and Charm |
|---|---|---|
| Ears | Slightly longer, more angular than realistic | Adds an alert, witchy presence and a sharper silhouette |
| Tail | Strong curve with a clear line of action | Implies movement and confidence even in a still pose |
| Chest break | Clear separation between chest and front legs | Gives the pose structure and a sense of grounded weight |
| Eyes | Slightly oversized, high-contrast color | Keeps the gaze readable and emotionally engaging |
The chest break deserves special attention because it is easy to skip. Without a visible transition between the chest and the front legs, a seated cat can start to look like a single rounded loaf with a head stuck on top. A single curved line indicating where the chest ends and the leg begins restores structure immediately, even in a very loose sketch.
Simple geometric construction still underlies all of this exaggeration. Ovals for the head and body, plus curved lines for the tail and limbs, remain the standard starting shapes in beginner-friendly guides. The difference between a stiff drawing and an expressive one is not the shapes themselves but the curves chosen to connect them. Light, loose shapes drawn early can be adjusted for personality, stretched taller, squashed rounder, or tilted at an angle, before any final linework locks the pose in place.
6. Refine in Stages From Loose Sketch to Final Rendering
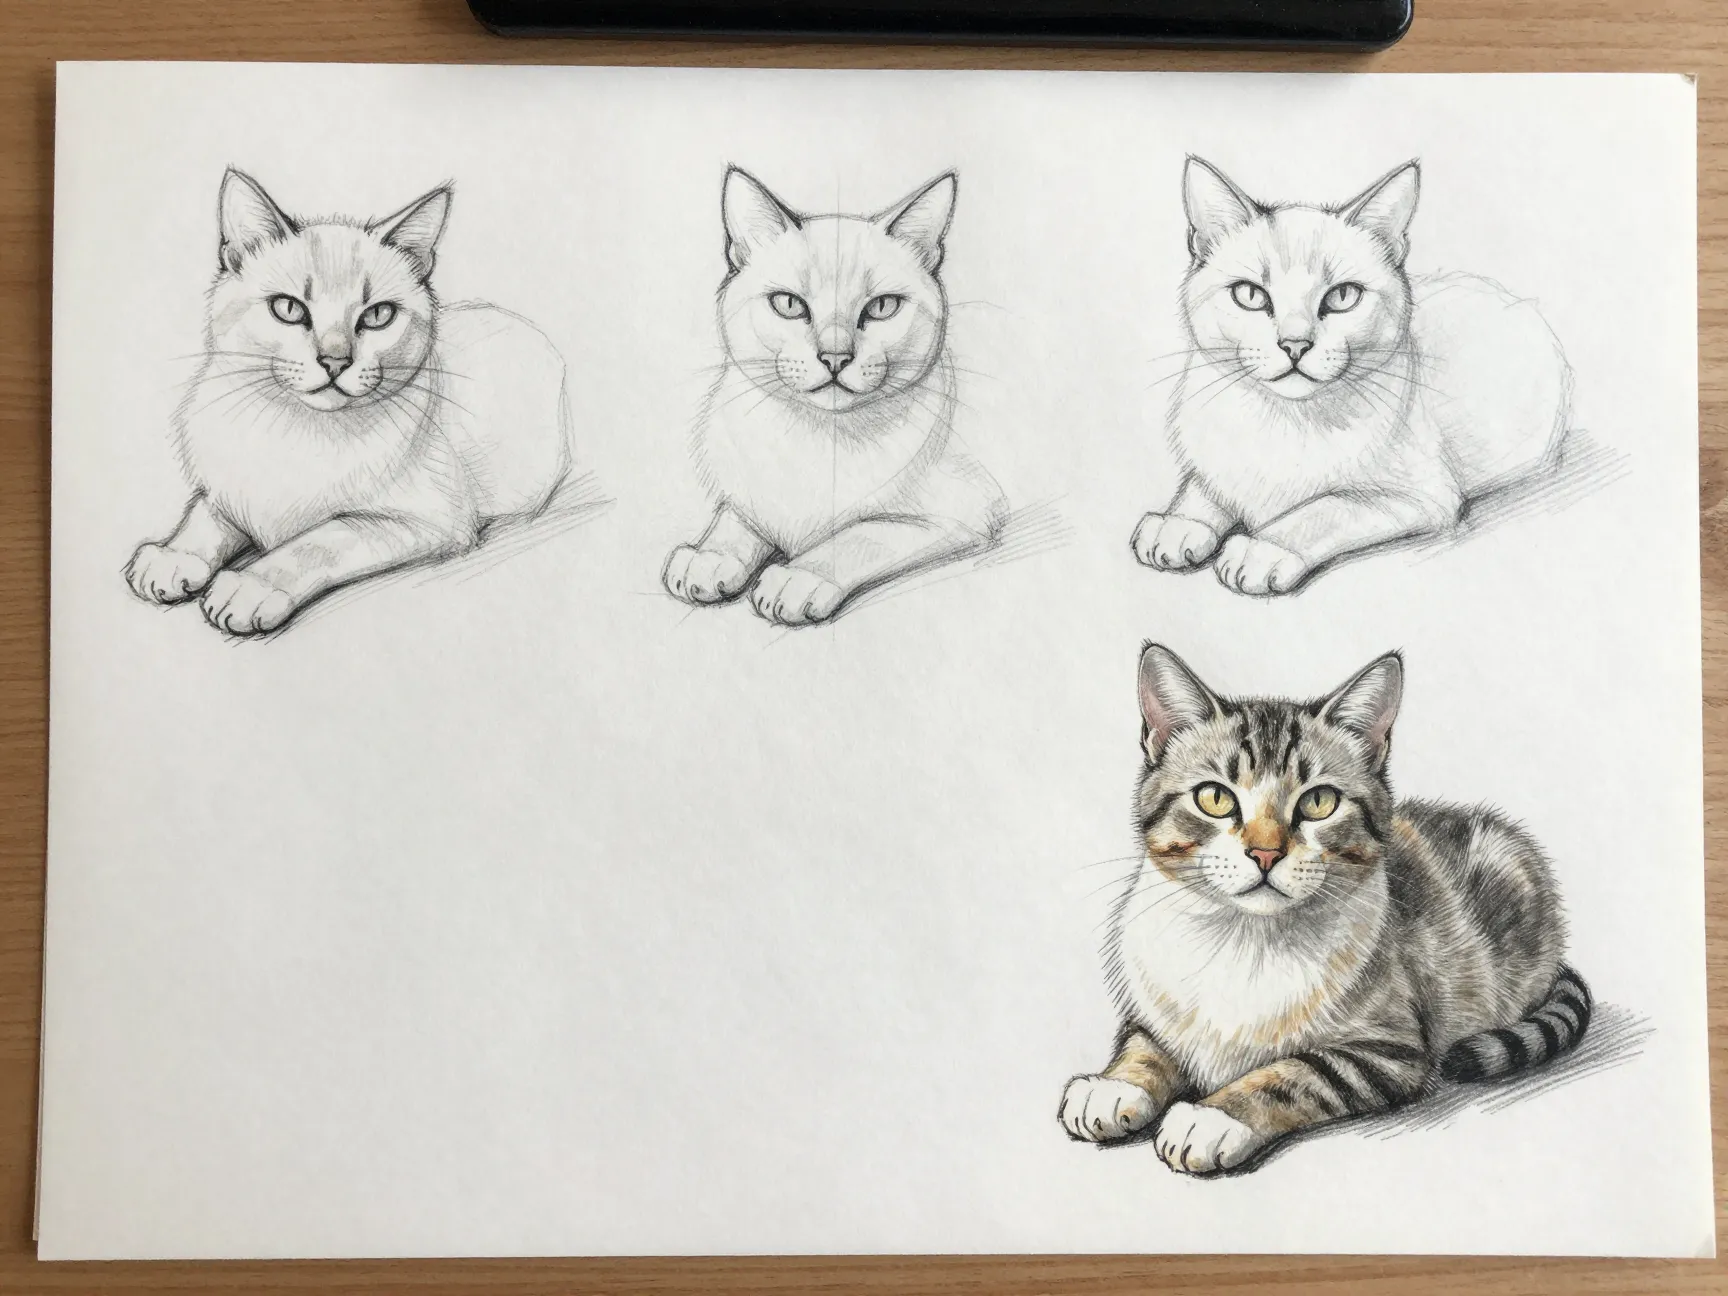
The final technique ties all the others together: never move from a blank page straight to finished detail. Staged refinement is the connective thread running through nearly every reliable black cat tutorial, and it is arguably the reason the other five techniques are able to work at all.
A dependable staged process looks like this:
- Pose01. Sketch the loose pose. Focus entirely on gesture and silhouette, using light, quick lines that can be erased or adjusted freely.
- Cheeks02. Refine the cheeks and head shape. Once the pose feels right, tighten the head outline and establish where the cheeks widen.
- Muzzle03. Shape the muzzle and nose. Add the jawline and nose bridge, keeping lines soft rather than sharply defined.
- Paws04. Define the paws and legs. Establish where the legs bend and where the paws make contact with the ground, checking that weight distribution feels believable.
- Eyes05. Place and size the eyes. This step often gets revisited slightly after the muzzle is finished, since eye placement depends on the width of the face.
- Shading06. Apply shading and fur strokes last. Only after every structural decision is locked in should heavy shading, directional fur strokes, and final highlights be added.
This order matters because each step depends on the one before it. Committing to detailed shading too early makes it far harder to adjust the pose or proportions later, since correcting a shape usually means erasing finished rendering along with it. Beginner-friendly guides that break the process into four to six major stages, shapes, features, body, tail, and details, essentially teach this same staged discipline, even when they do not label it explicitly.
For more rendered, realistic black cat drawings, this staged approach often extends into layered media. A common workflow starts by mapping the main facial shapes, then laying down a base color or tone layer, and finally pushing selective shadows and sharp white highlights on top. This layered method creates a dramatic, high-contrast look that suits the mysterious tone artists are usually chasing with a black cat subject, and it works whether the final piece is done in colored pencil, marker, or digital paint.
Putting the Six Techniques Together
None of these techniques work particularly well in isolation. A perfect silhouette with flat, uncontrolled values still looks lifeless. Beautifully rendered eyes on a shapeless body still fail to convince. The real strength of the 6 Black Cat Sketch Techniques to Capture Their Mysterious Charm comes from using them in sequence, letting each one build on the last.
A simple way to remember the order:
- Shape01. Lock the silhouette and pose.
- Value02. Control light and shadow across the fur.
- Focus03. Anchor expression in the eyes and muzzle.
- Texture04. Suggest fur with short, directional strokes.
- Character05. Exaggerate ears, tail, and chest for personality.
- Process06. Refine everything in stages, never all at once.
Artists working digitally have an advantage here, since layers, undo history, and pressure-sensitive brushes make it easy to experiment with value and texture without committing too early. Traditional graphite or ink artists can achieve the same results by working light to dark and keeping early stages deliberately loose. Either medium can produce a convincing, mysterious black cat when these six techniques guide the process from the very first mark.
Conclusion
A convincing black cat sketch is less about talent and more about sequence. Locking in the silhouette before adding features, controlling value instead of relying purely on outline, anchoring expression in the eyes, using fur strokes sparingly, exaggerating a few key shapes, and refining everything in careful stages together form a reliable, repeatable system. These six techniques appear again and again across current tutorials, animation guides, and digital art resources because they solve the specific challenge that black fur presents: almost no color information to lean on.
The next step is simple. Pick one reference pose, whether a cat mid-stretch, curled on a windowsill, or sitting bolt upright at dusk, and work through the six techniques in order rather than jumping straight to shading. Spend real time on the loose gesture sketch before touching a single whisker. That discipline, more than any brush or pencil choice, is what turns a plain black shape into a cat that feels genuinely watchful, elegant, and just a little bit mysterious.